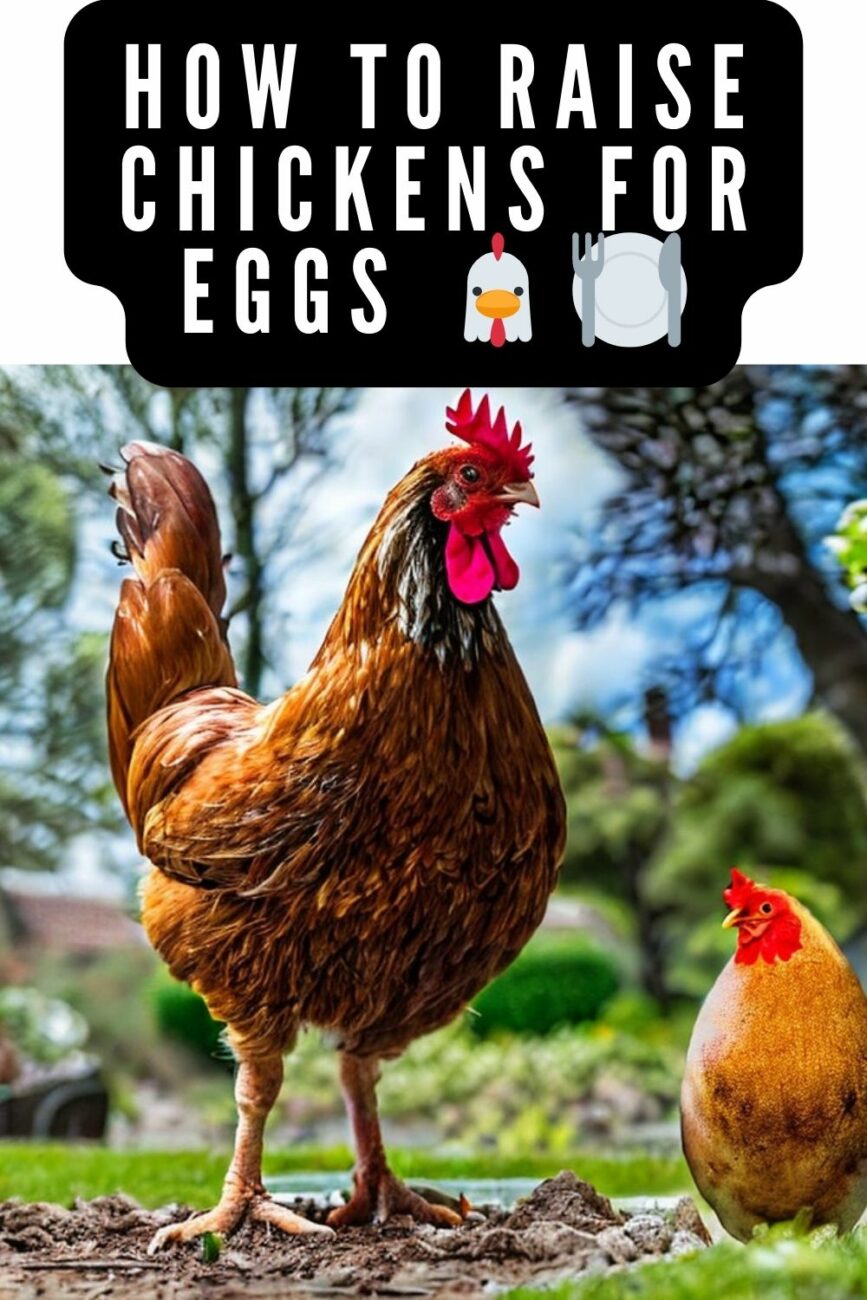
With prices at the feed store higher than the Texas sun, I knew I had to dream up some inexpensive access all areas for my avian appetites.
That’s when the light bulb lit up over my noggin – why not cultivate my own critters to pack those crops?
If I nurtured a gang of high-protein red wigglers with spare stuff around the barn, the hens could grub to their hearts’ content without draining my wallet dryer than a brushpile in July.
All you need is basic materials, little effort and some tender loving care to mother your own money-makin’ menagerie of red wigglers.
These dirt diggers will plump your soil and stuff those hungry hatches for pennies a peck.
Picking the Perfect Patch: Locating Your Worm Lot
First order of business was finding ideal real estate for my slithery tenants.
I eyed potential properties with key necessities in mind.
Shelter from the blazing sun was numero uno.
Worms don’t fare well in direct sun’s scorch like us stubborn folks.
Location also needed cover from pesky featherbrained flyers keen to make a meal of my mulch movers.
A shady corner under the porch roof fitted the bill.
Accessibility for inspecting and harvesting was also key.
The north side garden bed placed it steps from the coop for convenient transport of grublin’ goodies.
Good drainage and airflow rated high too.
I didn’t want my wigglers wallowing in a waterlogged, airless box.
With selections screened, the shady side garden patch became permanent digs for my composting clan.
Choosing the Right Worm Species
Not all worms are created equal when it comes to chicken feed!
The best worms for feeding chickens are red wigglers, hands down.
Red wigglers are champions at reproducing, so you’ll have a self-sustaining colony in no time.
They also thrive on the same stuff chickens love – vegetable scraps!
Other worm varieties like nightcrawlers can work too, but they typically prefer soil and don’t breed as quickly as red wigglers.
No matter which type you choose, be sure to get your starter batch of worms from a reputable source.
Bait shops and online retailers sell quality worm stock that will get your backyard worm farm off to a great start.
Choosing a Location and Size for your Worm Bin

To determine where to position your worm bin, keep temperature, moisture, and accessibility in mind.
Worms prefer a narrow temperature range between 55-77 degrees Fahrenheit.
Raising worms in too hot or cold will distress them and prevent the colony from thriving.
Aim for a spot that stays relatively moderate – garages, sheds, covered patios, or shady areas of the chicken coop often work well.
Like most living creatures, worms need moisture to survive.
That’s why damp bedding is key for their housing.
However, too much liquid causes problems with anerobic bacteria.
Go for evenly mildly damp but not soggy bedding.
Finally, pick a location where you can access the worms easily to feed and harvest them.
Wrangling Worms: Sources for Stocking Your Startup Colony
Next up was procuring pioneer populaces to populate the property.
Local purchase was the practical first choice.
A fella up the road raised ’em commercially for fish bait.
His setup sold small starter cultures cheap as fried chicken.
I opted for red wigglers best since they thrive in our climate and eat near ’bout anything vegetable.
Other varieties can be persnickety.
A few friends had garden bins too.
Swapped em a jar of honey for a healthy handful of homegrown composters.
Always check shipments closely for hitchhikers though.
Don’t need no unwanted pests wrecking the operation before it starts.
With critter crews corralled from reliable sources, it was time to furnish accommodations fit for a writhing workforce.
Feeding and Maintaining Your Worm Colony
As long as you feed them a varied diet, red wigglers will happily eat all your kitchen scraps.
I add veggies peelings, crushed eggshells, soggy bread, coffee grounds, and tea bags to the bin every few days.
Just bury the new food under the bedding so it doesn’t attract flies.
A healthy worm colony doubles in size every few months, so be sure to harvest the extra worms regularly.
Otherwise, your bin will get overcrowded and you’ll have to deal with unpleasant side effects.
Trust me, worm escapees in the garage are no fun to clean up!
Monitoring Your Worms: Signs of a Thriving Tribe
Regularly eyeball the bin for indicators of contentment and productivity.
Wriggling activity shows they’re alive and well, not dried up or frozen stiff.
Moisture levels affect behavior – too wet and they’ll drown, too dry they’ll perish.
Odor shouldn’t be foul, just an earthy aroma of rich decomposition.
Bedding texture matters – crumbly and dark means optimized breakdown occuring.
Frass presence reveals digestion in action, while casts signal reproductive cycles.
With experience comes intuition on their signals – worms will tell when adjustments are needed.
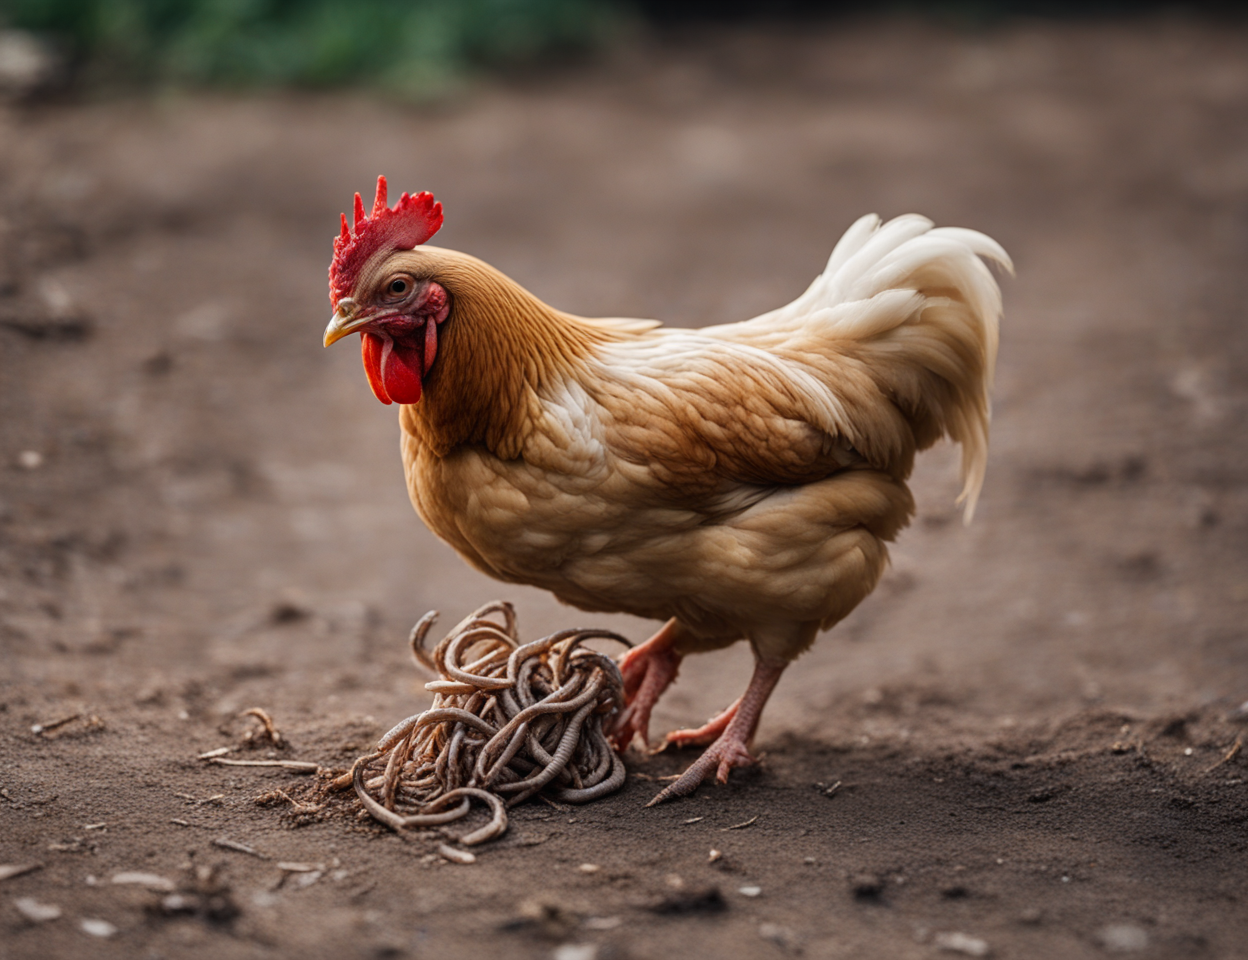
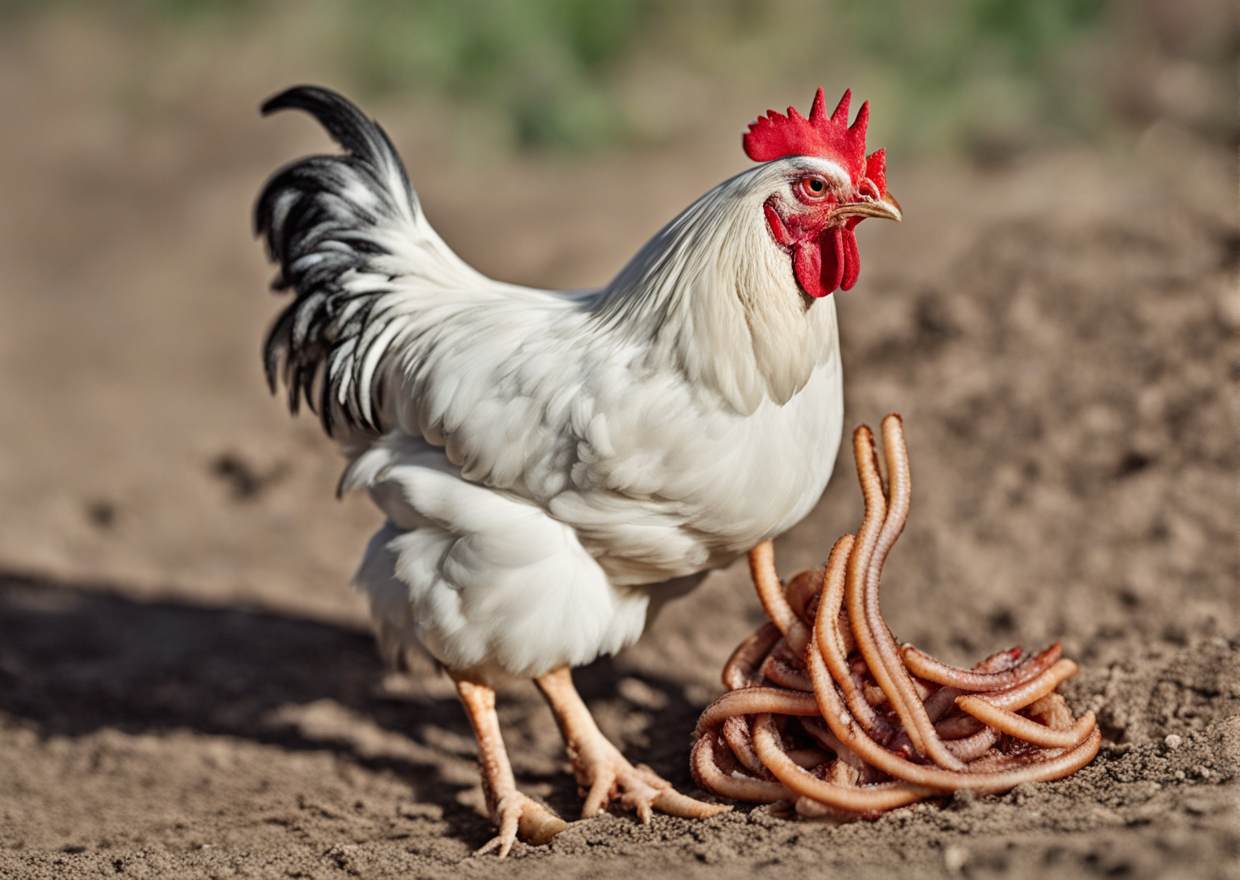
Harvesting Worms for Chicken Treats
When worm harvesting day rolls around, my chickens practically dance with excitement!
I just grab a handful of bedding from one corner of the bin and hold it under a bright light.
The worms hate the light and will burrow down away from my fingers.
Then I shake off the bedding and deposit the wiggling worms into my chicken’s feed dish for their snacking pleasure!
They gobble up every last one in minutes.
Talk about positive reinforcement – my chickens come running anytime they see me head for the garage now thanks to their yummy worm treats!
Dealing with Hitchhikers and Hazards
While usually peaceful neighbors, bins can sometimes host unwanted guests.
Fruit flies breeding in overripe scraps need removed and fresh foods monitored.
Slugs, snails or pillbugs may crawl in – usually no threat but can be weeded out.
Mice seeing it as a buffet require rodent-proofing with secure latching lid.
Ants out for foods require clean containers with no cracks for entry.
Harsh weather like freeze risks warrants sheltered placement and insulation.
Prompt problems solving keeps the colony flourishing pest and hazard free.
Breeding Methods for Multiplying Numbers
With a little nurturing, worms will naturally boom their populations exponentially.
However, some fine-tuning expands fecundity for heavy harvest potential.
Supplement calcium-rich feed items like crushed eggshells or leaf litter.
Ensure ample hydration and aeration through the bedding material.
Keep densities moderate to prevent overcrowding stress negatively impacting sex drives.
Gradually the colony expands to capacity through internal multiplication alone.
But by optimizing the big three – food, water, oxygen – yields multiply all the faster.
Harvesting Your Helpful Herd
When coops start clamoring or the bin looks robustly repopulated,
Time has come to reap some rewards for all your compost critter cultivation.
Gather harvest buckets and protective gloves for grub sifting operations.
Carefully part bedding layers and scoop up writhing handfuls of wigglers.
A few cups worth provides protein galore for peckish poultry pleasure.
Remaining worms continue enriching your soils for future fast breeding.
With regular gentle extractions, the circle of life sustains indefinitely.
Storing and Serving Surplus
Since worms pack top-notch nutrition, preserve potential plenty.
Rinse cups of harvest in a colander then spread on a tray lined with newspaper.
Freeze for two hours to immobilize without killing before bagging for several months.
Thawed wigglers or handfuls straight from frozen delight dust-loving chickens endlessly.
Dehydrate extras in a low oven for crunchy treats other pets and critters devour.
With preservation, your poultry provisions stay strong all season long.
Advantages of Home-grown Worm Food for Chickens
Commercially raised worms sold as poultry feed can get pricey over time.
Growing your own backyard worm farm offers some clear savings advantages.
A basic plastic bin setup plus starter kit of worms costs less than $50.
And you’ll recoup those initial dollars quickly with the free nutrient-rich feed your wiggly herd produces.
Any vegetable scraps or paper waste from your home become worm food instead of trash you pay to haul away.
Composting with worms also provides rich vermicompost “black gold” to mix into potting soil for gardens.
Ultimately, home worm farming means more money staying in your wallet instead of going to commercial worm suppliers.
Worm Egg Harvesting and Storage for Later Use
A thriving worm colony will produce plenty of eggs cocoons you can harvest.
These pea-sized dark brown seed-looking pods each contain multiple baby worms-to-be.
Pull back the bedding and use tweezers to grab cocoons to start new bins or share with other farmers.
You can also collect the cocoons and save them for when you need new worms.
Rinse off any debris, then refrigerate the cocoons in damp peat moss or vermiculite.
Stored at 35-40°F, they can remain dormant for at least 3-6 months.
When ready to hatch, move the cocoons back to room temperature and provide food scraps.
Tiny worms will emerge in 2-3 weeks to rebuild your colony!
Worm Farming Challenges in Extreme Weather
In very cold climates, creating ideal worm conditions through frigid winters can prove difficult.
Below 40°F, worms become mostly inactive and stop breeding until temperatures warm back up.
Sub-freezing temperatures will kill off parts or all of your colony if consistent for too long.
To help counter cold while still feeding chickens, keep bins in insulated areas like garages or basements.
Use extra bedding for insulation and introduce composting heaters connected to outdoor extension cords.
Harvest what healthy worms you can on warmer winter days then replenish from saved cocoon stashes once spring returns.
Getting Kids Interested in Worm Farming
Kids can make great worm farmers when taught properly!
Children often find worms fascinating, whether observing them up close or feeling their wiggly movements.
With some guidance on gentle handling, kids can help feed and harvest worms.
Have children layer paper waste or vegetable scraps themselves to see how decomposing works.
Use kid-sized tools like blunt ended tweezers and kiddie shovels tailored to smaller hands.
Consider letting them name the worms and track new cocoon numbers.
Hands-on activities make worm farming more engaging, educational, and fun!
Expand Operations Horizontally
Why stop at a solitary bin when multiples yield manifold more?
Add extra containers stacked or spaced across your yard real estate.
Groupings allow rotational harvesting while others recover populations.
Larger volumes offer potential for smaller bin sales to neighbors too.
Consider a small scale breeding project selectng specimens to enhance traits.
Your “worm ranch” could evolve into a vermiphilly supply beyond self-sustainability.
Diversify your dirt business – the possibilities are endless with diligence!
Worm Math for Maximized Yields
Careful calculations optimize carrying capacity and production potential.
A basic four square foot bin supports one to two pounds of worms.
Every pound needs a cup of bedding and a cup of weekly food scraps.
Aim to leave one third of the herd undisturbed between removals.
Harvesting a quarter pound from each pound of worms ensures sustainability.
With controls, populations multiply two to three times annually come spring.
Strategic scaling meets your poultry’s needs while preventing waste or imbalance.
Fuss-Free Maintenance
Red wigglers thrive with minimal effort beyond their basics.
Food top ups happen when scraps near depletion, about twice monthly.
Loose, moist bedding gets fluffed occasionally to aerate the tract.
Harvest and sieve out frass every two to four months if it builds up.
Routine spot checks ensure parameters like moisture and pH stay optimum.
Otherwise, simply leave the industrious inhabitants to internal processes.
Hands off maintenance fosters hardy, hassle-free habits generation to generation.
Composting Methods
Worm bins break down organics in slightly different styles.
Vermicomposting uses worms to actively consume materials.
Materials are shred smaller and remain less processed than traditional composting.
Fully mature vermicast is richer and smaller than standard compost chunks.
Worms thrive with oxygen and consume four times their weight weekly.
Average processing time is four to six months to breakdown scaps fully.
Patience yields premium potting mixes superior for plants and soil ecosystem.
Avoiding Ailments
Though sturdy, worms face occasional nuisances with proper preventions.
Overly wet or dry conditions, extreme heat or cold stress populations.
Toxic materials poison inhabitants while citrus lowers pH harmfully.
Predators require secure bins while fungal or bacterial rot needs removed sources.
Monitor for unnatural die-offs and behaviors alerting parameter tweaks.
Most issues resolve by modifying 1-2 factors stressing the colony.
With experience comes instinct on their indicators to intervene compassionately.
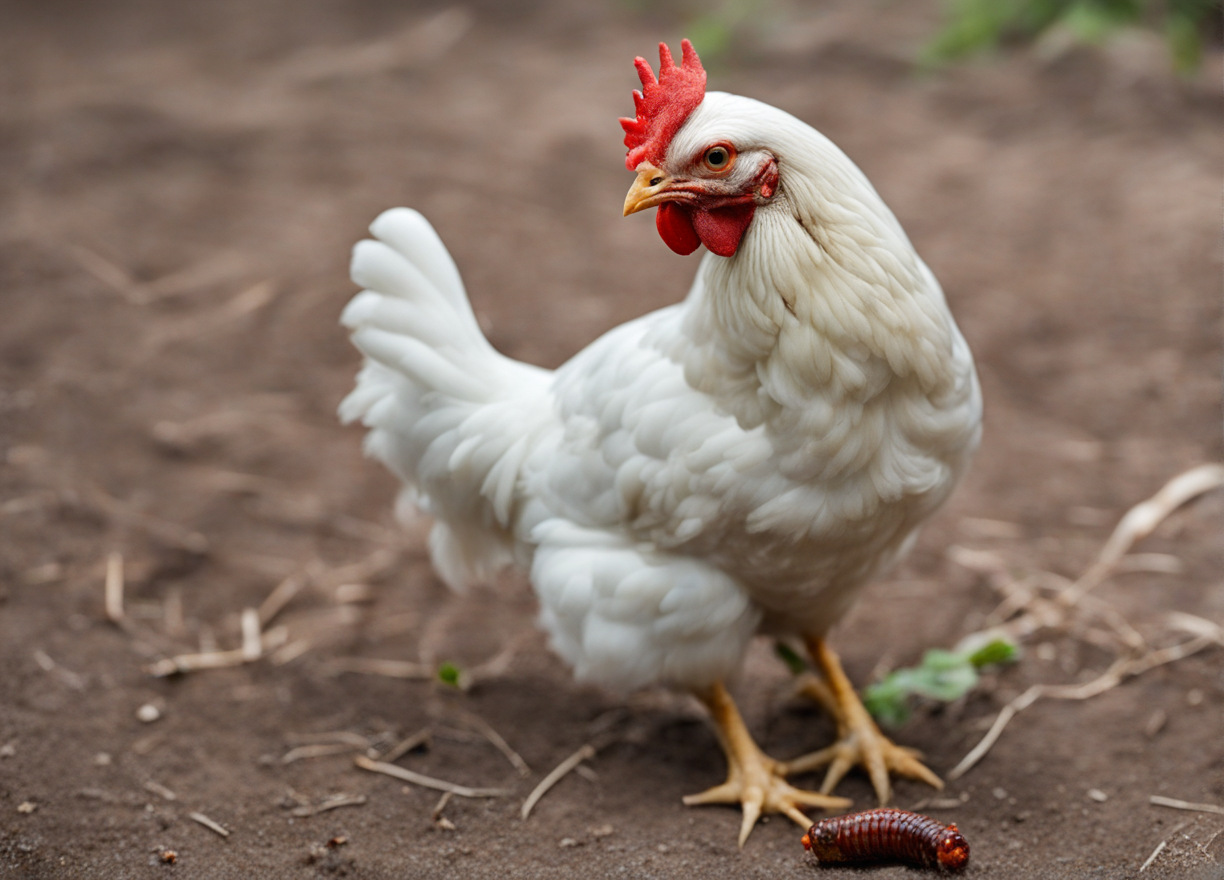
Feed Values for Fowl
Red wigglers offer exceptional nutrition chickens voraciously consume.
High protein content rivals chicken or beef with vitamins, minerals and Omega fatty acids.
Chitin exoskeleton fortifies gut immunity naturally when consumed whole.
Self-harvesting protein stimulates natural foraging behaviors endlessly entertaining.
Dense nutrition per ounce saves cash versus pricey chicken feed alternatives.
Mix in a few tablespoons daily or weekly as a cost-cutting complement.
Homegrown herbivore harvests optimally nourish flocks inside and out organically.
Troubleshooting Hassles
Minor hitches arise occasionally but usually resolve quickly.
Slow activity means check parameters like moisture, food, temperature.
Excessive odors or foulness require removing contaminated materials.
Population drops demand reassessment of space, nutrients or invaders.
Failure to reproduce signals reviews to conditions like pH or aeration.
Rarely issues persist when causes are identified and modified compassionately.
Experience aids intuiting individual bin behaviors and needs for swift solutions.