
The best DIY chicken feeder for most backyard flocks is a lidded tub with PVC elbows through the side, because a hen can’t scratch feed out of it and it costs about $25 to build. Rats are a different fight. No homemade feeder beats them on its own, so you’ll also need to pull the feed at night and keep the bag in metal.
I’ve kept a backyard flock for eight years, twelve hens and one rooster with a bad attitude, and feed is the one bill that never takes a week off. Below are the four homemade feeders I think are worth your time, what each one needs, and which ones a rat can walk right past. The parts lists come from the people who published them: University of Minnesota Extension, My Pet Chicken and Grit. The opinions are mine, and I’ll tell you which is which.
Why Your Feeder Is Costing You Money

A hen scratches. She doesn’t stop because the food happens to be in a dish. My Pet Chicken puts it plainly: scratching at feed is in a hen’s nature, and it throws that feed on the ground. On a dry day the smaller birds clean it up. On a wet day it’s ruined, and whatever’s left at dusk is an open invitation to everything you don’t want in your run.
Here’s the sum that made me care. A laying hen eats about a quarter pound of feed a day. My 13 birds go through a little over 3 pounds a day, or close to 23 pounds a week, so a 50-pound bag lasts about two weeks.
I can’t give you a solid number for how much a normal feeder loses, because I couldn’t find a university that’s measured it for a backyard flock. Minnesota Extension just calls feed “a major expense” and says reducing waste is important for that reason. So try it on your own bag. If you’re losing 1 pound in 10, that’s 5 pounds off every 50-pound bag, and the feed store doesn’t give refunds. (That 1 in 10 is my example, not a measurement.) What to put in the feeder is its own argument, and I’ve got a separate breakdown of the best feed for chickens.
Get the Height and Space Right First

Two numbers matter more than which feeder you build, and both come from Penn State Extension. Put the top lip of the feeder at the birds’ back height, and give each grown bird up to 3 inches of feeder space. Penn State says the right height keeps feed clean and prevents waste, which is the whole job here.
Do that sum before you buy a single part. For 12 hens, 3 inches each is 36 inches of feeder. It doesn’t have to be one long trough, but it’s the reason a single small dish in the corner of the coop ends in a fight. My Pet Chicken makes the same point from the other side: if you’re seeing feather picking, make sure there’s room for everyone to eat at once.
Height changes too. Chicks grow fast, so a feeder that’s right in April is wrong by June. Whatever you build, hang it on a chain or sit it on blocks so you can raise it without a rebuild.
Idea 1: The PVC Pipe Feeder

This is the cheap one, and the one for a tight coop. Grit’s version is a 4-inch PVC pipe mounted upright on a wall stud, capped at the top, with a high-corner litter pan under the open bottom. The feed goes in the top and gravity does the rest. The author priced it at about $12 and said it took 20 minutes or less, and reported no more piles of wasted grain on the floor.
The fiddly part is the gap. Grit says the pipe should sit about 1/4 to 1/2 inch above the bottom of the pan. If it’s too close, feed won’t flow. Set it too high and I’d expect you to end up with a pan full of loose feed for a hen to rake out, which is what you were trying to stop.
Fix the pipe to a stud, because a full 4-inch column of feed is heavier than it looks. And remember what this feeder is at night: an open pan at floor level. If your coop isn’t closed up tight, a rat doesn’t need to figure anything out.
Idea 2: Minnesota’s Hanging Trough
University of Minnesota Extension has used this one for years, and it’s the design I’d copy for a bigger flock. Start with a 10-foot length of PVC and cut it in half so you’ve got two 5-foot sections. Snap a chalk line down the pipe, cut along it with a jigsaw, then cut a second line to take a strip out of the side. Plug each end with a block of wood about 2 inches thick, screw an eyelet into each plug and hang it.
Use 4-inch pipe for grown birds. The 2-inch and 3-inch sizes are for chicks and young birds. On the 4-inch pipe, Minnesota says to make the opening a bit bigger, so a large bird can reach the feed lying in the bottom.
Extension lists why it works, and I don’t have much to add. The sides curve in at the top, so there’s less spillage. Hanging it forces the birds to stand while they eat, which keeps manure and bedding out. It won’t plug with mash, which can pack up inside a store-bought tube feeder. And one 5-foot section gives space to up to 25 grown birds, so my flock could share one with room to spare.
It’s also easy to deal with at dusk. Tip what’s left into a metal can, lift the two eyelets off their hooks and put the trough in a sealed shed. Takes about a minute. I’d do that every night if rats were around.
Idea 3: The Tub With PVC Elbows

This is my pick for a flock of about 5 to 15 birds. It’s a large lidded container with 4 to 6 elbows set through the side, each one a 3-inch, 90-degree PVC fitting. A hen puts her head in the elbow and eats from the well inside. She can’t get a foot in there, so she can’t scratch it out. The rain stays out too, and that’s half the battle if your feeder sits in the run.
My Pet Chicken’s version took about 20 minutes of working time and cost around $25, with the elbows at roughly $2 each and the container at about $12. Their tub held two 50-pound bags with room to spare. That’s a lot of weight pushing out on thin plastic, so buy a thick container. Clear plastic lets you see the feed level, but it dry rots faster in the sun, so keep a clear one in full shade.
The one step people skip is the second coat of caulk. The weight of the feed can push an elbow right out of its hole. Let it dry overnight and go around again. For just a few hens, you can run the same idea on a smaller scale in a 5-gallon bucket, with fewer elbows.
Idea 4: The Treadle Feeder, and Its Weak Spot

A treadle feeder keeps the feed shut behind a lid. The hen steps on a plate, the plate lifts the lid, and she eats. It’s the hardest of the four to build well at home, and it’s the one with the biggest promises attached.
Here’s the case for it. The Chicken Chick’s write-up of Grandpa’s Feeders says the standard lid takes 14 ounces of weight to open, while an adult rat weighs about 9 to 11 ounces. Sparrows and mice are lighter still. It makes sense on paper.
Now the case against. Dine-A-Chook, which sells a competing feeder, says rats can stand on the plate as a group and open it, and that once they know where the feed is, they work out how to get at it. Both of those sources have something to sell, and I couldn’t find an independent test. So I’d treat “rat-proof” as a sales word.
If you build one, the plate has to take real weight to move, and that’s the part I’d expect a homemade design to get wrong. Plan on some training too. The Chicken Chick describes three weeks: lid propped open for week one, propped lower for week two, and on their own in week three. My take is that a treadle earns its keep against sparrows, which are lightweight and eat all day. I wouldn’t build one just for rats.
What Actually Stops Rats

Rats come for what’s left out at 2 a.m., so most of this has nothing to do with the feeder. UC’s pest management program says rats can chew through plastic, foam, wood and caulk. Look back at that tub with the elbows. It’s plastic and caulk, so a rat that’s hungry enough can get in. That’s why I’d bring it inside at night if you’ve seen droppings.
Here’s the order I’d work in:
- Pull the feed at dusk. It’s boring, and it’s the fix that works. A flock doesn’t need to eat at midnight.
- Store feed in metal. A galvanized can with a tight lid beats a plastic tote, for the reason above. Rats gnaw plastic.
- Rake up spills. Spend 2 minutes on it at dusk, because a clean floor gives them less reason to stay.
- Seal the coop. UC says to seal holes larger than 1/4 inch and to cover low openings with 1/2-inch galvanized wire mesh. It also says never to use chicken wire, since rats can pass through the openings.
- Put a hard base under the feeder. Iowa State’s guidance says rats can burrow and nest under feed bunks set on bare ground, and a concrete base takes that away. A couple of pavers will do it in a small run.
- Hang it from chain. Roof rats are great climbers, so don’t count on height alone. Keep the feeder well clear of walls and anything they can jump from.
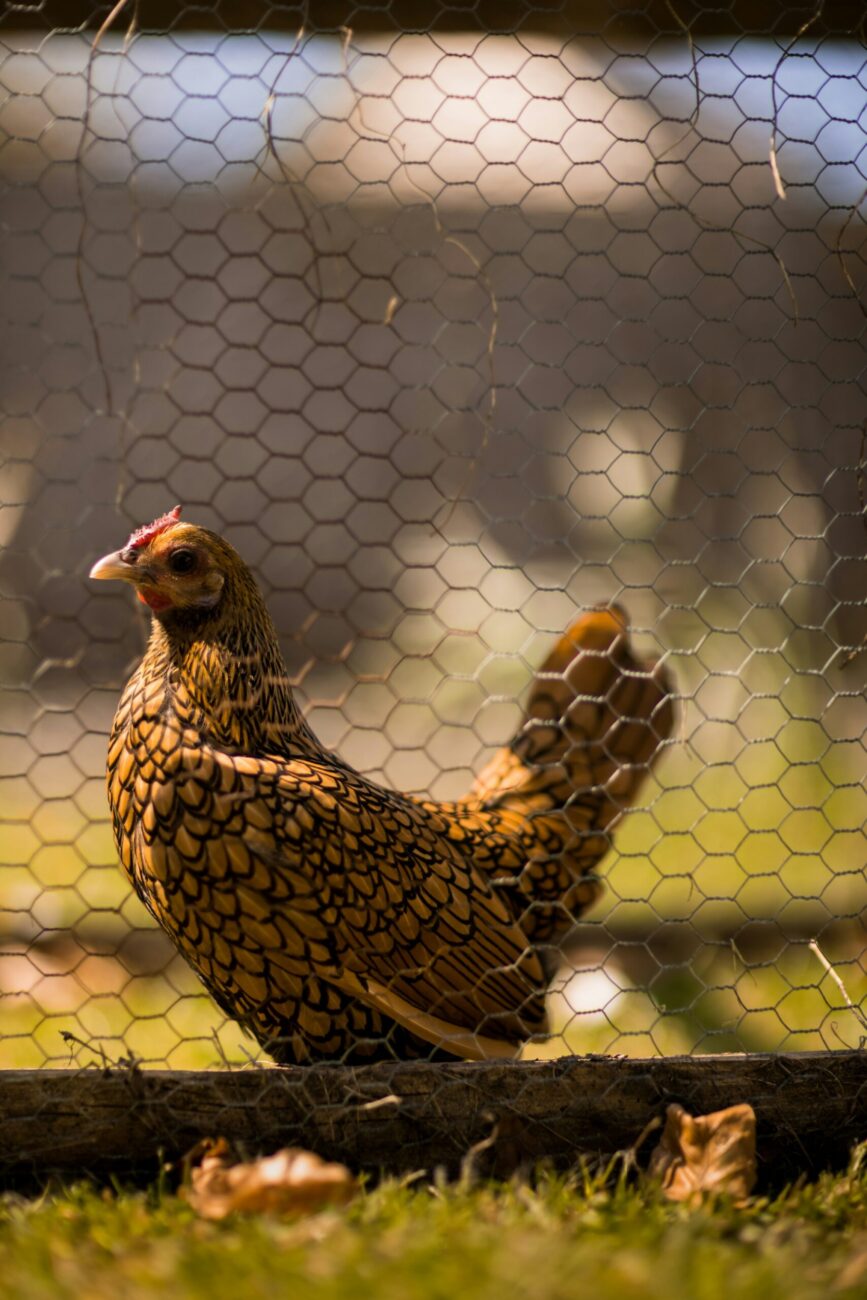
I’ve lost birds to a raccoon, so I don’t trust chicken wire to keep anything out. Check the bottom of your walls while you’re at it. My guide to predator proof chicken coops covers the rest.
Which One I’d Build

For most of you reading this, build the tub with elbows. It’s $25, it takes an evening once you count the drying, and it handles the problem you’ve actually got, which is a hen raking feed onto the ground. If you’ve got a very small coop, go with the pipe. If you’ve got 20 birds or you feed mash, go with Minnesota’s trough.
One warning before you pour anything in. Minnesota notes that even a 2-inch pipe can be a little too high for very tiny chicks in their first week, so don’t expect any of these to work in the brooder. Young birds that are joining the flock need their own spot at the feeder too, and that’s covered in integrating chicks into your flock.
And give your birds a few days. A new feeder is a big scary thing to a hen, and My Pet Chicken’s birds needed a little time before they trusted theirs. Leave the old feeder up beside the new one for 3 or 4 days, then take it away. Hungry chickens are quick learners.
Related read: How to Raise Chickens for Eggs — Instant PDF download. Secure checkout by Stripe