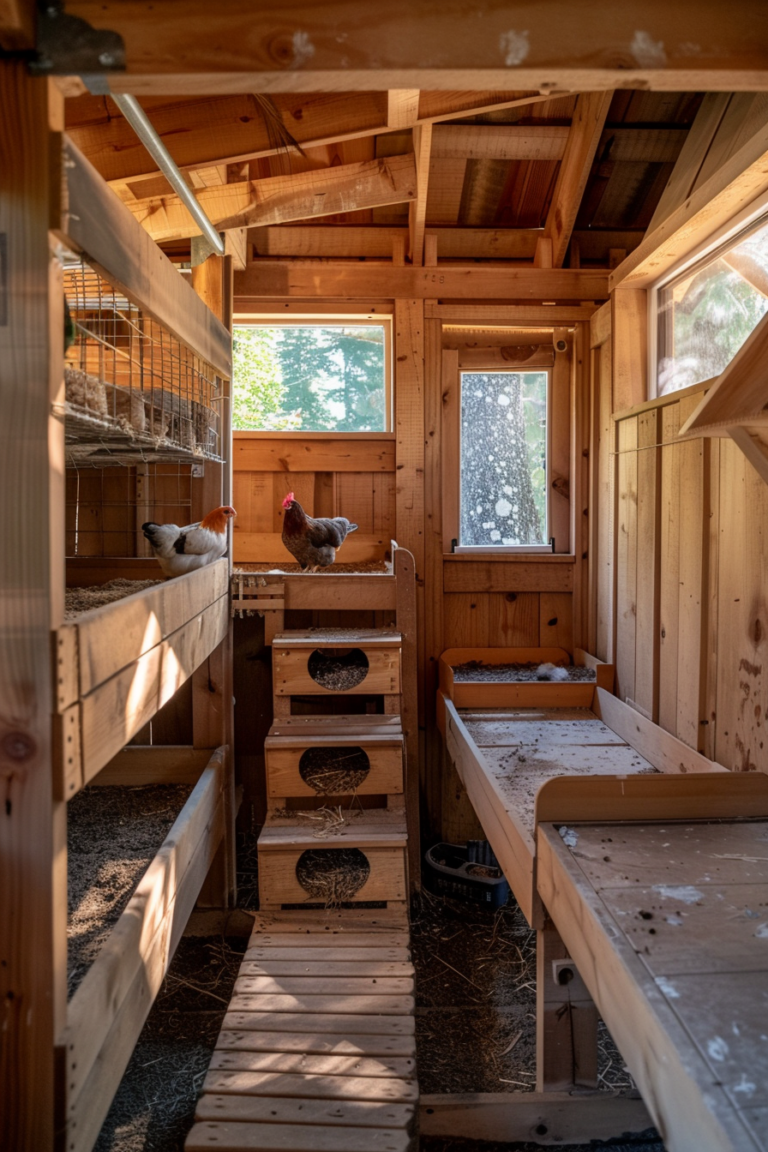
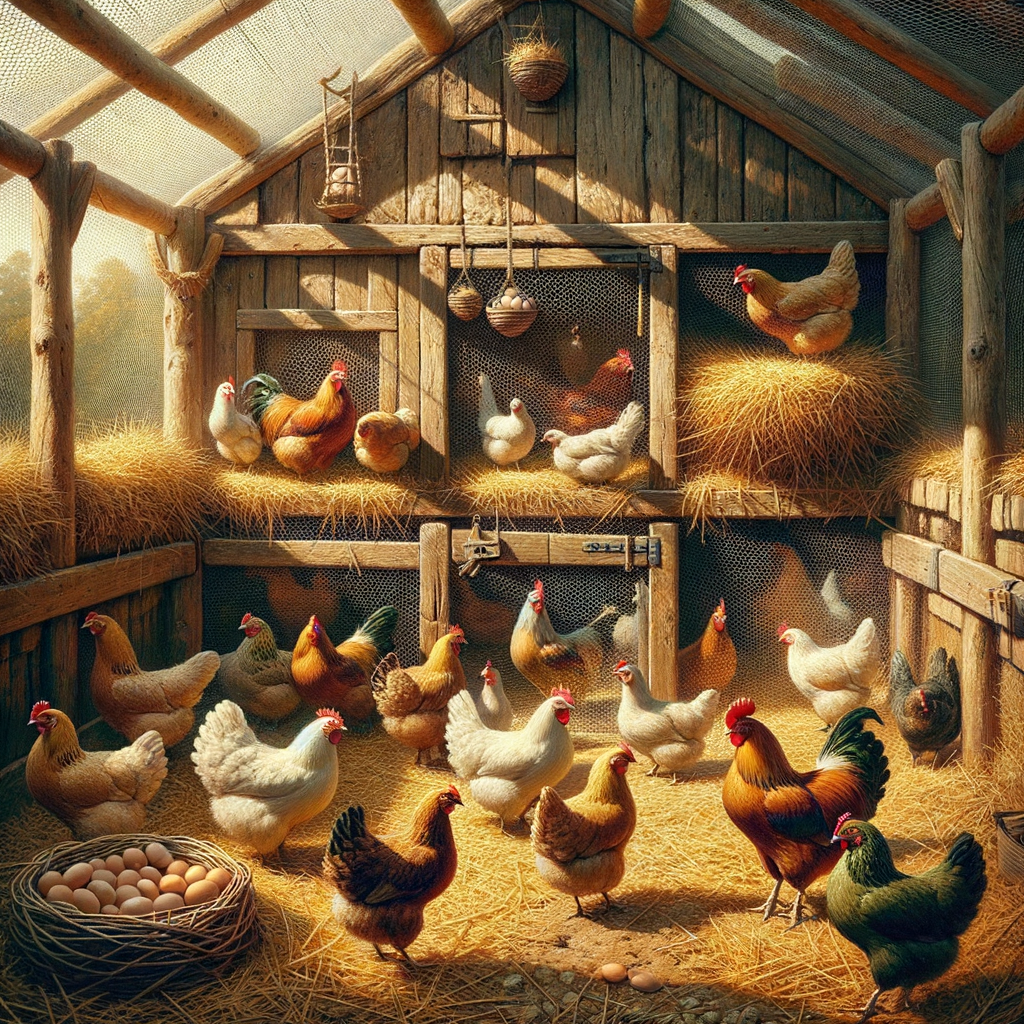
I built a coop from a Pinterest plan that had 47,000 saves. Cost me six hens that winter. The plan had beautiful photos, a cute paint color, and not a single ventilation measurement anywhere in the document. I didn’t know what I didn’t know, and those birds paid for it. That’s the reason this post exists.
The Three Numbers Every Coop Design Gets Wrong (and What They Actually Should Be)
Most coop guides hand you one number: four square feet per bird. That’s it. That’s the whole engineering spec. And because that number is technically sourced from extension guidelines, people treat it like a complete answer. It isn’t. It’s one dimension of a multi-variable problem, and the variables it ignores are the ones that actually kill birds.
Here are the three numbers that actually matter.
First: ventilation. The USDA extension baseline is 1 square foot of ventilation opening per 10 square feet of floor space, minimum. Not suggested. Minimum. A 4×8 coop is 32 square feet, so you need at least 3.2 square feet of open, unobstructed vent area. Most kit coops ship with two 6×8-inch vents. That’s 0.67 square feet. You’re already running a deficit before a single bird moves in.
Why does this matter so much? Ammonia. Chicken manure off-gasses ammonia constantly, and in a sealed or under-ventilated space it concentrates fast. Chickens start showing eye irritation at 10 ppm. At 25 ppm, ammonia is actively damaging respiratory tissue. You can’t smell 10 ppm reliably. By the time your eyes water when you open the coop door, you’re well past the damage threshold for your birds.
Second number: 0.5-inch gap maximum on any opening covered with mesh. Weasels and minks can compress their bodies through openings smaller than a quarter. Rats don’t need much more. If your hardware cloth, vent covers, or pop door gaps exceed half an inch anywhere, you have a predator entry point. Any coop plan that doesn’t list this in its spec sheet is a decoration project.
Third: roost placement. Your roosts need at least 18 inches of vertical clearance above your feeders. Chickens poop from the roost all night. If a feeder sits underneath or close below, you’re running a fecal contamination cycle on your feed supply. Chronic low-level intestinal illness in your flock, and you’ll spend months wondering why they look rough.
Four square feet per bird doesn’t tell you any of that.
Small Backyard Coops That Actually Work: What the Kits Don’t Tell You About Size and Cost
Kit coops are almost universally oversold on capacity by 40 to 60 percent. I don’t think that’s always malicious. I think manufacturers are using legal minimum square footage, not welfare-standard space, and not accounting for feeder clearance, nesting box ratio, or ventilation volume at all. Buying a kit coop at its stated bird count is the single most common beginner mistake I see.
The Omlet Eglu Cube is a good example. It retails around $995 and is marketed for up to 10 birds. Realistically, at welfare-standard space (not just the technical minimum), that’s a 4 to 5 bird coop. It’s well-built, it cleans easily, and the plastic construction won’t rot. But if you put 10 birds in it because the packaging said you could, those birds are overcrowded, ventilation is compromised, and you’ll have feather-pecking by month three.
The Tractor Supply starter kits, the 4×8 style that runs $350 to $500, use 1×2 framing. That framing warps in about 18 months if you get real weather. I watched mine gap out at the door frame over one wet spring. Once the frame warps, your pop door doesn’t seat correctly, and that 0.25-inch gap tolerance I mentioned earlier? Gone.
A functional DIY small coop for 4 to 6 birds can be built for $180 to $250 in materials. 2×4 framing, corrugated metal roofing, actual 19-gauge hardware cloth on the vents. It won’t photograph as prettily as the Eglu, but the framing won’t twist and you can build the ventilation in from the start. I built my second coop this way after the Pinterest disaster and it’s still standing eight years later. (Slightly crooked, but standing.)
Nesting box math also gets ignored on kits. One box per four hens is the right ratio. A kit marketed for 6 birds should have at least 1.5 boxes, meaning 2. Most have one. Your hens will queue and stress, and eventually lay on the floor instead.
Predator-Proofing Specs: Gauges, Gaps, and the Entry Points That Kill Flocks
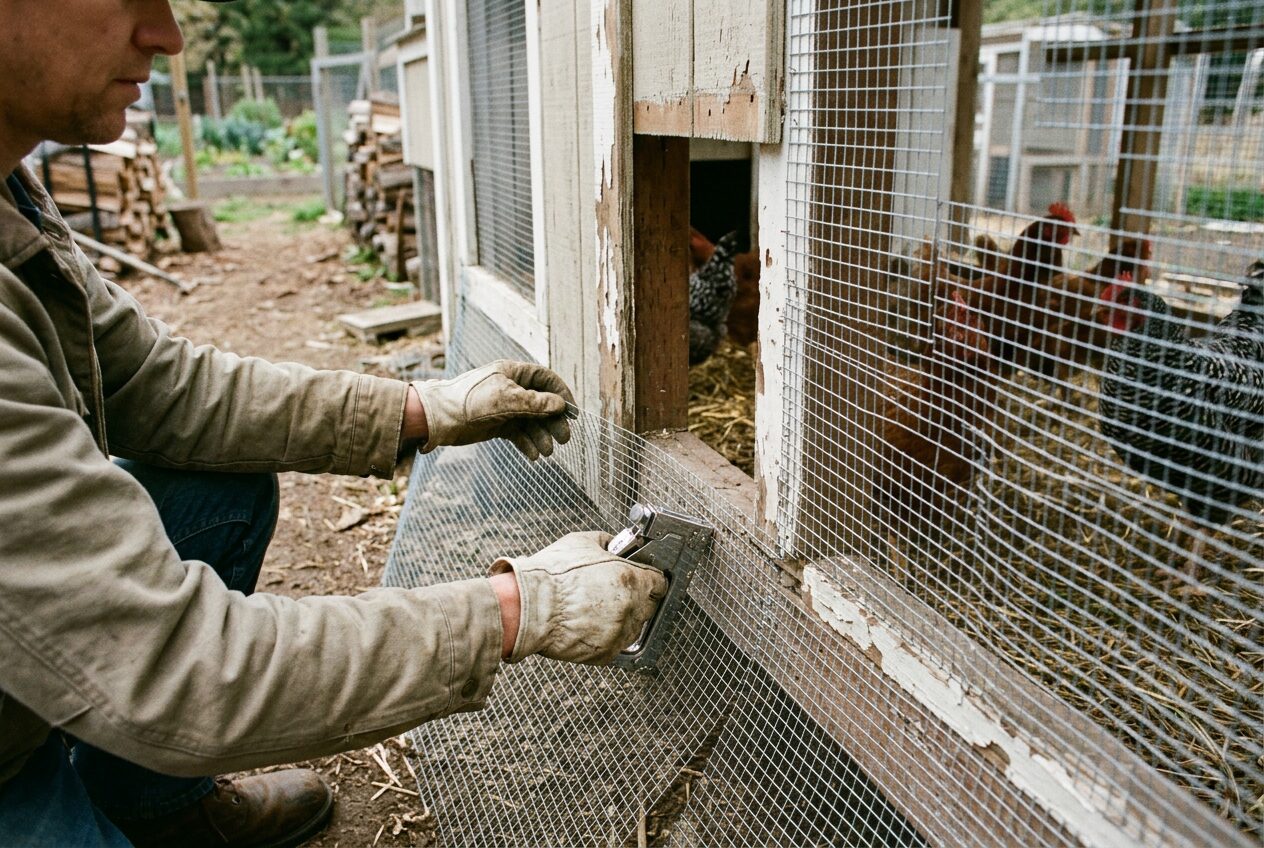
Chicken wire is a predator access panel. I’ll say it plainly because the packaging won’t: chicken wire stops nothing except birds from walking out. A raccoon tears through it. A mink slips through the hex gaps. It has no place in coop construction, and every flock lost through it is a product failure, not user error.
The correct material is 19-gauge welded hardware cloth at 0.5-inch mesh. Welded, not woven. Woven cloth can be pulled apart at intersections under sustained force. Raccoons can exert 15 or more pounds of pull force on a latch or mesh panel. Spring latches fail under that load. Use a two-step carabiner or a barrel bolt at minimum on every door and pop door.
For the floor perimeter, you need either an apron trench or an L-footer. Bury hardware cloth 12 inches down, or lay it flat 12 inches outward from the base and stake it down. Grass grows through it in a season and you’ll forget it’s there. But a fox digging at the base hits that cloth within a few seconds and almost always gives up. Almost. (I had one fox that didn’t, which is how I learned my apron wasn’t staked well enough at the corners.)
The entry points builders almost always miss: ridge vents, pop door side gaps, and feeder ports. These are covered with whatever’s on hand — leftover chicken wire, flimsy aluminum mesh from a hardware store bin. This is specifically how weasels and rats get in during overnight losses. The walls are solid. The gaps in the afterthought openings are not.
Pop door gap tolerance when closed is 0.25 inches on the sides. That’s tighter than most people build. If you can slide a pencil into the gap when the door is latched, a weasel can likely follow.
Cold Climate Coops: Insulation Without Creating a Moisture Trap
Sealed coops kill birds. Not dramatically, not overnight, but reliably. You seal the coop for winter to keep the warmth in, ammonia and moisture concentrate, humidity climbs past 75 percent, and frostbite starts on combs. Not because it’s cold. Because it’s wet.
Frostbite onset is a humidity problem first, a temperature problem second. Healthy chickens with dry feathers and good air circulation can tolerate temperatures down to 0°F without frostbite and without supplemental heat. I’ve run my flock through two winters with lows around -10°F and lost nothing to cold. What I did lose, years earlier, was a hen to respiratory illness in a coop I’d weatherstripped too well in November thinking I was helping her.
Minimum winter ventilation is 0.75 square feet per bird, even in sub-zero conditions. Place vents high on the wall or at the ridge so cold air doesn’t draft directly onto roosting birds. Cold air sinks, warm moist air rises. You’re exhausting the problem at the top, not freezing the birds at the roost level.
If you want to add insulation without losing interior space, Reflectix radiant barrier is worth knowing about. It adds R-2.1 per layer and staples directly to the interior wall framing. It’s not a substitute for real insulation in extreme cold, but it’s cheap, it’s light, and it doesn’t absorb moisture the way fiberglass batts do if your vapor barrier ever fails.
Deep litter gives you 2 to 5°F of floor-level temperature gain through microbial activity. You need 4 to 6 inches of pine shavings minimum to get the decomposition going. It’s not magic, but combined with decent thermal mass in the walls, it makes a meaningful difference in shoulder-season temps. A heat lamp in a leaky coop, by comparison, is a fire risk with a false sense of safety. Per NFPA data, heat lamps cause roughly 25 percent of barn and coop fires. The risk isn’t theoretical.
Elevated Coops: The Real Trade-Off Between Predator Safety and Frost Heave
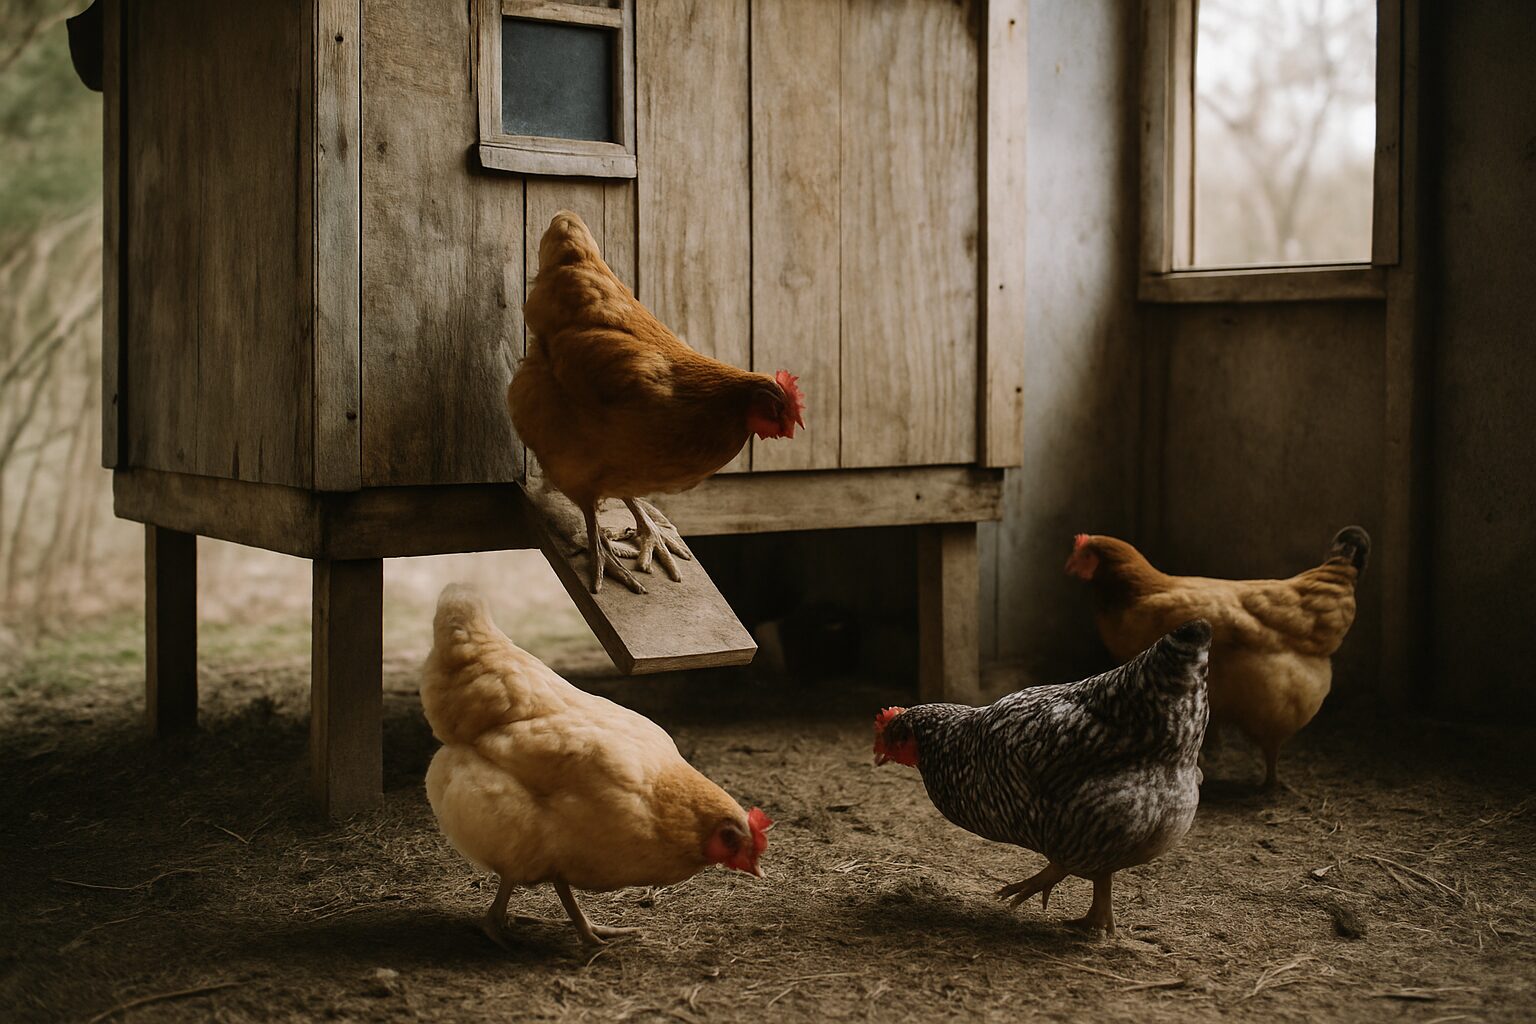
Elevation is overrated as a predator deterrent. I know that’s not what the chicken forums say, but here’s what actually happens: you raise the floor 18 to 36 inches off the ground, which does prevent ground moisture from wicking into the floor joists (18 inches is the minimum you need for that to actually work), but you’ve just moved the attack surface from the floor to the skirt. If the underside isn’t skirted with 0.5-inch hardware cloth all the way around, you’ve given the predator a sheltered workspace directly under your coop floor. Most people don’t skirt it correctly. Some don’t skirt it at all.
The 36-inch elevation is worth considering if you have the structural integrity for it. You get roughly 8 square feet of shaded, dry dust-bath area under a 4×8 coop, and birds use it constantly in summer. That’s real welfare value. But the underside skirt boards need 0.5-inch mesh ventilation panels too, or you’ll trap moisture under the floor and rot out your joists faster than ground contact would have.
In USDA zones 4 and colder, frost heave is a real structural concern. Piers can shift 2 to 4 inches in a hard freeze-thaw cycle if they’re not set below the frost line. Depending on your zone that means concrete tube footings at 24 to 48 inches depth. A coop that rocks and gaps every spring is a coop with a predator entry point every spring.
Portable Coops and Chicken Tractors: Weight Limits, Move Frequency, and Pasture Math
A chicken tractor you don’t move is just a bad permanent coop with worse structural integrity. I’ve seen this happen with every third person who buys into the tractor concept. The idea is sound. The execution requires actual commitment to the move schedule, and that schedule needs to be based on parasite load, not aesthetics.
Most portable coop guides tell you to move when the ground looks bare. By the time the grass is gone, the coccidiosis risk has already peaked. Coccidiosis oocysts reach infective concentration in soil after 3 to 5 days of flock occupation at moderate temperature and humidity. That’s your real move schedule: every 3 to 4 days on healthy pasture, every 1 to 2 days in summer heat. Not when it looks bad. On a timer.
Weight matters for actually maintaining that schedule. A portable coop for 4 to 6 birds needs to stay under 120 pounds fully loaded for a realistic two-person daily move. Heavier than that and it stops getting moved. I’ve seen it happen. The tractor sits in one spot for three weeks and becomes a parasite incubator.
On materials: PVC-framed tractors that come in under 80 pounds do work, but UV degradation in high-UV climates destroys them in 2 to 3 seasons. The joints go brittle, the frame cracks under load. Aluminum conduit is the right material for the frame if you want something that lasts. Heavier, but not by as much as people fear, and it doesn’t fail.
On bird count: a 4×8 tractor footprint houses 4 birds at welfare standards. Not 8. Not 10. Four. The plans that say otherwise are using minimum legal square footage, same problem as the kit coops.
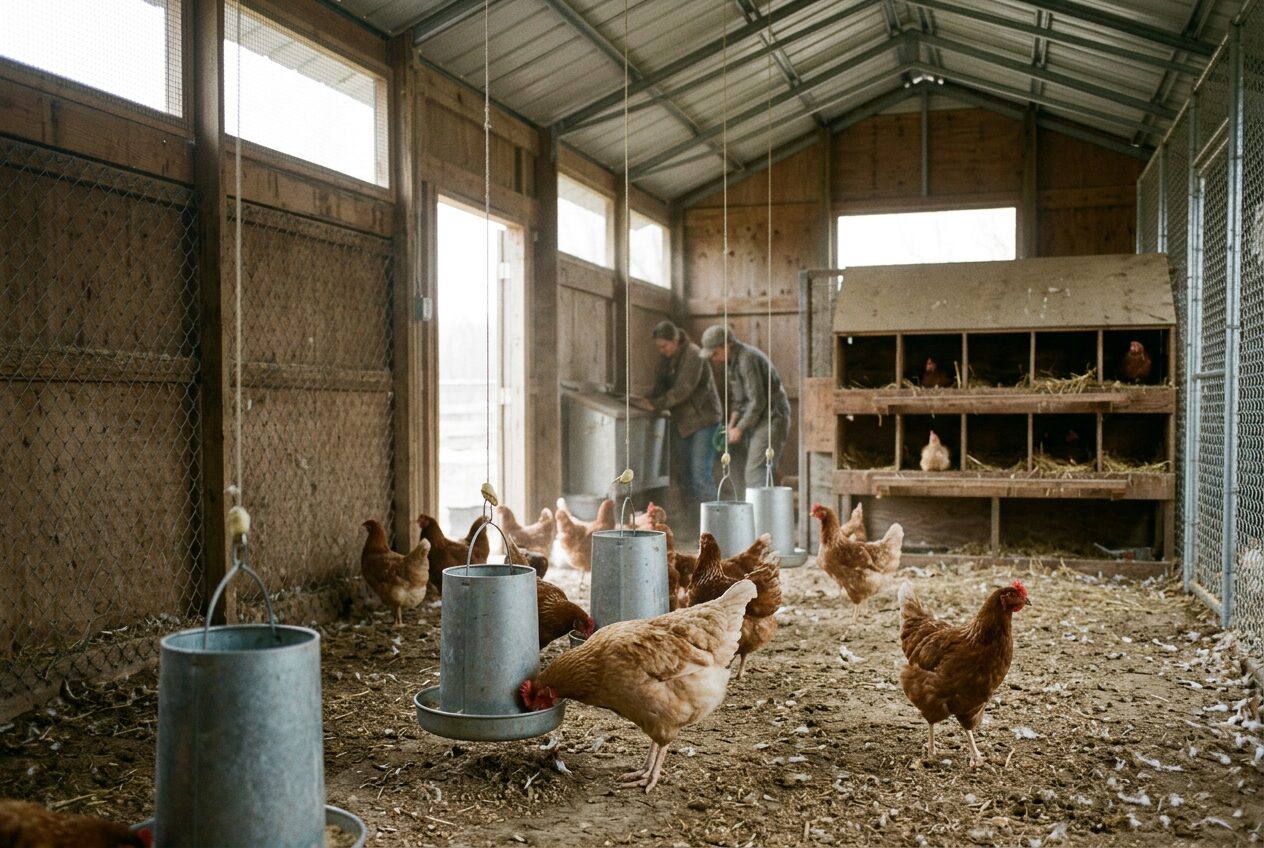
Large-Scale Coops for 20–100 Birds: Ventilation Design, Feedline Spacing, and What Scales Badly
A 400 square foot coop is not a 32 square foot coop with more birds in it. The air circulation physics are completely different. Most homestead-scale large coop designs fail because someone took small coop logic and multiplied it by bird count, which is not how cubic air volume or ammonia dispersion works.
Ridge ventilation at large scale should provide 1 square foot of exhaust per 150 square feet of floor. For a 20×20 coop that’s roughly 2.7 square feet of continuous ridge vent, plus intake vents low on the sidewalls to drive the convective exchange. Just adding more windows doesn’t solve it. Windows provide cross-ventilation; ridge vents exhaust the moisture and ammonia that accumulate in the peak. You need both, designed together.
Linear feeder spacing is something almost no small coop guide mentions because at 4 to 6 birds it barely matters. At 20 or 50 birds it determines whether your lower-ranking hens eat enough. Standard breeds need 4 inches of feeder space per bird. Heavy breeds — Jersey Giants, Buff Orpingtons — need 6 inches. Run the math before you buy feeders.
At 25 or more hens, communal nest boxes (the 36-inch trough style) become practical. Individual boxes at that scale mean 7 or more boxes, and they’re never used evenly. Three hens will fight over the same box while four adjacent ones sit empty. I watched this for two years before I switched to trough boxes.
Litter management at 50 or more birds requires turning or full replacement on a 6 to 8 week cycle to keep ammonia below 10 ppm. Below 10 ppm is not just a welfare goal. It’s the threshold where your birds stop showing subclinical respiratory stress. At 50 birds you’re producing a meaningful manure volume daily. The math compounds fast.
Nipple waterer systems simplify large-scale water management considerably. Spec for 1 nipple per 8 to 10 birds, mounted at back height for the breed, which is roughly 14 to 16 inches off the floor for standard layers. Too high and your smaller birds won’t use them. Too low and litter gets kicked in.
What ‘Creative’ Coops Get Wrong: Aesthetic Builds Audited for Function
A coop that wins a forum photo contest and loses birds to respiratory illness in year two is a failure. Full stop. I don’t have a softer way to say it.
Converted playhouse coops are popular and they can work, but they almost never have ridge ventilation. A playhouse was designed for kids, not for 8 hours of overnight ammonia and moisture accumulation from a dozen birds. A 6-inch continuous ridge vent costs under $40 in materials and about two hours of work. That’s the fix. It’s not complicated. But it has to happen before the birds move in, not after you notice they sound congested in January.
Victorian-style coops with the decorative ventilation gables look great. I understand the appeal. But those decorative gable vents are often covered with 0.25-inch mesh, sometimes painted mesh, that restricts airflow by 60 to 70 percent compared to open framing with hardware cloth behind it. You’re getting maybe a third of the ventilation you think you’re getting, and you can’t tell by looking at it.
Converted shed coops have a floor problem. OSB absorbs moisture, harbors Salmonella in the degraded layers, and typically lasts about two years under a flock before it’s structurally compromised. Replacing the floor with 3/4-inch pressure-treated plywood adds $60 to $90 to the project and gets you 10 or more years instead of 2. It’s not a hard decision once you know the alternative.
Window placement in converted structures is the last thing. It’s almost always positioned for street-facing curb appeal or human convenience. Cross-ventilation requires windows placed on opposing walls relative to prevailing wind direction, not relative to where the structure looks nicest from the driveway. Find out which direction your wind comes from. Put the intake on that side, the exhaust on the opposite. Move a window if you have to. The birds don’t care what the neighbors see.
Related read: How to Raise Chickens for Eggs — Instant PDF download. Secure checkout by Stripe