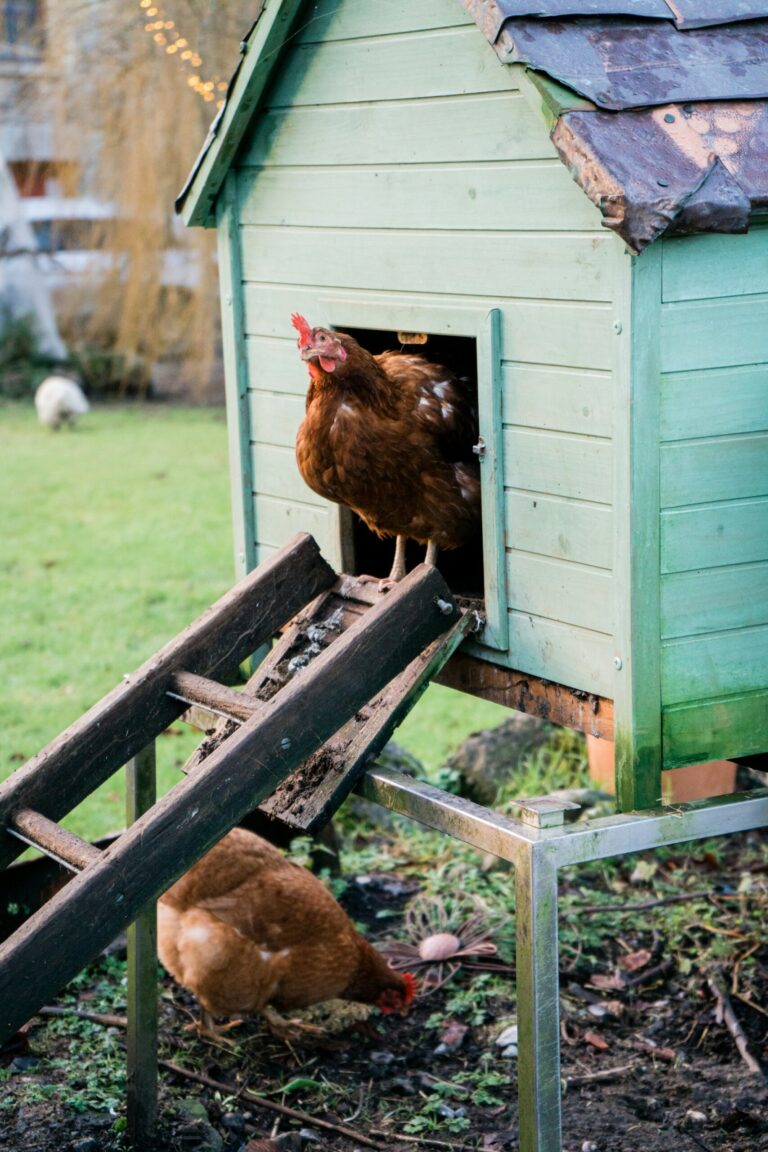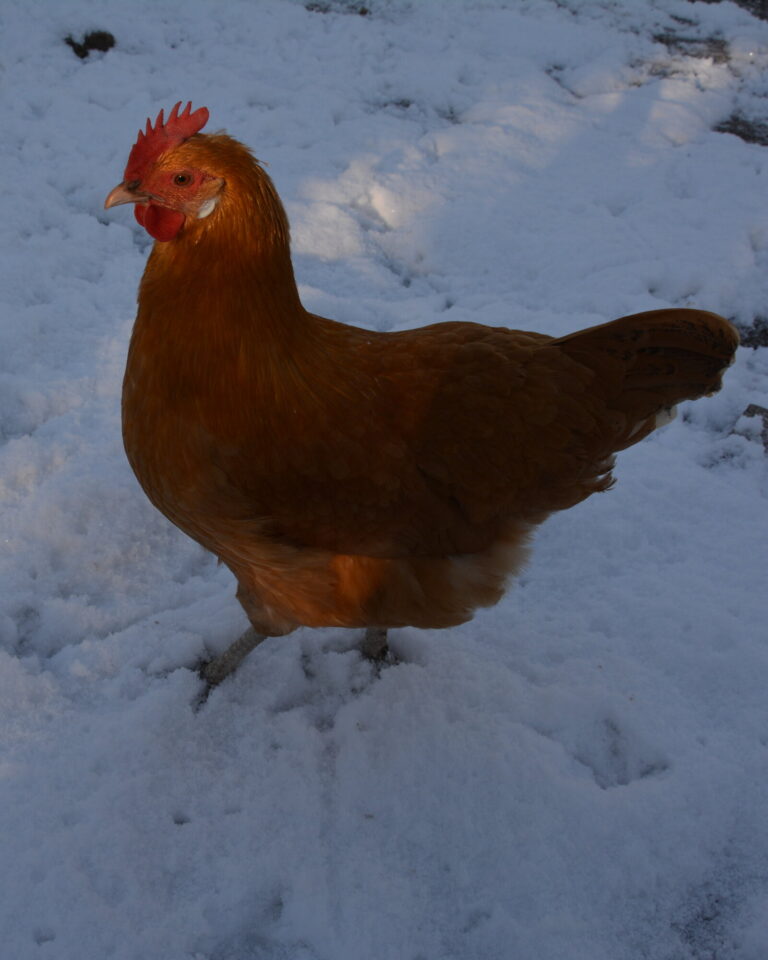
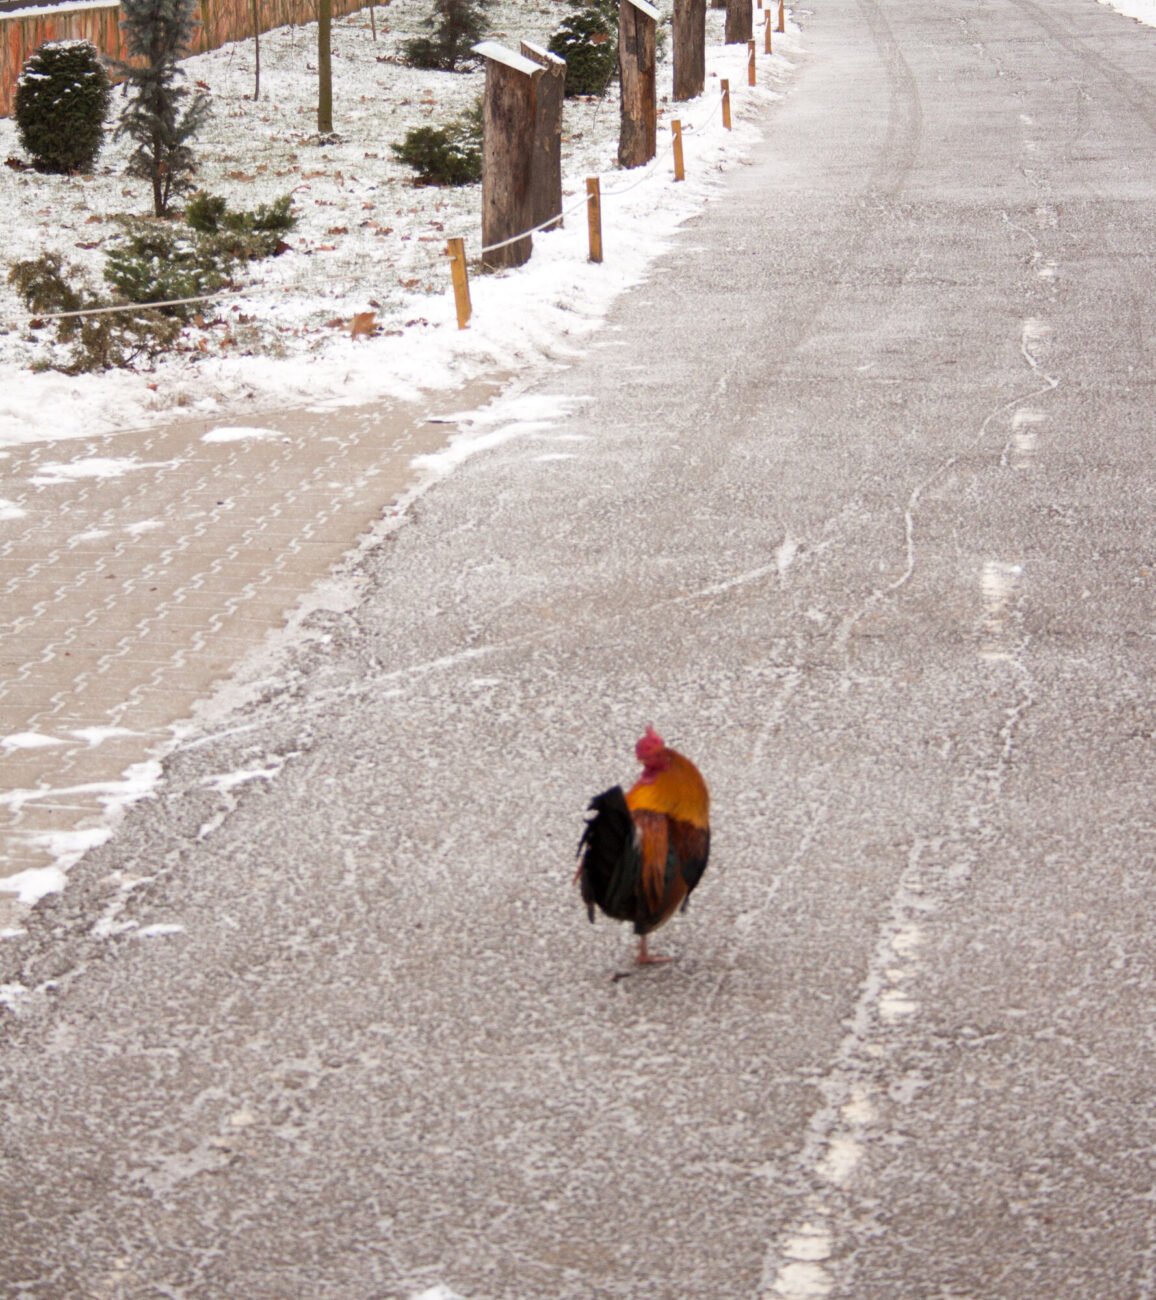
Keep the air inside your coop dry, and keep a hot bulb out of it. Grown hens handle cold well, even subzero temperatures, as long as they’ve got decent housing and protection. Damp air raises the odds of frostbite, and heat lamps can start fires.
- Leave the vents up near the roof open all winter. Close up the drafts down low, where your birds sit and sleep.
- Take the heat lamp out. If you’re set on heat, use a radiant panel made for coops, mounted solid, with no extension cord.
- Pile the bedding deep, keep it dry and save the big clean-out for spring.
- Keep clean, unfrozen water in front of your hens at all times. Keep every cord off the floor and out of pecking range.
- Expect them to eat up to 25 percent more in the cold.
- Short days slow laying. Added light on a timer keeps eggs coming, but letting your hens molt naturally doesn’t harm them.
Why Damp Air Sets Up Frostbite

A coop full of hens is a coop full of water. Every breath your birds let out is wet, and so is every dropping and every splash from the waterer. A hen drinks about 2 pounds of water, roughly a quart, for each pound of feed she eats, and she puts a lot of it back out as moist droppings.
Shut all that in tight and it’s got nowhere to go. Wet litter makes ammonia that can hurt your chickens, and you too. Frostbite’s most likely on a cold night in a poorly ventilated coop with damp bedding, and moisture can do more of that damage than the cold alone.
So the first winter job is one you can do with your eyes. Walk out first thing in the morning and look at the windows and the bare walls. Beads of condensation mean your coop needs more air.
Open the Top, Close the Bottom

A lot of winter prep goes backwards here. The urge is to board up every hole, vents included. Don’t. Warm, wet air rises, and the vents near the roof are how it gets out.
A vent isn’t a draft. A vent’s up high, above your birds. A draft’s cold air moving across them where they sit. If you ever see air moving a chicken’s feathers in the coop during the winter, you’ve got one. Seal or shield the lower part of the coop to stop it. Your air exchange can come from roof vents or a window left partly open, and burlap hung over that window holds some heat in.
- Caulk or patch the gaps low on the walls, around the floor and near the roost.
- Leave the gable, eave or roof vents open. You want an inlet plus an outlet, so the air moves without the coop turning drafty.
- Cover every opening with sturdy wire or screen. Raccoons and other predators can squeeze through fairly small holes, and many of them go hungry in winter.
- Watch where your hens settle. Birds spread evenly around the coop are fairly comfortable. A tight huddle means they’re too cold, or there’s a drafty spot.
Insulating the roof and walls helps, but your coop doesn’t need it as long as there aren’t any drafts. So fix the drafts first, and insulation can wait. If you’re weighing it, our guide to chicken coop insulation goes through which parts of the coop to do first and what to use.
Take the Heat Lamp Out of the Coop

The top causes of coop fires are heat lamps, extension cords, bedding and water heaters, and heat lamps can be the most dangerous of the four. Your chickens can knock them over into the bedding. Plenty of the older lamps are held up by a dollar-fifty clamp, and that often won’t hold.
And the bedding’s the fuel. Straw makes great bedding, but it’s highly combustible, and it can take just minutes for a heat lamp bulb to light it. One Maine farmer set a heat lamp on a small pile of straw and had it smoldering within a minute. Coops, and some attached houses, get lost to these fires every year.
Your chickens don’t need a heat source in the winter if they’re used to the cold, out of drafts and on dry bedding. Flocks can do well below zero with deep litter and an in-bucket water warmer. At most, a heat lamp can ease a few days of sub-zero cold, as long as it’s placed with care.
A big flock makes enough body heat together, but a small one can’t, and many owners of small flocks will want some heat once it gets close to zero.
If your hens are grown, used to the cold, out of drafts and on dry bedding, skip the heat. If you do heat, pick a brooder plate or a hanging heater first. An approved heat lamp’s the other option, but use it with caution and follow every fire warning. A few rules keep it safer:
- Use a radiant heater built for the job, like a heating panel or a wall-mounted coop heater your chickens can move toward if they want.
- Mount it solid, at the height of your nest boxes or the lowest rung of the roost, on a sturdy surface so it can’t be knocked over.
- No extension cords in the coop, and pick equipment made for farm or commercial use.
- Keep it clean and shielded. Brush the dust and cobwebs off light fixtures and outlets on a regular basis.
A 500-degree bulb in a heat lamp is just asking for trouble, so leave it out of your coop.
Pile the Bedding Deep and Save the Clean-Out for Spring

Fall feels like the time for a top-to-bottom scrub, but put that off until spring. The extra bedding that builds up over winter helps insulate your coop. It has to stay dry, so add a fresh layer on top whenever it needs one.
Go for 6 to 12 inches of dry bedding, or 4 to 8 inches of wood shavings. Pull out any obviously wet areas, leave the dry bedding in all winter and clean it out in spring. Our deep litter guide covers where the wet spots start, plus the smell that tells you it’s failing.
While you’re in there, look at the roost. Make your roost bar wood, because a metal or plastic bar holds the cold and could cause frostbite. Our roost ideas give the bar space each bird needs and how high to set the bar.
Water They Can Reach Day and Night

Frozen water’s the winter chore that never lets up. Your chickens need water at least every 10 hours, day and night. An egg’s more than 70 percent water, so you can’t skimp on it if you want eggs.
If you’ve got power out there, a heater in the waterer or a heated bowl keeps it open. Highly insulated water containers keep warm water unfrozen for several hours. Fresh water twice a day works, too. Rubber pans let you knock the ice out without wrecking the pan. Or keep two waterers and swap them, so one thaws inside while the other’s in use.
If you keep crested breeds, nipple waterers can help keep ice off their crests.
Watch the cord as closely as the heater, since water heaters and extension cords are among the top causes of coop fires. Keep the cords and connections off the floor and away from your chickens. Any wires running into the coop should ideally go in conduit, or at the very least use outdoor-grade extension cords. Check for drips every day, too, because a leaky waterer soaks the bedding you just worked to keep dry. Our post on keeping chicken water from freezing walks through the no-power setup and the heated ones.
Feed: More of It, Not Fancier

Cold birds eat more, up to 25 percent more. Make sure you’ve got enough feed and keep the feeders topped off, so stock up before the roads get bad. Layer feed stays the main meal for your hens from 18 weeks on.
Scatter some grains in the coop litter in the evening. It gets your birds foraging, helps turn the litter over and keeps them from pecking each other. If you limit feed, wait until late afternoon to give it, since digestion makes heat. Don’t overdo the extras, though. Too much extra energy can throw nutrients off balance and raise the risk of feather pecking. If pecking starts, stop the extras and go back to a balanced complete feed.
A feed bag in a warm coop can draw mice, and rodents and wild birds come looking for a warm spot and easy food in winter. Keep stored feed in rodent-proof containers, with the feeders out of their reach. Our winter feeding guide has more on scratch at dusk and oyster shell when the ground’s frozen.
Winter Light Is Your Call

Short days are the big reason for fewer winter eggs, not the cold. Hens molt and lay less, or stop, once daylight dips below 12 hours, most often in September and October in the U.S. It doesn’t harm your birds to let them molt naturally, and they’ll be back to laying in spring.
So you can let them rest. Or, if you’d rather keep eggs coming, add light on a timer:
- Aim for 14 to 16 hours of total light. Sixteen’s the ceiling, because too long a day stresses your chickens.
- Add it in the morning, before sunrise, so the hens still go to roost with the natural sunset. If you add light after sunset, dim it slowly over 30 to 45 minutes.
- Never leave it on around the clock. Past 16 hours, you don’t get any more eggs.
- Go slow, with no more than an hour of change a week. Forget the lights for even a day or two and you can set off a molt that drops laying for 6 to 8 weeks.
- Don’t go too bright, because that can lead to stress and pecking. Bulbs up to 30 to 40 watts will do, and one 60-watt incandescent or a 9-watt LED per 200 square feet gives enough light.
And don’t let the light double as heat. A heat lamp’s no light source for more eggs. There’s more on the winter slowdown in our post on why chickens stop laying in winter.
Frostbite: What to Look For, and What Not to Do

Frostbite goes after the parts that stick out. The comb and wattles are the most at risk, and possibly the toes. It’s most common in roosters, with their bigger combs and wattles. But any hen with a large comb, like a Leghorn, can get it. Birds with small pea or strawberry combs get it a lot less, so that’s worth a thought before you order chicks for a cold place.
Frostbite shows as blackened or gray tissue that feels brittle. If you find it on a bird:
- Warm it slowly, and never with direct heat like a hair dryer or heat lamp.
- Don’t rub or massage it.
- Don’t trim the black parts off unless they get infected. They protect the rest of the comb.
- Leave blisters alone.
- Skip the pain pills. Your bird doesn’t need them, and some are lethal to chickens.
Healing can take four to six weeks, and you’ll want to keep the rest of your flock from pecking at the damaged spots. Watch for swelling, more redness, discharge or a bad smell, because those are signs of infection. And call your vet if you find frostbite on your birds.
Snow Days in the Run

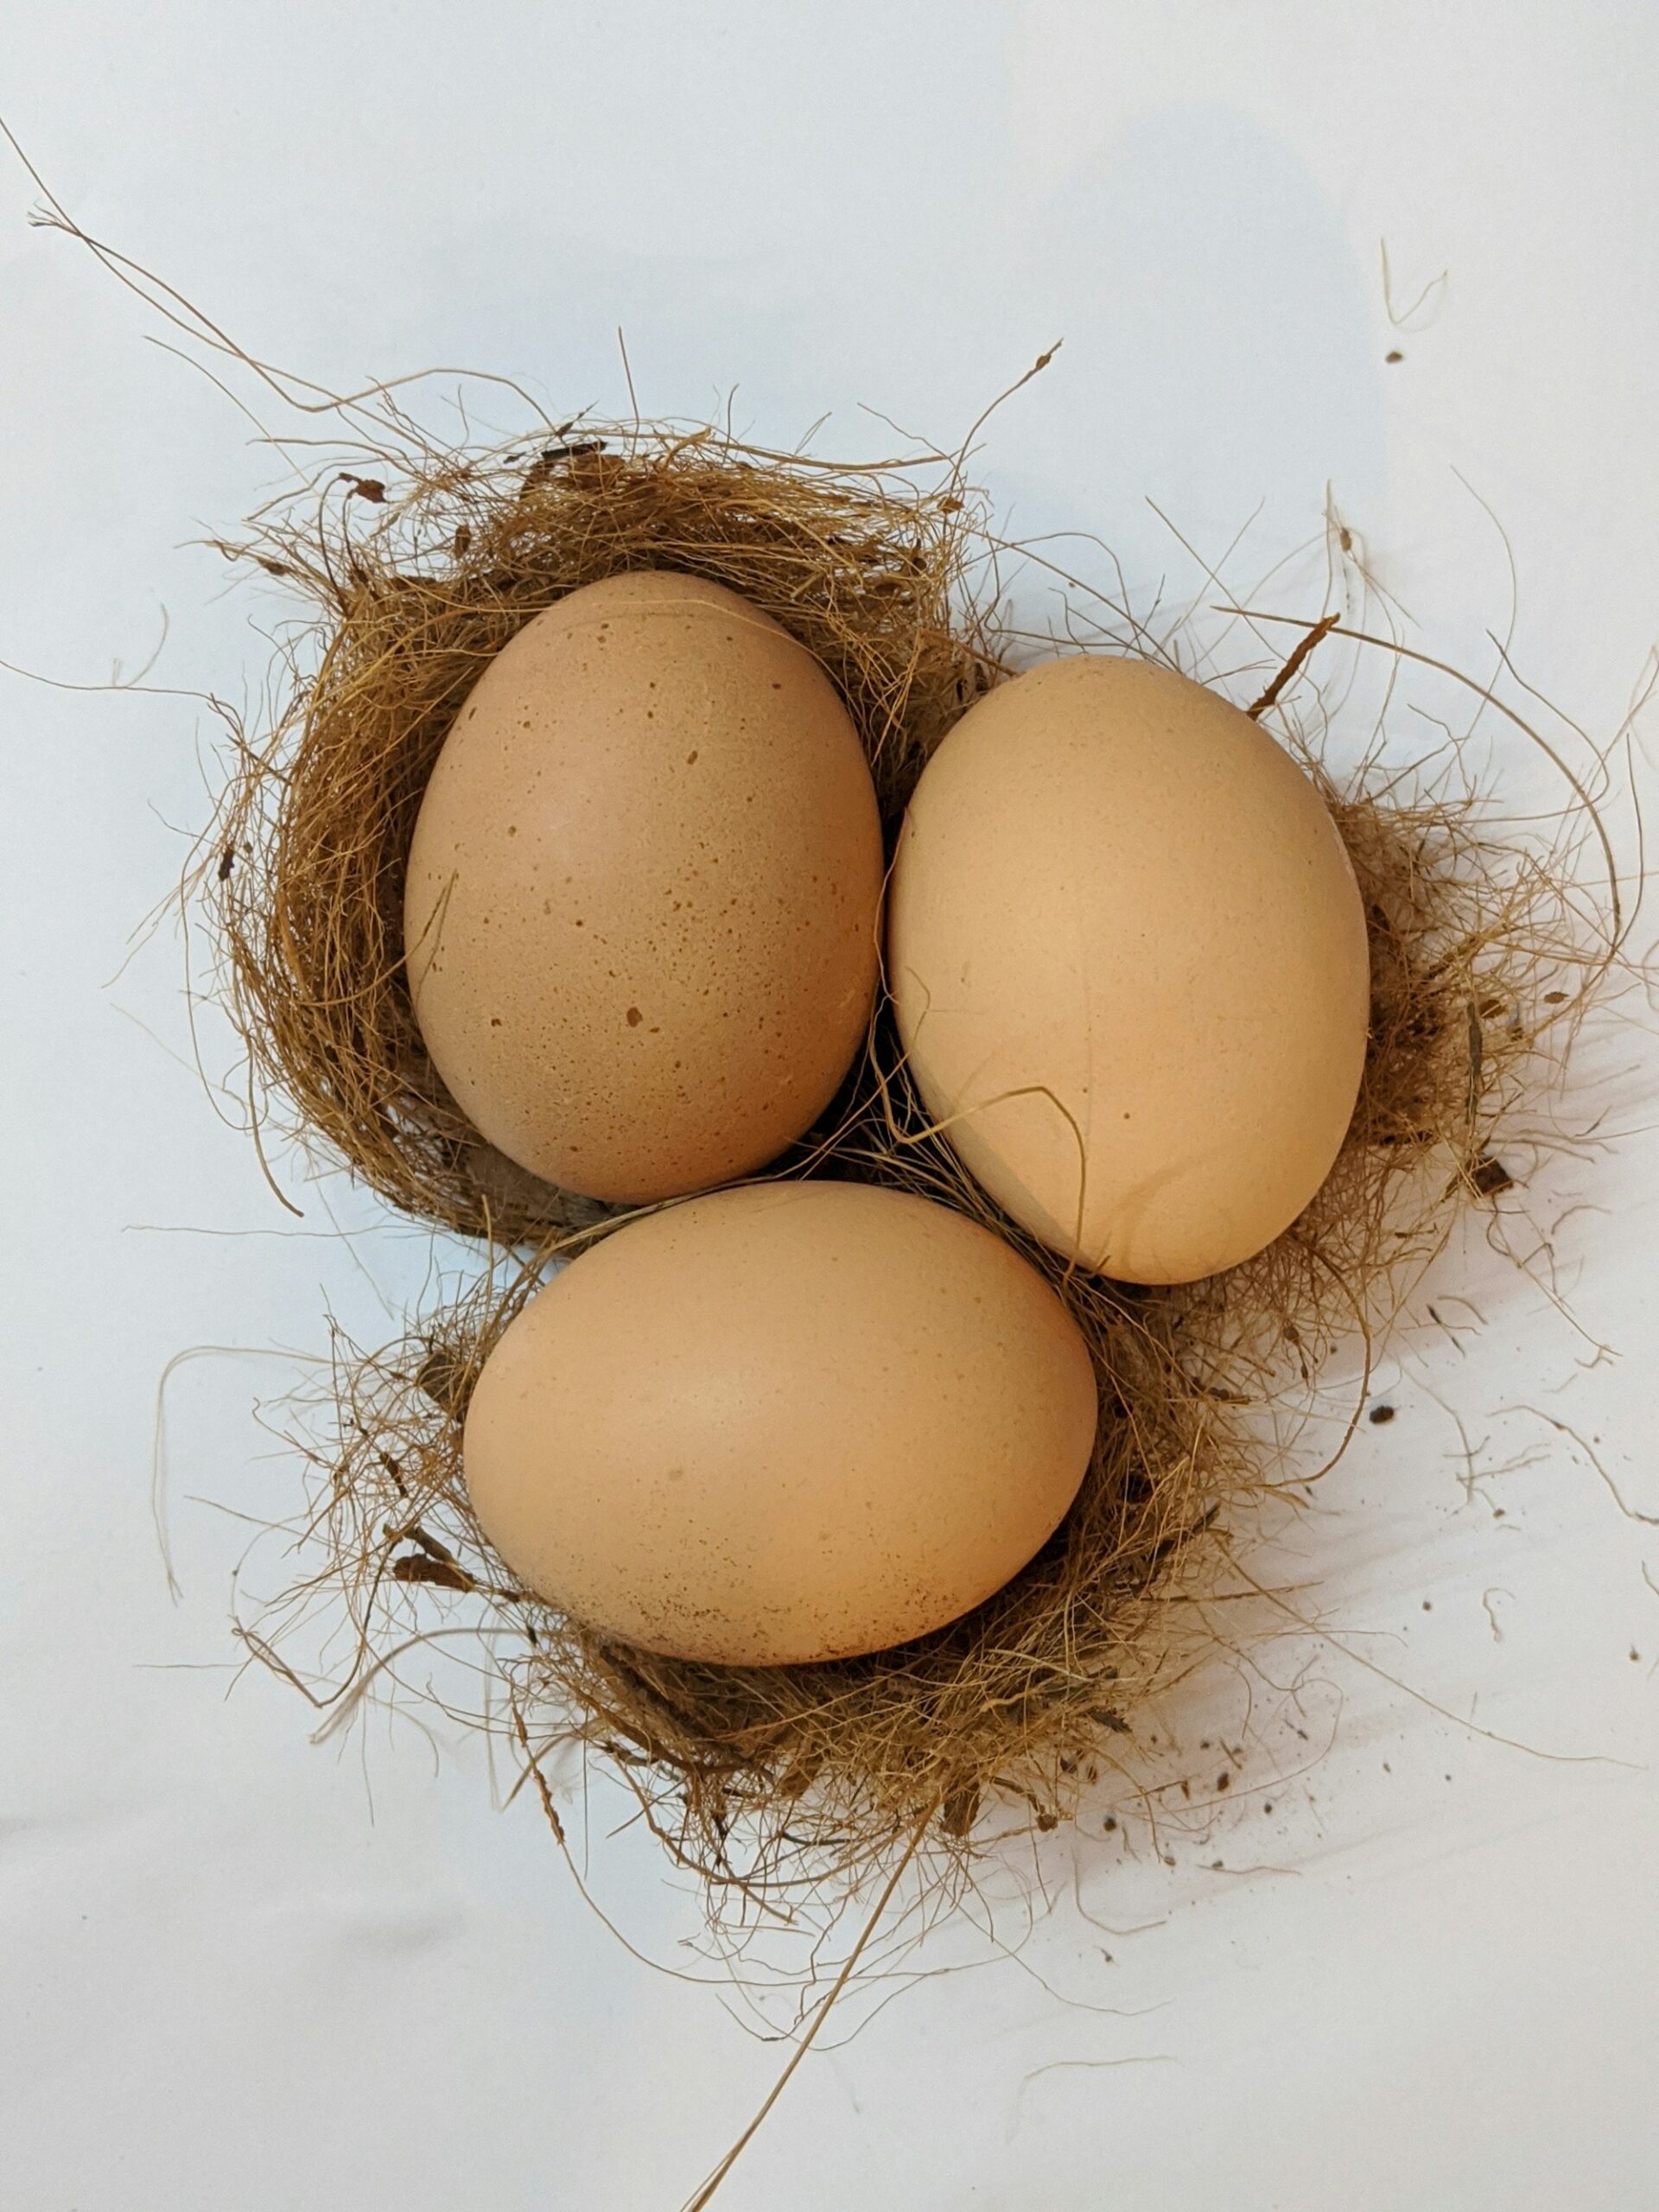
If you let your hens out on a snowy day, clear the snow from the run or scatter straw to protect their feet. Straw in a closed run cuts the chance of frostbite on their feet, and you’ll want to look your birds over each day while it’s this cold. Then keep up with egg gathering. Collect eggs regularly so they don’t freeze, and throw out any that are cracked or frozen. Our post on how long eggs can stay in the coop covers what freezing nights do to that clock.
Sources
- Jacquie Jacob, University of Kentucky, Poultry Extension: Frostbite in Chickens.
- Ronald P. Kean, University of Wisconsin-Madison Division of Extension: Preparing for Winter.
- Douglas B. Gucker, Illinois Extension: How to care for backyard chickens in winter (December 12, 2020).
- University of Arkansas System Division of Agriculture: Backyard poultry coops prepped for cold still require good ventilation (January 11, 2024).
- Ohio State University Extension, Wayne County: Winter and Backyard Birds: Keep Poultry Safe During Cold Temps (January 21, 2025).
- Julia Bayly, Bangor Daily News: Don’t put heat lamps in your chicken coop (first published February 2020).
- Clark County, Washington: Safety tips to prevent a chicken coop fire (May 6, 2021), with the National Fire Protection Association’s tips.
- Ashley Wright, University of Arizona Cooperative Extension: Lighting Schedules for Arizona Backyard Laying Flocks (January 2026).
- Ashley Bigge, Penn State Extension: Artificial Lighting for Winter Egg Production (updated September 9, 2025).
- Phillip J. Clauer, Penn State Extension: Successfully Raising a Small Flock of Laying Chickens.
- Oregon State University Extension, EC 1644: Living on the land: Backyard chicken coop design (Annala and co-authors).
Related read: How to Raise Chickens for Eggs — Instant PDF download. Secure checkout by Stripe