As an Amazon Associate I earn from qualifying purchases. This post contains affiliate links. If you buy through them we may earn a commission at no extra cost to you.
Product prices and availability are accurate as of the date and time indicated and are subject to change. Any price and availability information displayed on Amazon at the time of purchase will apply to the purchase of this product. Certain content that appears on this site comes from Amazon. This content is provided "as is" and is subject to change or removal at any time.
Three dead hens. That’s what I found that January morning, stiff in the corner of the coop, after what I thought was one of my better builds. I’d spent a weekend putting up a rope perch setup I’d seen in some homesteading reel — thick sisal, good knots, looked like something out of a farm catalog. Necropsy came back: frostbite complications. The rope had been sitting against their feet every night, wicking moisture up through the fibers and holding it there at 18°F. I didn’t install a bad roost. I installed a beautiful one. Those are not the same thing. Most roost content online is treating a husbandry decision like a decorating decision. You get photos, you get vibes, you get “chickens like to sleep off the ground.” What you don’t get is the diameter spec that determines whether a bird is flat-footing or gripping all night, or which lumber stamps make a pallet toxic, or why your $60 ladder roost is the most ammonia-saturated square foot in your coop. That’s what this is.
The Roost Spec Sheet Every Build Starts From (Before You Pick a Style)
Before you look at a single photo of a cute roost, you need these numbers. They’re not suggestions. They’re the difference between a roost your birds will use and one they’ll ignore, and between healthy feet and a bumblefoot treatment you’re doing with a scalpel and a lot of regret.
Bar diameter: 1.5 to 2 inches for standard breeds. One inch for bantams. That’s it. A branch or bar under 1.5 inches forces a standard hen to grip instead of flat-footing, which means her tendons are under load for eight hours every single night. Do that for one winter and you’ll be googling bumblefoot stages at two in the morning (I have done this). The common claim that “any sturdy branch works” is wrong in a specific, measurable way. Diameter matters enormously.
Linear space: 10 to 12 inches per bird, minimum. For large breeds like Orpingtons or Brahmas, go 14 inches. They’re wider, they fluff up more in cold, and they will shove each other off a crowded bar before they squeeze. I run 14 inches per bird for my whole flock now just to avoid the hassle of calculating per-breed. It’s a little extra lumber.
Height off the floor: 18 to 36 inches is your working range. Don’t go higher than 4 feet without a ramp for heavy breeds. My Buff Orpingtons will jump down from almost anything, land hard, and I worry about that every time. Leg injuries from repeated high drops are real and slow to heal.
If you’re building a ladder roost, 12 inches vertical between rungs. That spacing keeps the bird on the lower rung from getting defecated on all night, which isn’t just a cleanliness issue. It’s a disease vector. And roosts must be positioned higher than your nesting boxes. If a nesting box is your highest structure, you will find hens sleeping in it, fouling the eggs, and then you’ll have a whole other problem to solve.
Skipping this and going straight to “which style looks good” is exactly why most Pinterest roost builds either get ignored by the flock or cause injury within a season. Style is downstream of spec. Every time.
Rustic Tree Branch Roosts: Which Species Are Safe and Which Cause Crop Issues
I get why people reach for a branch. It’s free, it looks right, and there’s something satisfying about putting a piece of a tree in a coop. I’ve used branches myself. But “natural” does not mean safe, and this is probably the category where that confusion does the most quiet damage.
Safe species: oak, ash, maple, birch. Those are your workhorses. They’re dense enough to hold diameter, they don’t off-gas anything meaningful, and they’re available almost everywhere in the US.
The ones to avoid are specific and worth memorizing. Black locust. Black walnut. Yew. Aromatic cedar, also called eastern red cedar. The reason black walnut makes this list isn’t just theoretical: it contains juglone, which is confirmed toxic to poultry at bark contact. Some people use the heartwood and feel fine about it. I’m not going to tell you what risk level to accept, but I wouldn’t put black walnut bark against my birds’ feet for eight hours a night.
Cedar is the one that surprises people. It smells good, it looks rustic, it repels insects. Why wouldn’t you use it? Because those aromatic bark oils that make it smell nice cause respiratory irritation in enclosed coops, particularly anything under 100 square feet with limited ventilation in winter. You’d never know it was happening until you had birds with rattly breathing and no other obvious cause. Aromatic cedar is natural and will damage your flock’s lungs in a closed winter coop. Full stop.
The bark question: bark-on branches look better and I understand the appeal. I also want you to know that Dermanyssus gallinae, red mite, lives and reproduces in the rough surface of bark. It is a legitimately difficult parasite to eradicate once it’s established in a coop, and a freshly cut branch is not a clean branch. If you want to use bark-on wood, inspect it, then heat-treat it at 120°F for 30 minutes minimum. Or strip the bark. Or just buy a 2×4, which runs about $0.50 per linear foot and comes with none of this baggage.
Honestly, bark-on branches are a red mite delivery system with good aesthetics. Strip the bark or buy lumber. That’s not cynicism, that’s eight years of cleaning out coops.
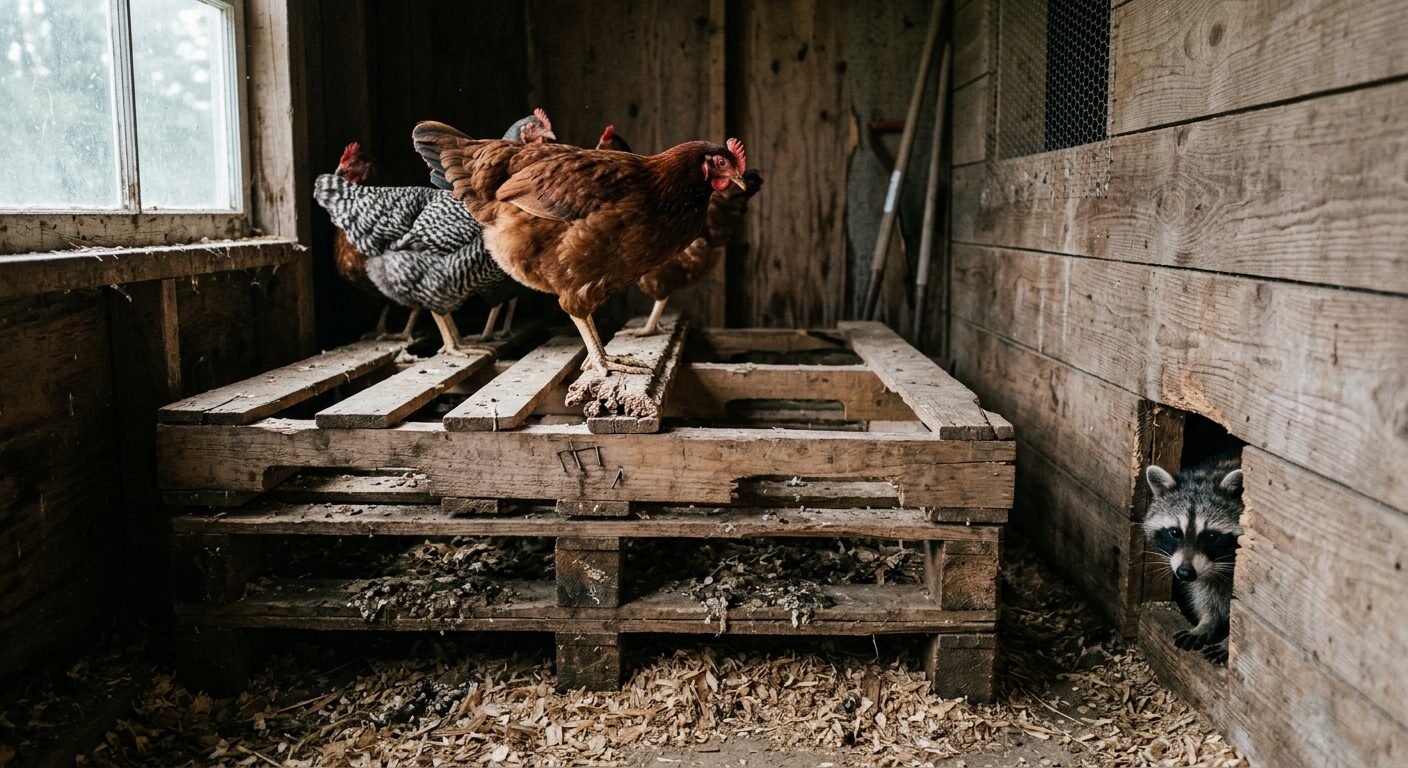
Pallet Roosts: The One Structural Problem That Makes Them a Predator Vulnerability
Free lumber is appealing. I understand. But pallets specifically come with a short list of problems that most posts don’t mention, and one of them is serious enough that I want to lead with it.
The gap spacing on standard pallets is typically over an inch between deck boards. That creates two problems. First, foot-trap risk: a hen shifting her weight at night can catch a toe in that gap. Second, and worse: pallet edges at or near floor level with gaps over 1 inch allow a raccoon or weasel to reach in from outside if the pallet is positioned against or near a wall with any exterior gap behind it. I’ve had a raccoon reach through a hardware cloth gap smaller than I thought was possible and pull a bird through. They are disturbingly motivated. Close your gaps. Fill anything over 1 inch with a 1×2 strip.
The chemical issue is non-negotiable. Every pallet has an IPPC stamp on the side. HT means heat treated. Safe. MB means methyl bromide fumigated. Do not use MB-stamped pallets in a chicken enclosure. Methyl bromide off-gasses enough residue in a confined space to cause neurological symptoms in poultry. I’ve seen forum posts where people couldn’t figure out why their birds were walking in circles and it turned out to be MB pallet exposure. Check the stamp before you carry it home.
Standard pallet boards are 3.5 inches wide, which is actually adequate diameter, but only if the board is mounted edge-up. Flat-mounted, they’re too wide to function as a proper perch surface. And pallets run 30 to 70 pounds, so anchor them to wall studs with 3-inch lag screws minimum. A pallet that pulls off the wall at 2am because a heavy hen launched herself at it is a coop disaster.
Here’s my honest take: free pallets are not actually free once you account for the modification labor to make them safe. A 2×4 ladder roost takes about 45 minutes and $12 in lumber, and it outperforms any pallet build I’ve ever made.
I built one pallet roost, spent a weekend on it, and replaced it the following spring with dimensional lumber. That’s not a failure, it’s a data point.
Ladder and Multi-Level Roosts: Pecking Order Physics and Why the Top Rung Is a Punishment Post
Ladder roosts are popular because they solve a space problem: more birds, smaller coop footprint. I’ve run them. They work. But there’s a dynamic that almost nobody explains, and it will make your dominant birds miserable without you ever knowing why.
Your highest-ranking hens will claim the top rung. That’s not a preference, it’s instinct. The problem is that the top rung in most coops is also the worst sleep spot. Ceiling clearance above the top roost needs to be minimum 12 inches, ideally 18 inches. In an 8×8 coop with poor ventilation, ammonia concentration at ceiling level can exceed 25 ppm. That’s the threshold for actual respiratory damage. Your dominant hen is sleeping in the worst air in the coop every night.
You can’t smell 10 ppm, but your birds are already uncomfortable at that level. If your birds are roosting on the top rung and you smell anything when you open the coop in the morning, they’re over the damage threshold.
Rung-to-rung vertical spacing: 12 inches. Less than that and you’re dripping the upper birds’ overnight output onto the birds below, which is both a hygiene issue and a mite-and-lice spread vector. A 4-rung ladder roost for 8 birds needs 96 linear inches total (that’s 8 birds at 12 inches each) spread across four rungs. Do the math before you build.
The functional maximum angle for a ladder roost is 45 degrees. Go steeper than that and your birds stop using the upper rungs. I don’t fully know why; I just know it happens. My first ladder roost was closer to 60 degrees because it fit the space better, and the top two rungs sat empty every night for a month until I rebuilt it flatter.
Multi-level roosts are often installed to save floor space but just compress the pecking-order problem vertically. If you have fewer than 6 birds, a single-level roost is almost always the better choice. Simpler to clean, simpler hierarchy, no ammonia gradient to worry about.
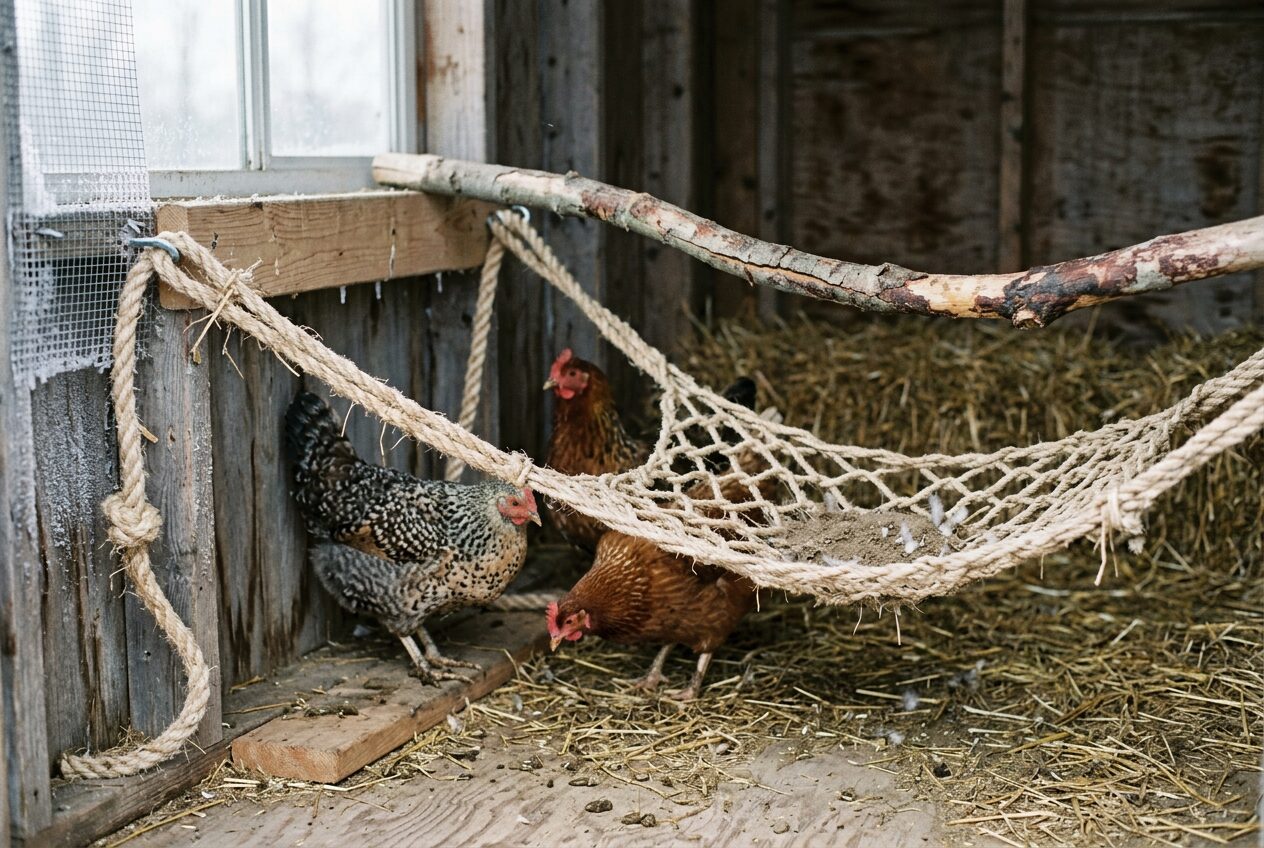
Rope, Hammock, and Flexible Perches: The Moisture and Frostbite Data You Need Before Installing These
This is the section I wish I’d had three winters ago.
Natural fiber rope — hemp, sisal, cotton — absorbs up to 30% of its own weight in moisture. In a coop with even moderate respiration humidity, that rope is damp by midnight. Wet feet at 20°F ambient temperature can develop frostbite in under two hours on a perch with nothing insulating from below. My hens weren’t standing in water. They were standing on a fiber that was slowly transferring moisture to their feet all night, every night, until the cold did the rest. That’s what the necropsy showed. The rope looked dry by morning because it had partially dried and the evidence was already on the birds.
Synthetic rope (polyester, nylon) doesn’t wick moisture. But below 32°F it becomes rigid and slippery. A bird shifting at 3am on a stiff, slick perch will grip harder, stress her feet, and potentially fall. I have found birds on the floor in the morning with no obvious injury who I think slid off a cold synthetic rope overnight.
Hammock-style roosts have the same problem as canvas: it absorbs moisture and freezes stiff. If you want to try a hammock-style roost, use 600D polyester or equivalent. Not canvas, not cotton duck. The material matters more than the design.
There’s research on perch instability in layer hens showing a cortisol response to unstable footing, with roughly an 8 to 12% production drop under chronic stress conditions in Leghorn studies. Chickens don’t prefer sway. The marketing around rope perches implies they like the “natural movement.” Behavioral research on perch preference in layer hens says otherwise. They consistently choose stable, rigid footing when given the option. The sway is stressful, not enriching.
Rope perches are a warm-climate product being sold to people in Minnesota and Vermont. If you’re in a zone that sees below-freezing nights for more than a couple of weeks, take them down before October. I don’t say this lightly. I buried three hens over it.
Repurposed Furniture Roosts (Bookshelves, Ladders, Hutches, Doghouses): What the Original Build Skips
I actually like repurposed furniture for small flocks. It’s creative, it’s often genuinely functional, and it can give you structural features (like shelf spacing and enclosed sides) that you’d have to build from scratch otherwise. But there’s a prep checklist that almost never gets mentioned, and some of it matters a lot.
Paint and finish: oil-based paints and polyurethane finishes off-gas VOCs for 30 to 90 days after they look dry. Curing and off-gassing are different processes, and poultry respiratory systems are far more sensitive than ours. A piece of furniture that smells fine to you may be putting measurable VOC levels into a closed coop in January. Use bare wood, or water-based latex only, on any interior surface where birds will be breathing for eight hours a night.
Pre-1978 furniture: test it with a 3M LeadCheck swab before it goes anywhere near your coop. They’re about $8 and take 30 seconds. Lead paint was common on furniture and trim through the 1970s and doesn’t disappear with age.
Doghouse repurposes are popular and can work well for 2 to 4 birds, but cut a 6×6 ventilation slot at the peak and cover it with 1/4-inch hardware cloth before you put a single bird inside. Doghouses are built to trap heat, which is the opposite of what you need for overnight ammonia management.

$57.59 In Stock
Paid link · price checked October 13, 2026 18:27
Bookshelf rungs are typically 1 inch diameter, fine for bantams, undersized for standard breeds. You can sleeve them with 1.5-inch PVC pipe to bring them up to spec. It takes maybe 10 minutes and a handsaw. Interior space for a hidden hutch or enclosed roost: minimum 2 square feet per bird for sleeping space, kept separate from any nesting area. If you’re mixing sleeping and nesting in the same box, you’re going to have fouled eggs and hens who can’t find a clean place to lay.
Repurposed furniture is genuinely great for small backyard flocks under 6 birds. Using a doghouse as a full coop substitute for 10 or more birds, though — that’s a welfare problem dressed up as sustainability. Be honest about how many birds you’re actually housing.
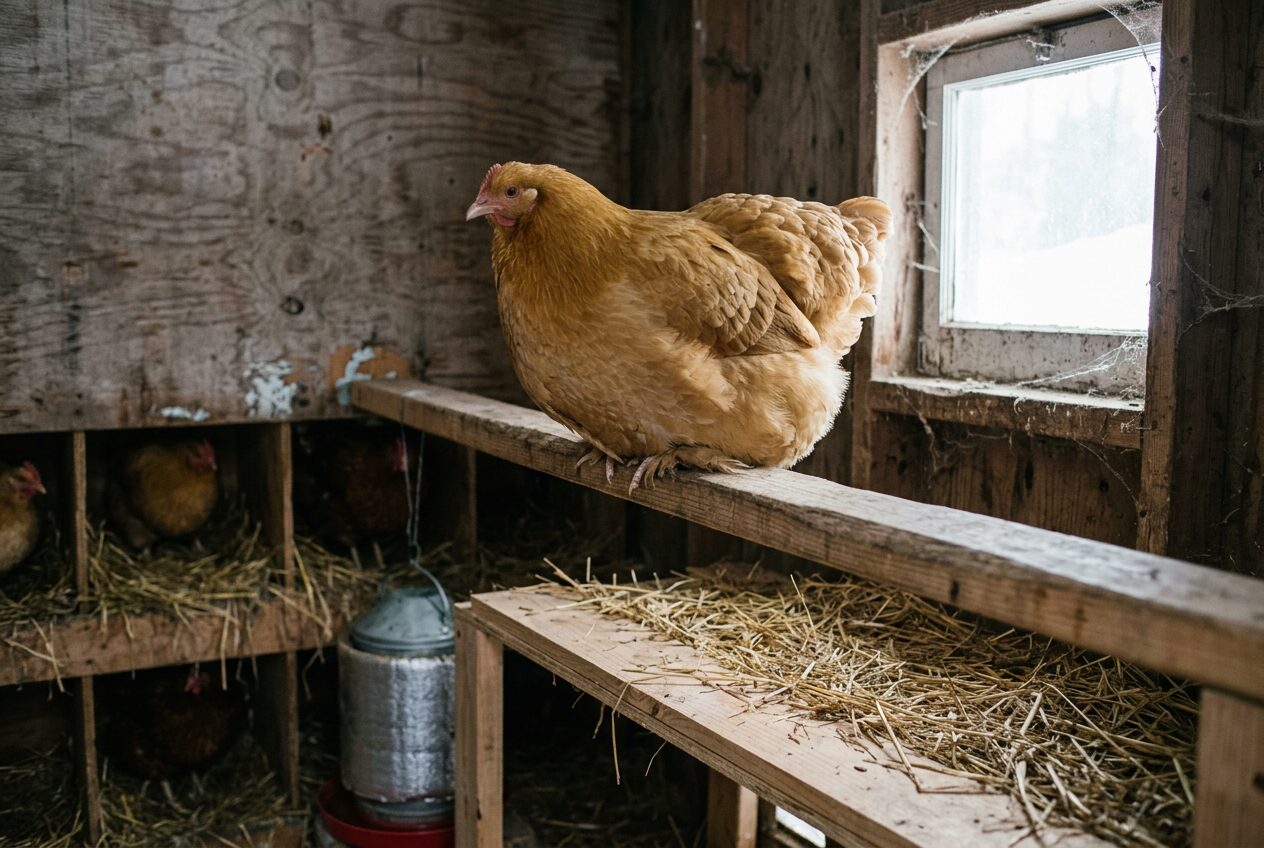
Winter-Specific Roost Modifications That Actually Move the Needle on Frostbite Prevention
Zone 4 winters are the reason I think about roost design more than most things in this hobby. We get sustained lows below -10°F most years, and my flock has to sleep through that. I’ve tried a lot of things. Here’s what actually does something.
The single most effective modification is also the cheapest: replace any round bar under 2 inches diameter with a 2×4 laid flat. The flat 3.5-inch surface lets a hen sit down over her feet, covering her toes with her belly feathers. That’s it. That’s the whole mechanism. At -10°F ambient without supplemental heat, unmodified round-bar roosts in uninsulated coops produce frostbite in single-comb breeds within one night. I know this because I’ve seen it.
A flat 2×4 costs about $4 for a 6-foot section and the swap takes 20 minutes. If you’re in USDA hardiness zones 3 through 5 and you have round bar roosts right now, this is the change to make before anything else.
Roost placement: keep it minimum 24 inches from any direct draft vent opening. Ventilation is non-negotiable in winter, but cold air moving directly across a roost bar is different from cold-but-still air in a ventilated space. Position your vents to exhaust upward and away from where birds are sitting.
If you’re using a supplemental heat lamp, position a 250W lamp 18 inches above the roost. At that distance it raises local temperature approximately 10 to 15°F. That’s not enough to heat a coop, but it’s enough to change the thermal conditions right where the birds are sleeping. Don’t place it closer. Fire risk in a coop is real and I will not minimize it.
For combs and wattles in cold snaps below 20°F, petroleum jelly applied every 48 hours helps. It’s not glamorous. It works. You get used to grabbing a hen and smearing Vaseline on her face before bed. My family has stopped asking questions about it.
Breed cold-hardiness is about feathering density and comb type, not immunity to frostbite from wet feet on a thin perch. A rose-comb heritage breed will still get frostbitten toes if she’s sleeping on a wet 1-inch dowel all winter. The roost design matters independent of the bird.
The Roosts Your Flock Will Refuse: Why Placement Kills a Good Build
I’ve built roosts that ticked every spec box and watched my hens sleep on the floor next to them for two weeks. It’s humbling. The roost wasn’t the problem. The placement was.
Chickens will not roost within 18 inches of an active feeder or waterer. It’s predator instinct. Feeding zones and sleeping zones are behaviorally separate, and they won’t override that wiring no matter how nicely you built the thing. I moved a waterer 24 inches and fixed a four-month standoff in three nights. That’s a free solution to a problem I’d been calling a “stubborn flock.”
Light bleed from windows is a real issue that nobody talks about. If your roost area is getting more than 0.5 lux of light after dark (which is less than a full moon) you’re disrupting melatonin cycles, which disrupts sleep quality, which suppresses laying. A lux meter app on your phone is good enough to check. Cover the window or reposition the roost.
Ammonia is placement-specific. A roost sitting in a low-air-movement corner of the coop, near the floor, next to a poop accumulation zone — that’s an ammonia pocket. If you can smell anything when you open the coop in the morning, birds on that roost are at uncomfortable exposure all night and they will eventually abandon it. Ten ppm is detectable by the human nose. Birds are already stressed at that level. The fix is ventilation and coop management, not a new roost.
New roost adoption averages 5 to 10 nights, and I’ve had it take longer in mid-winter. The single fastest thing I’ve found: manually place each bird on the new roost at dusk for 3 nights in a row. They’ll jump down. Put them back. By night three, most flocks start going there on their own.
It feels ridiculous. It works significantly better than waiting.
Transition failure rates are higher for roosts installed mid-winter. Birds are reluctant to change sleep-site behavior when it’s cold, which makes sense if you think about it from a survival standpoint. If your birds are sleeping on the floor, the roost probably isn’t the problem. Check placement first, ventilation second, height third. Buying a new roost style is almost never the answer to floor-sleeping, and half of all the “my chickens won’t use the roost” forum posts I’ve read are actually ventilation or placement problems in disguise. You can solve both of those without spending anything.