You just got home with a box of chicks and you’ve got a thermometer clipped to the side of your brooder — and I’m going to tell you it might be the least useful thing in there. Not because temperature doesn’t matter. It does. But the thermometer reads one spot, at one height, at one moment, and the chicks are moving around a three-dimensional space all day and night. They already know if it’s right. You just have to learn to ask them.
Start With the Chart — Then Put It Down
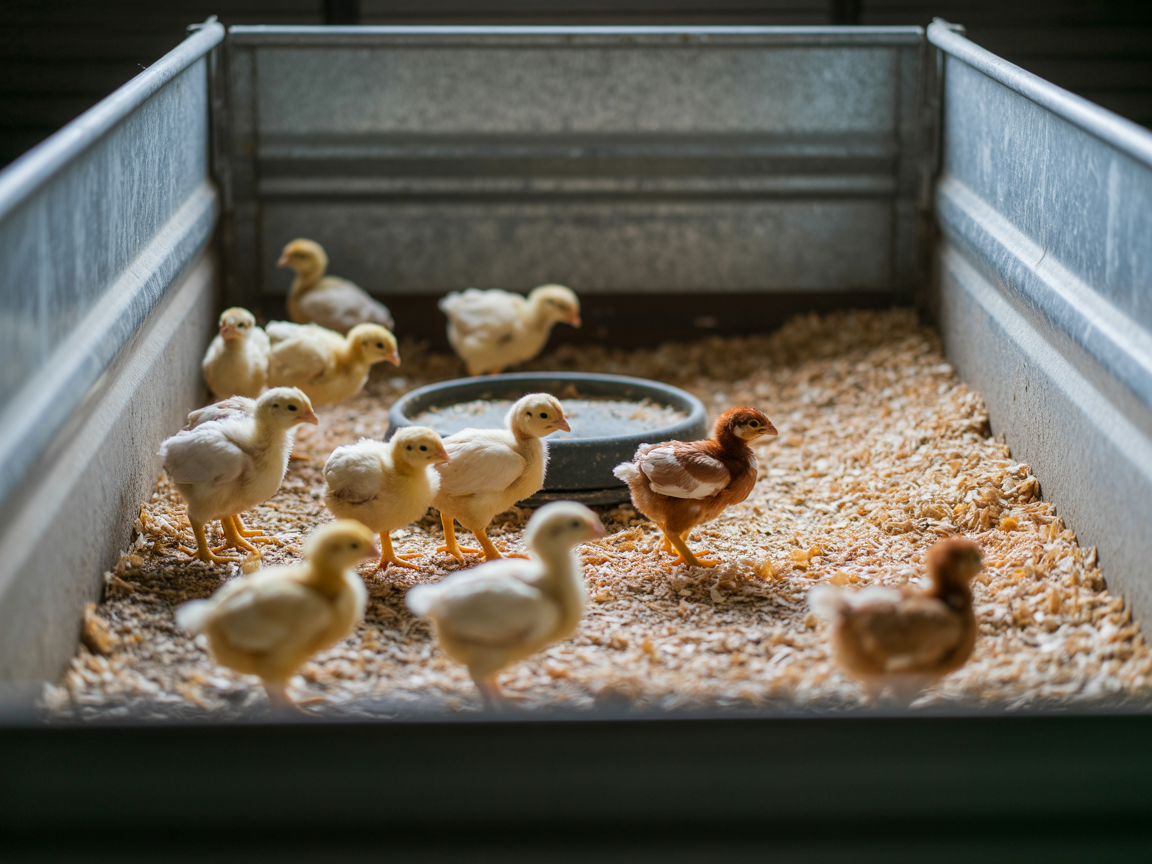
The standard advice: 95°F at chick level in week one, drop it 5°F each week after that until you’re at room temperature. Write that down somewhere. It’s a reasonable starting point and it’ll get your heat source in the right ballpark before your chicks arrive.
Then treat it like a rough draft.
What most people don’t realize is that the chart was built around a pretty specific set of assumptions — ambient room temperature somewhere around 65 to 70°F, a brooder of average size, and a thermometer that’s actually at chick level rather than clipped halfway up the wall. If your setup matches all three, the chart’s pretty useful for the first few hours. If it doesn’t — and most setups don’t — you’ll be chasing a number that was never calibrated for your actual situation.
The chart can’t know you’re brooding in a garage in March. It doesn’t know you’ve got four chicks in a 50-gallon plastic tub or thirty in a stock tank. It assumes average conditions, and your conditions aren’t average. They’re yours.
Use the chart to get started. Then look at the chicks.
Cold Chicks: What Huddling Actually Looks Like
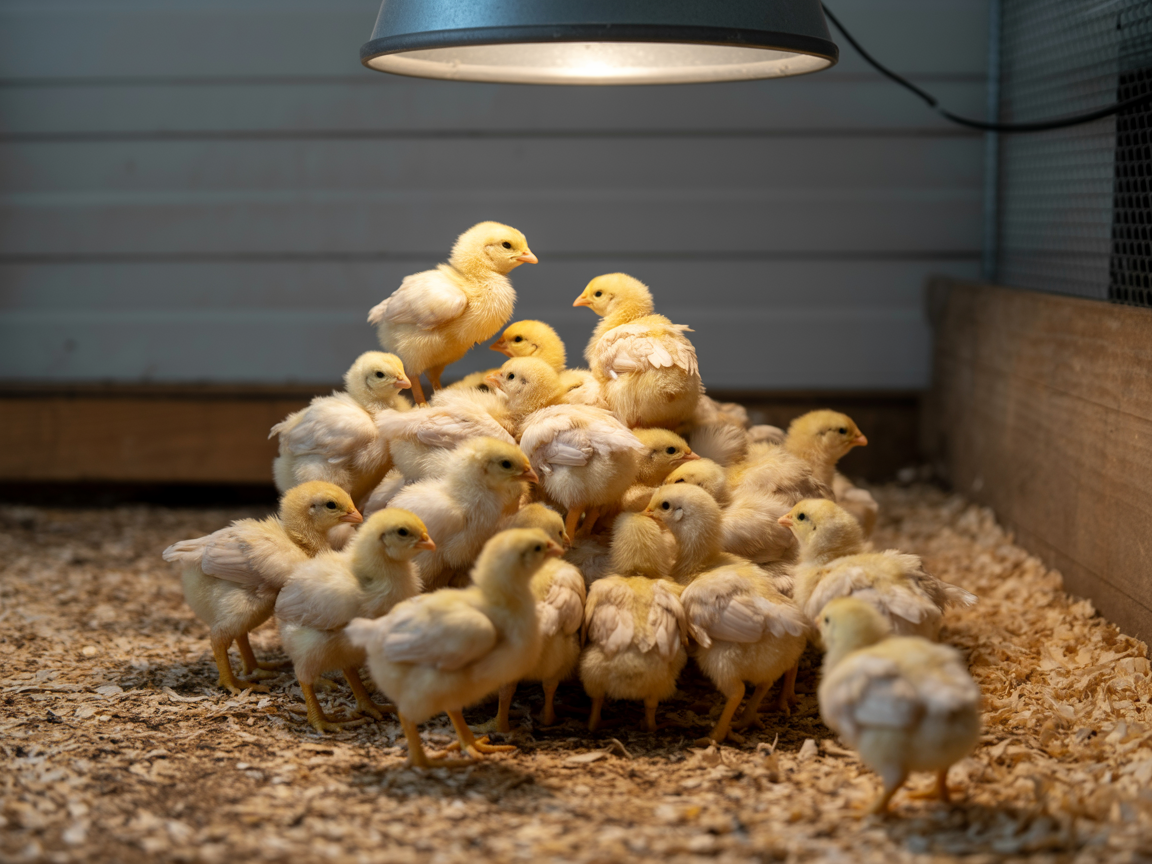
This is the one that gets beginners the most, because chicks piling together looks, honestly, kind of sweet. But there’s a difference between chicks resting near each other and chicks that are cold-stressed and stacking.
Cold chicks pile tight. Not side by side — on top of each other, two and three birds deep. They press hard toward the heat source. They’re not moving to the food or the water. And the sound is unmistakable: loud, continuous, with an urgency that’s nothing like the soft, occasional peeping of a settled brooder.
That sound is the most reliable alarm you have. If you hear it, don’t reach for the thermometer first. Act. Raise the lamp, lower the heat plate, add a second heat source if you need to. Move before you measure, because the chicks already told you what’s wrong.
The reason deep piling is serious: the birds on the bottom can’t breathe. They get smothered. A stack of chicks with a warm top layer and crushed bottom birds is a cold emergency — not normal roosting behavior — and it can kill fast. If you see chicks two or three layers deep in a tight cluster, that’s not them being cute. Fix it right now.
- Week 195°F at chick level under heat sourceCool side of brooder should sit around 75–80°F, giving a 10–15 degree gradient
- Each week afterDrop 5°F per weekContinue until brooder temperature matches room temperature
- Weeks 6–8Full feathering is the real signal, not the calendarSome breeds feather faster; bantams often run slower; individual birds can differ by a week or more
- Final stepRemove supplemental heat when chicks are fully featheredIf nighttime temps drop below 65°F, keep heat on until feathering is complete
Hot Chicks: Panting, Spreading and Staying Away
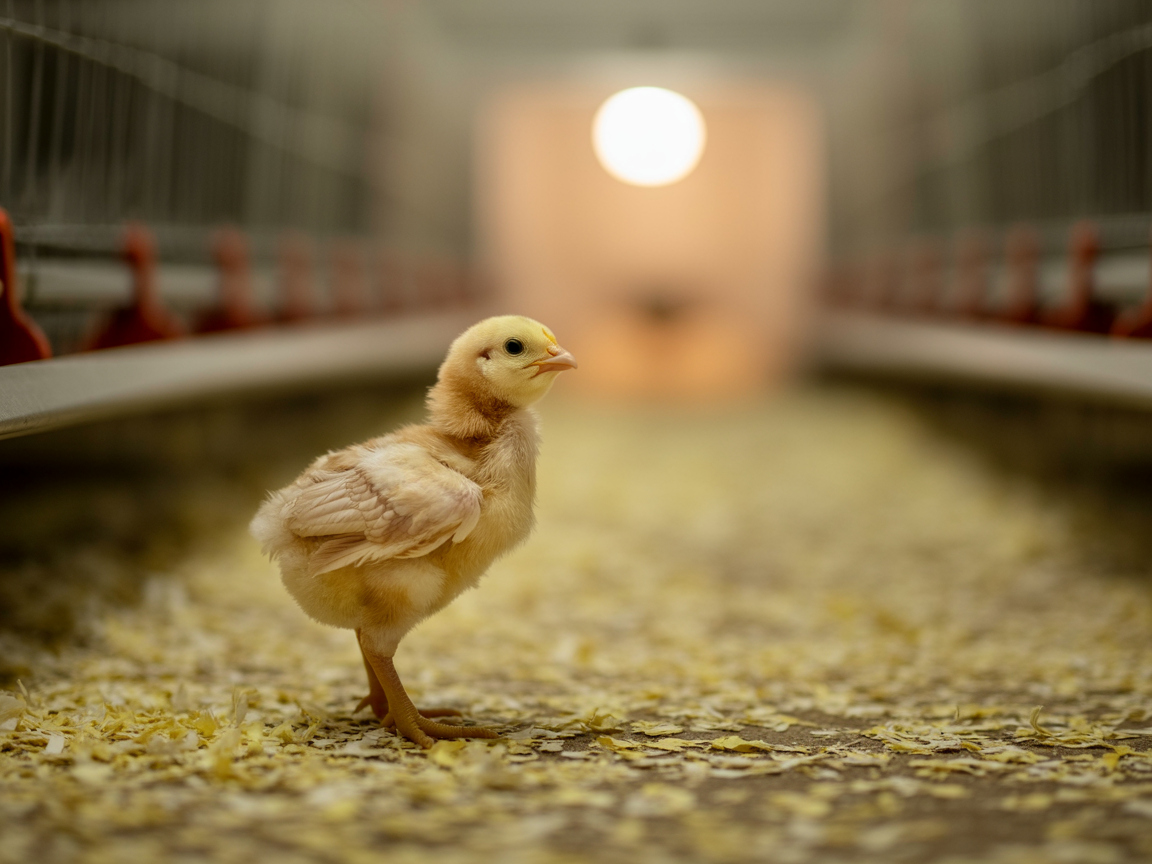
Overheating gets a fraction of the attention that chilling does in most beginner guides. That’s backwards. A chick that’s too hot can decline faster, and with a lot less warning, than one that’s too cold.
The obvious sign is open-mouth breathing. Panting. If you see that, heat stress isn’t approaching — it’s already happening. But there’s an earlier signal that most first-timers miss: chicks spreading flat on the bedding with their wings slightly raised, moving as far from the heat source as possible. They look almost limp. Pressed against the brooder wall on the opposite side from the lamp. That’s the signal to act before it gets to panting.
Chicks can’t regulate their own temperature. When it’s too hot, they can’t sweat, can’t pant effectively when very young, and can’t get out if there’s nowhere cooler to go. That last part is the important one. I’ll get to it in a minute.
Don’t fall into the trap of thinking that as long as nobody’s panting, everything’s fine. Lethargy and spreading with wings raised is the earlier warning. Most people see it and think the chicks are just resting.
Read next: My week-by-week guide to raising baby chicks
Comfortable Chicks Look Boring on Purpose
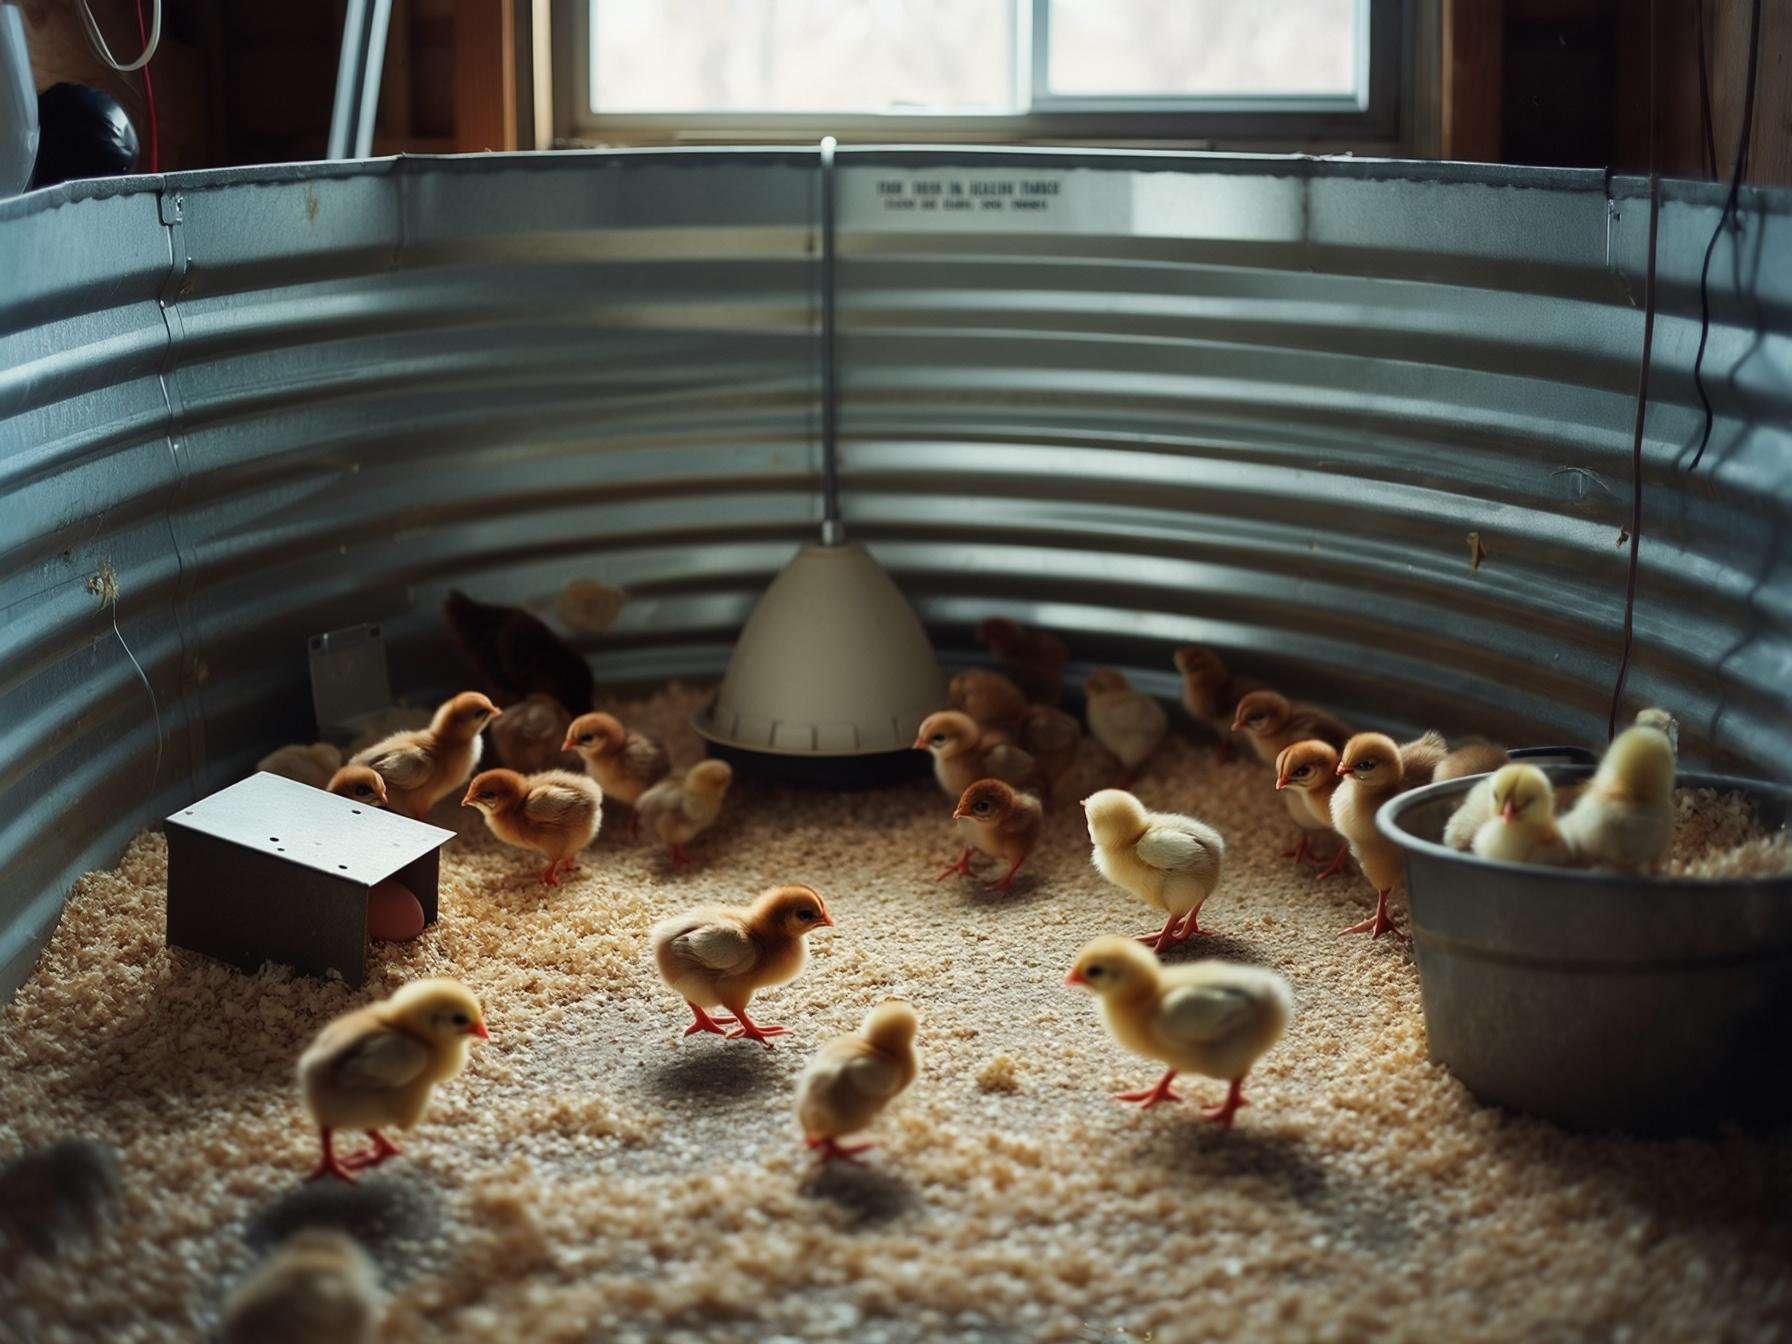
A well-run brooder is genuinely unexciting to watch. That’s the goal.
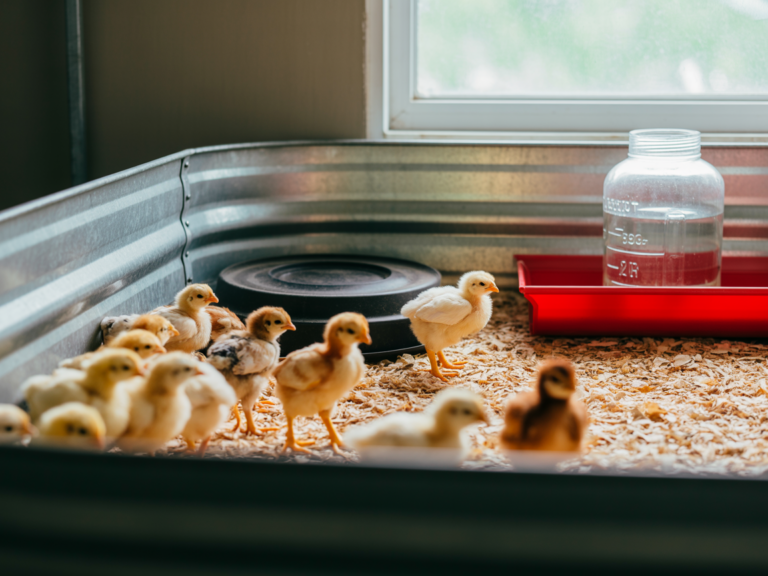
Chicks moving freely around the whole space. Some hanging near the heat, some out at the edges. Eating and drinking regularly — you should see traffic at the feeder and waterer at least every 20 or 30 minutes when they’re awake. Soft little peeps, the kind you almost have to lean in to hear. And when they sleep, they’re spread out loosely, not piled or pressed together.
If your brooder looks like that, stop fiddling. Seriously. I’ve stood there watching a batch of my own chicks and convinced myself something was off — second-guessing a quiet brooder is how you start over-managing in week one. Spread out and calm is not a problem. It’s the answer.
The mistake is interpreting stillness as a bad sign. Chicks that are at the right temperature rest a lot, move around without urgency, and don’t spend much time doing anything dramatic. That’s health. Don’t ruin it.
| Heat Lamp | Heat Plate | |
|---|---|---|
| How it heats | Radiant heat through air | Contact warmth — chicks press against warmed surface |
| What to measure | Air temperature at chick level | Thermometer under plate gives misleading number — air temp isn't the point |
| How to adjust | Raise or lower lamp — temperature at chick level changes predictably | Start 1–2 inches above chicks' backs; raise ~½ to 1 inch per week as they grow |
| Common mistake | Thermometer clipped too high on wall, not at chick level | Raising plate too early and too high — removes contact, removes the warming mechanism |
Bottom line: A heat plate warms chicks that touch it, not the air around them — keep it low enough for contact.
Read next: Pasty butt, splayed legs and the other first-week problems
Read next: When chicks can actually go outside
Give Them a Gradient, Not a Uniform Temperature
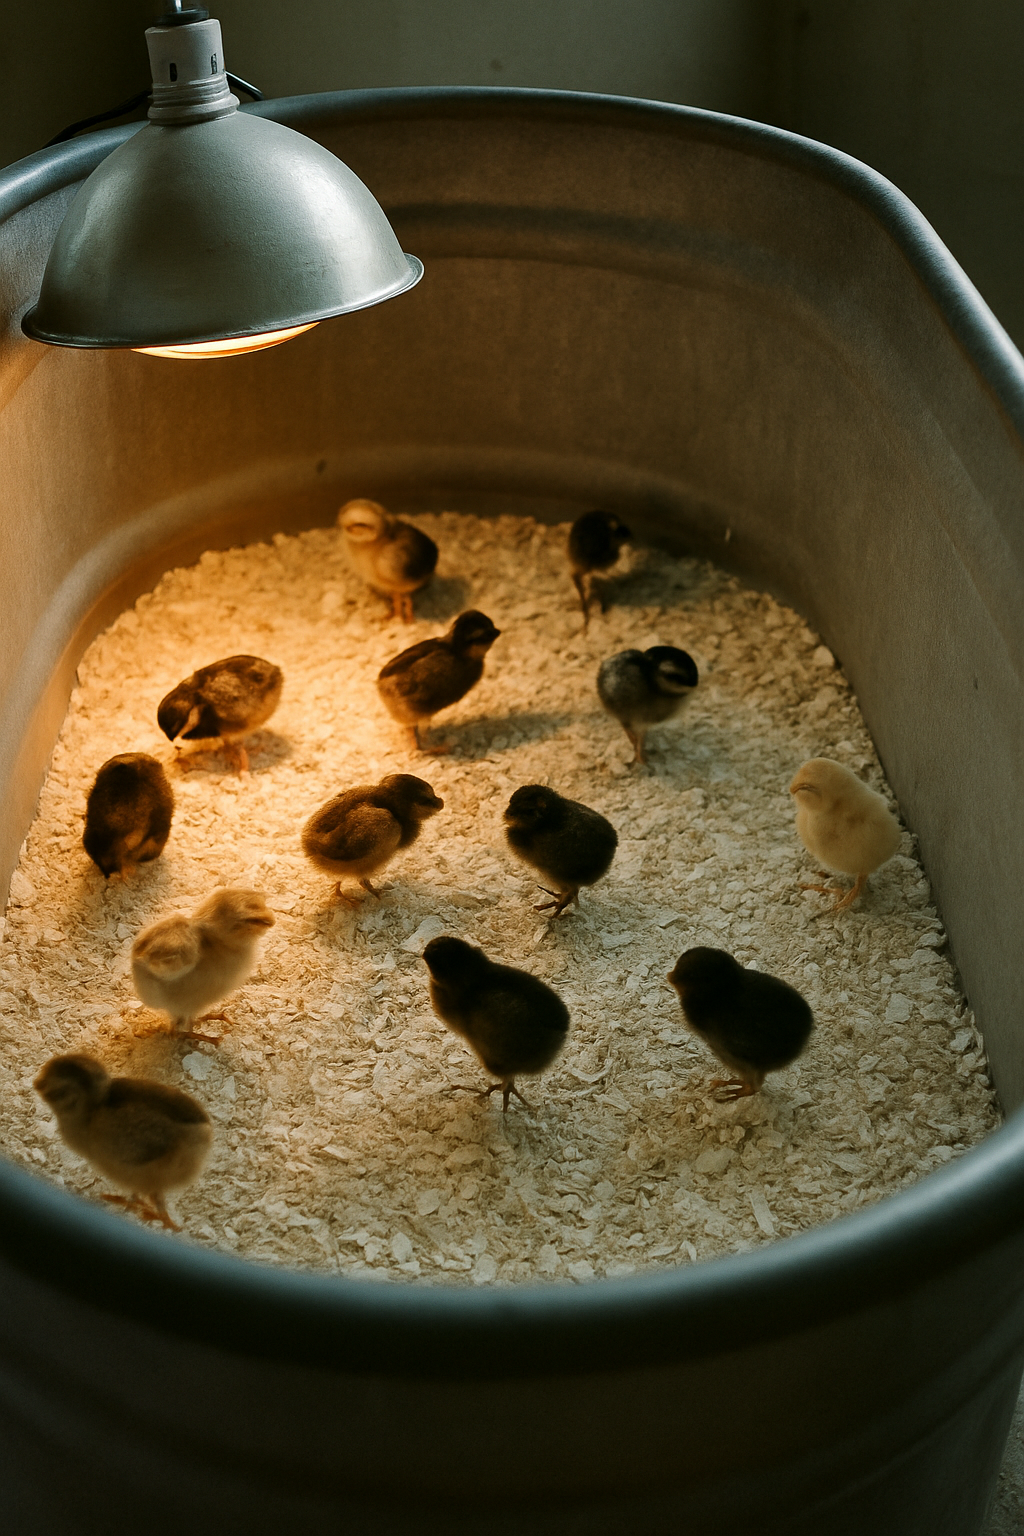
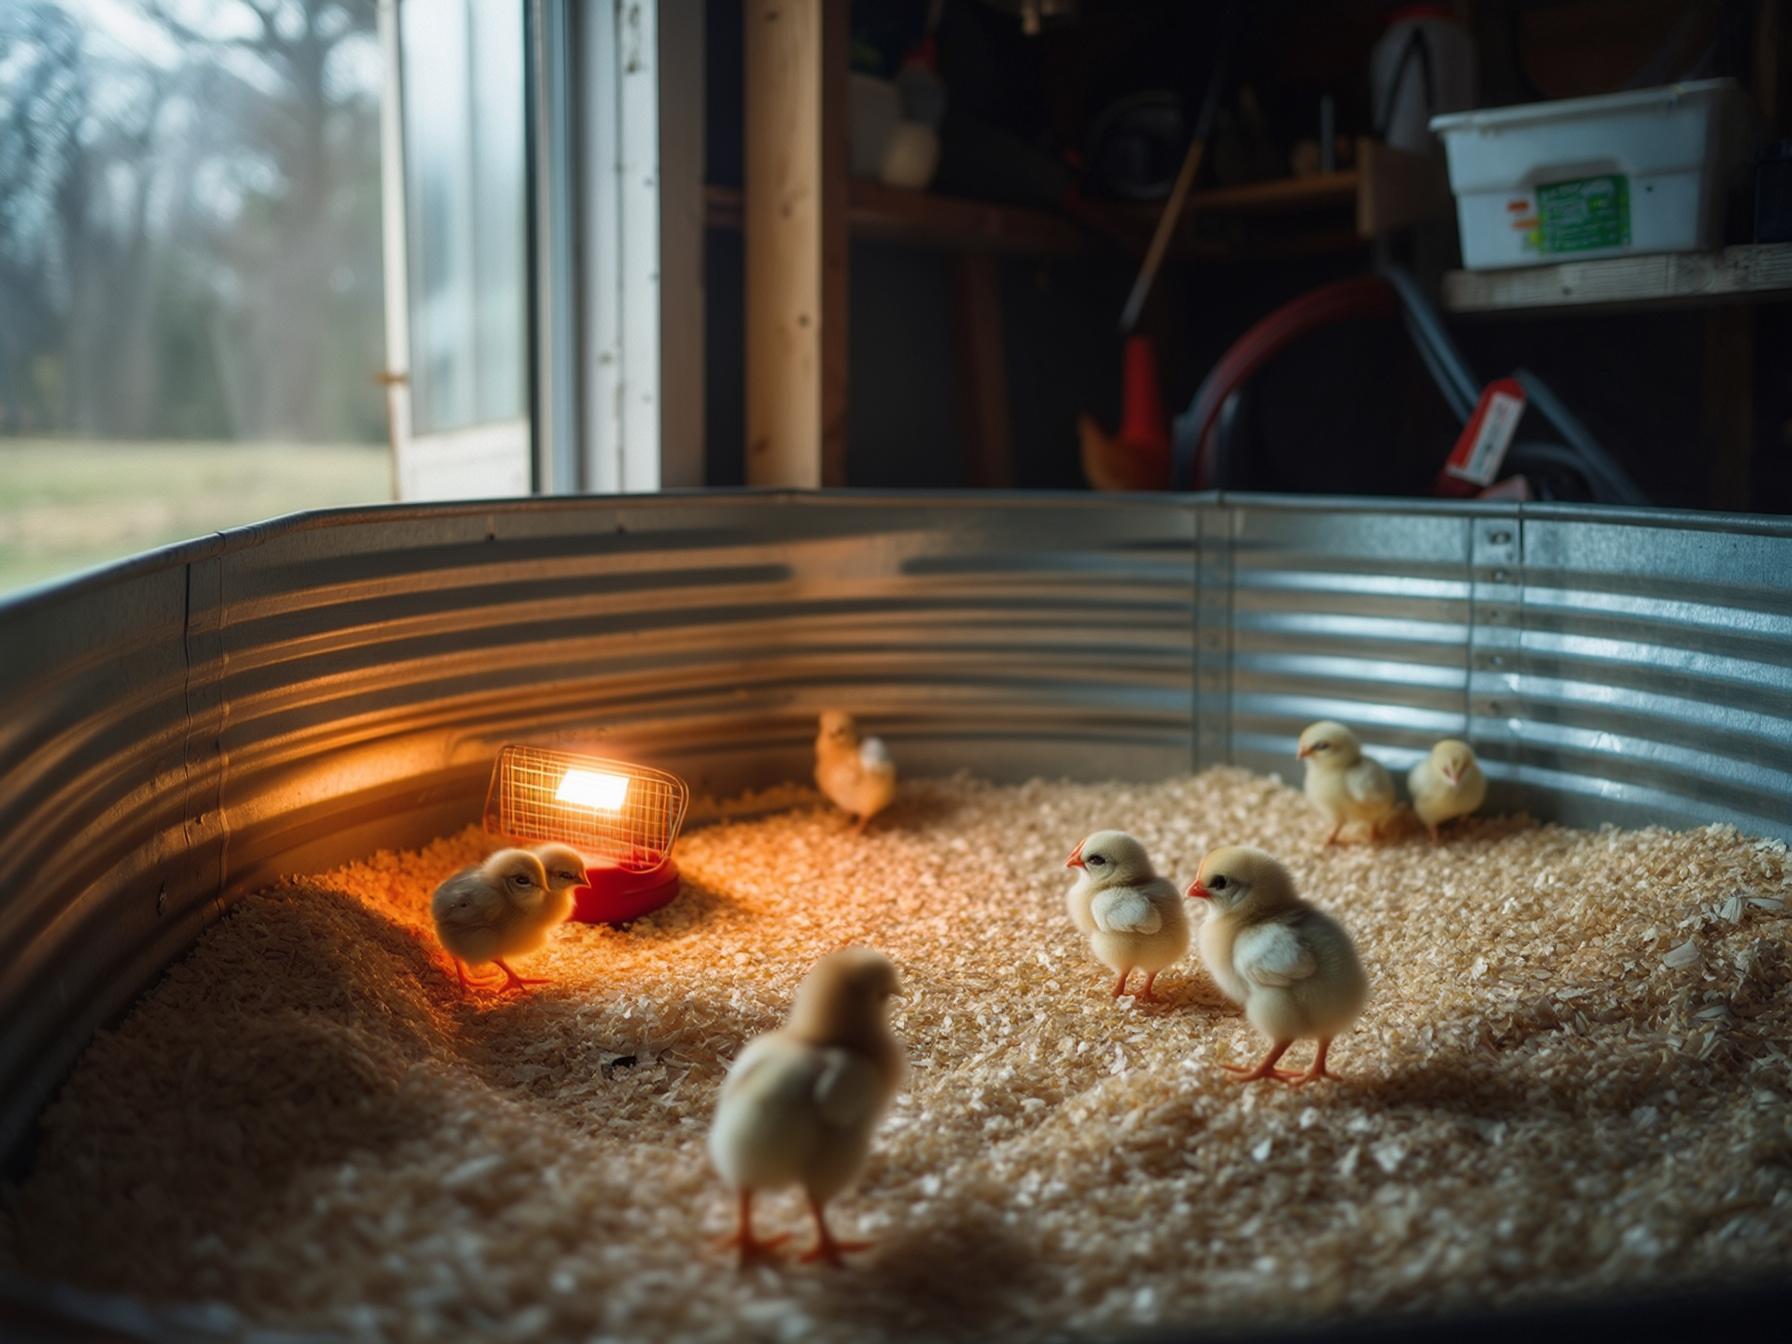
Your brooder needs a warm end and a cool end. Not approximately the same temperature throughout. A real difference. In week one, you’re aiming for around 95°F at chick level under the heat source, and somewhere in the range of 75 to 80°F on the far side. That 15 to 20 degree gap gives the chicks something to work with.
When you take that gradient away — when the whole brooder is 90°F because the lamp is too big or the space is too small — you’ve removed the chick’s only management tool. They can’t vote with their feet if every spot feels the same. And your ability to read their behavior disappears with it, because clustering near the heat means nothing if there’s nowhere else to go.
For a small batch of six to eight chicks, you need at least two to three square feet of floor space. Enough that a chick can fully leave the warm zone and find genuinely cooler air. A brooder that’s too small will trap heat even if your lamp is correctly sized. I made this mistake with my first setup — built it myself, thought I’d been clever about it, and the chicks had nowhere to tell me anything useful. That coop taught me more than I wanted to learn.
Measure both zones. The cool side matters as much as the warm side, and in certain setups it’ll surprise you.
Read next: What my brooder setup looks like (and what I’d skip)
Adjusting a Heat Plate Versus a Lamp Is a Different Problem
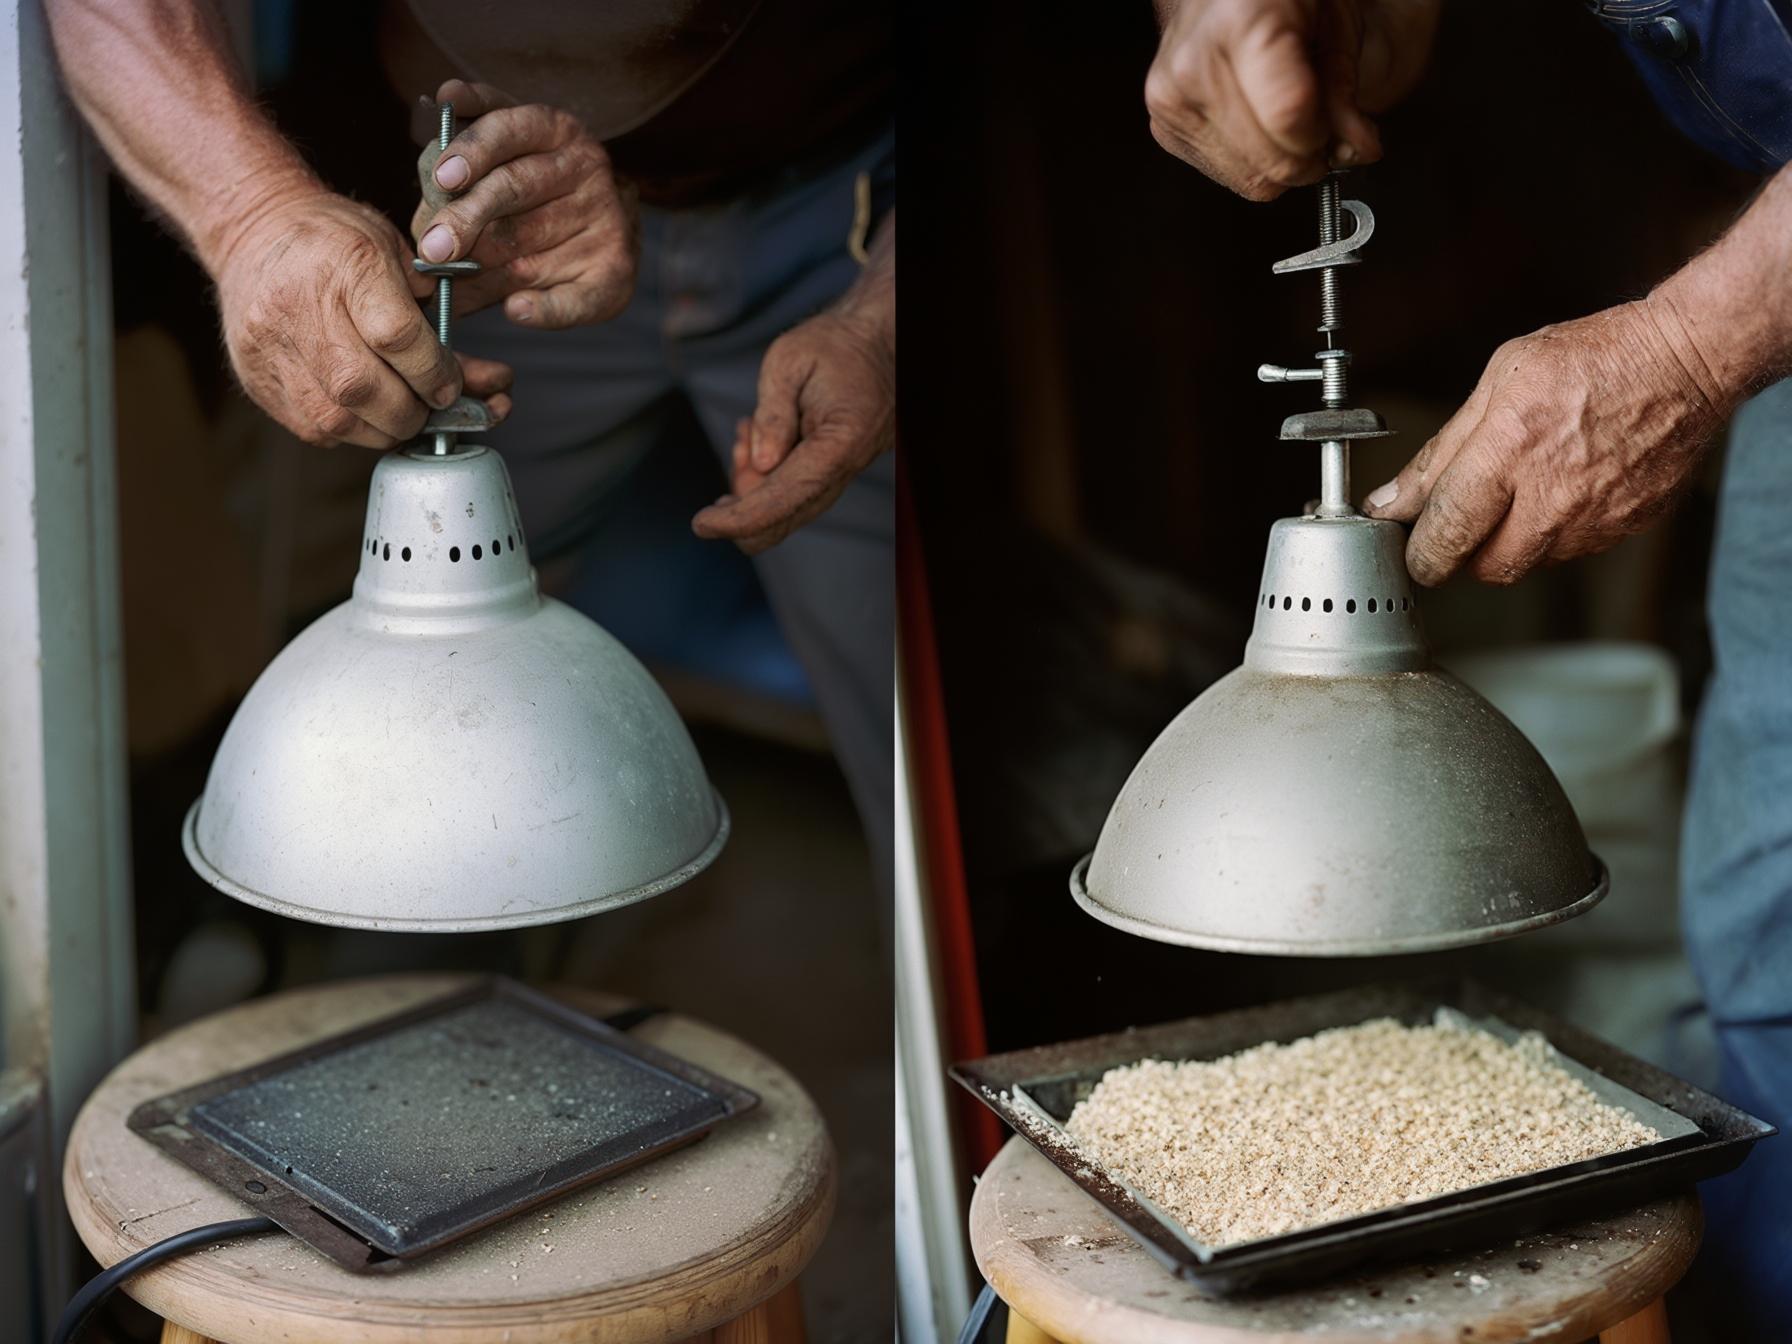
These two heat sources work on completely different principles and adjusting them is not the same process.
A heat lamp throws radiant heat. More distance, less heat. That’s straightforward. You raise it or lower it and the temperature at chick level changes pretty predictably.
A heat plate works by contact warmth. The chicks go under it, press up against the warmed surface, and that’s how they get warm — same way a hen works. The air temperature under the plate isn’t really the point. So when you put a thermometer directly under a heat plate, you’re reading the plate’s surface temperature, not the air temperature a chick is actually experiencing. It’s a misleading number.
For a heat plate, start with the plate just high enough that chicks have to duck slightly to get under it. Roughly an inch to two inches above their backs. You want contact, not a tent they stand in without touching. Then raise it about half an inch to an inch per week as they grow. The instructions that come with most plates are genuinely vague about this — annoying, but true — and that’s the practical setup that works.
The common mistake: raising the plate too early and too high because a temperature chart says the chicks should need less heat this week. Once you raise the plate past the point of contact, you’ve taken away the mechanism. The plate isn’t warming the air. It’s warming chicks that touch it. Keep that in mind.
Brooding in a Cold Garage Changes Everything About Your Setup
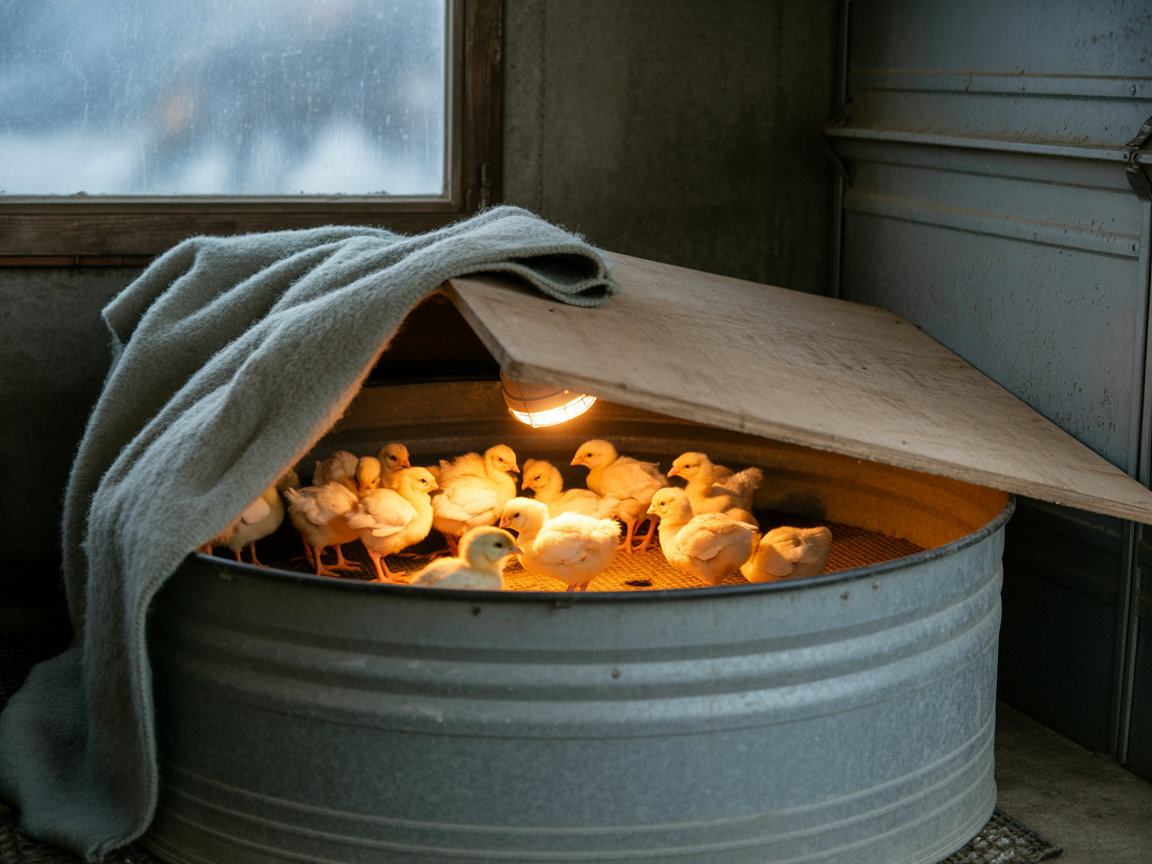
This is probably the most under-discussed brooder situation in basic guides, and it’s one of the most common ways people lose chicks in the first week.
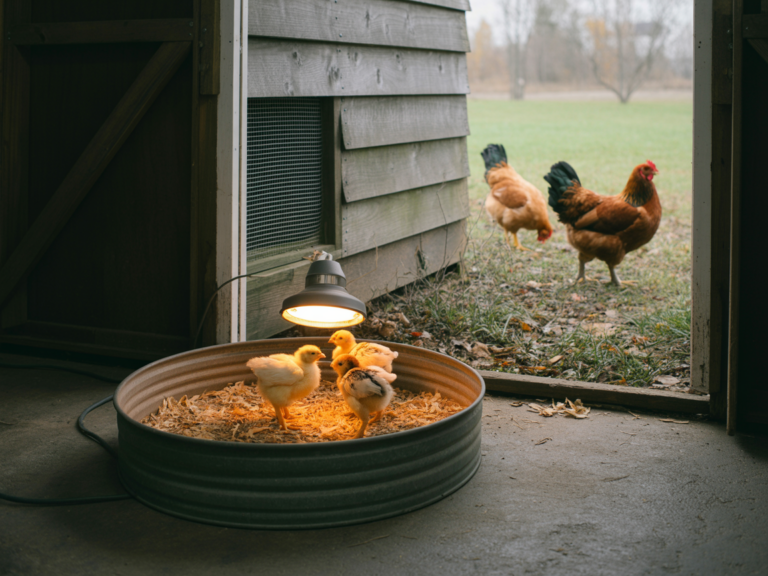
Ambient temperature directly affects what your heat source can do. In a 70°F spare room in May, an open-top brooder with a single lamp works fine. In a 40°F garage in January, that same setup may not be able to maintain 95°F in the warm zone at all. Your cool zone — which is supposed to be comfortably cooler — might be sitting at 38°F at midnight. A chick that wanders over there looking for water at 2am doesn’t have the thermoregulation to recover. It’ll be dead by morning.
Below about 50°F ambient, you need to think seriously about enclosing the brooder. A cardboard box lid over an open-top tub traps enough heat to make a real difference. Moving the whole setup into an enclosed space helps. Adding insulation around the outside walls helps. The goal is to bring that cool zone up to something in the 60s, not the 30s.
Below about 55°F ambient, an open-top configuration is genuinely risky for very young chicks no matter how good your heat source is. The heat bleeds out too fast and you end up with a temperature cliff instead of a gradient.
Check the cool side of your brooder at night. If you’re in a cold space, it will tell you something your warm-side thermometer never will.
Weaning Off Heat: Feathers, Not Weeks, Are the Actual Signal
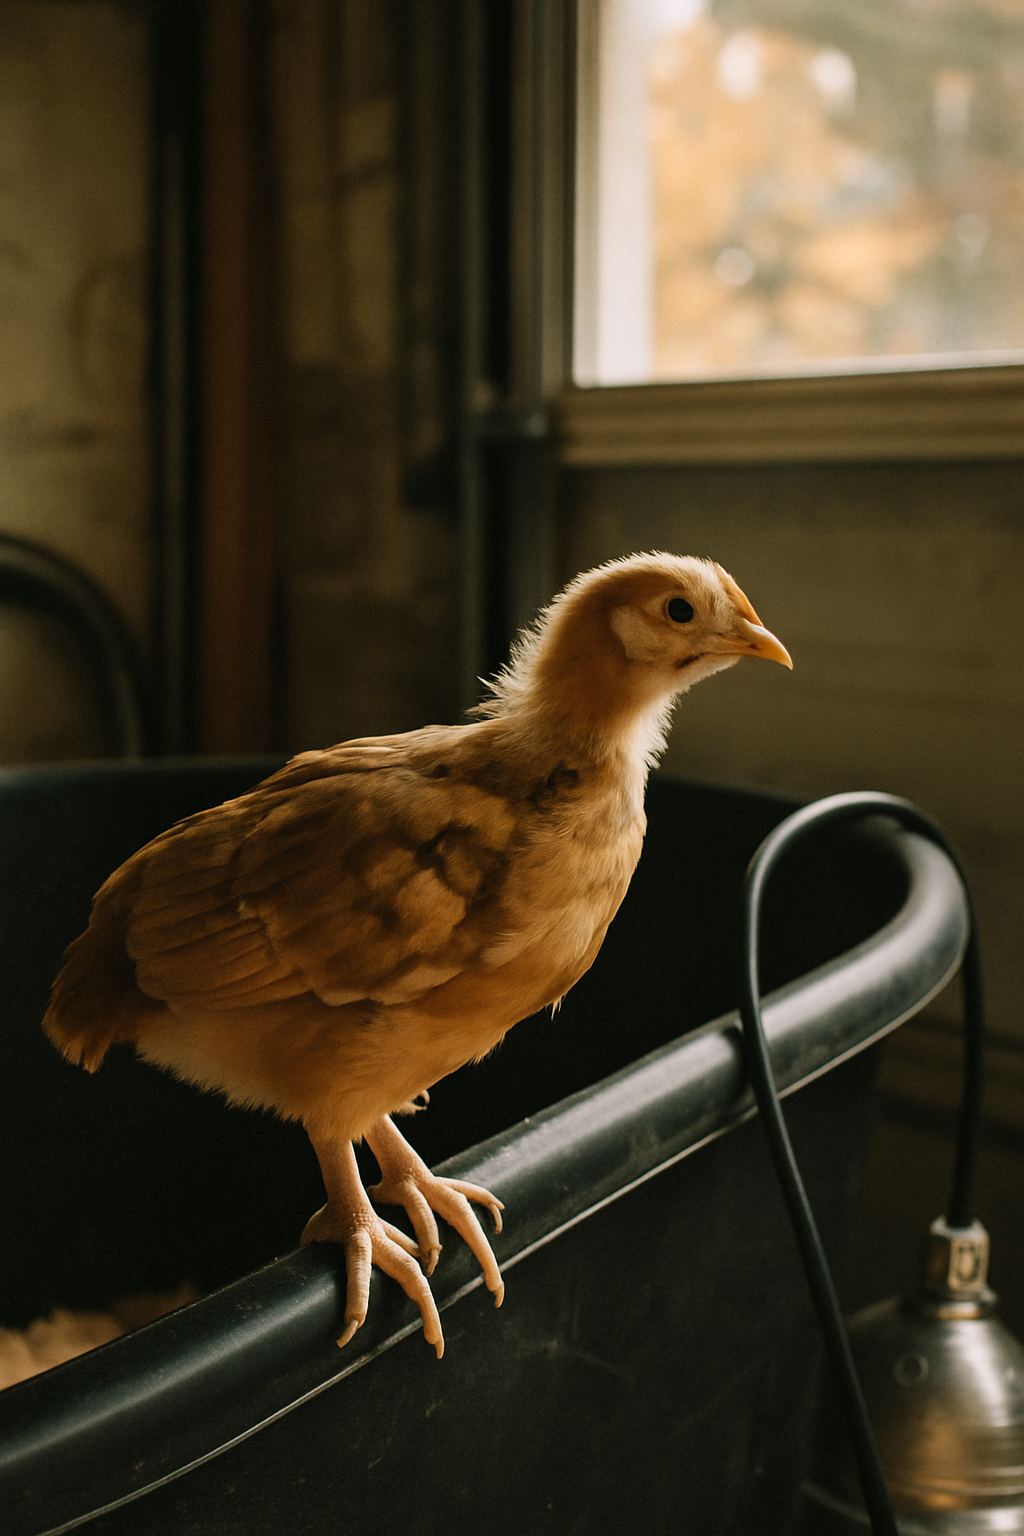
Most week-by-week charts end somewhere around week five or six with “no supplemental heat needed.” That’s fine if your chicks are fully feathered and you’re brooding somewhere warm. It’s not fine if you’ve got a slow-feathering breed in a cool space and you just pulled the lamp because the calendar said to.
Full feathering is the actual threshold. That typically happens between six and eight weeks, and it varies. Some breeds feather out faster, bantams often run slower, and individual birds within the same batch can differ by a week or more. You can see it — run your fingers lightly over their backs and sides. If you feel warm skin through thin or patchy coverage, they’re not done.
If nighttime temperatures where you’re brooding drop below 65°F, keep supplemental heat until feathering is complete. Full stop. The chart can’t know your nights are cold, and chicks that look fine at 3pm can be in trouble by 3am.
The way to check readiness: briefly reduce the heat one afternoon and watch. If the chicks spread out calmly and go about their business, they’re probably close. If they start clustering and the peeping picks up, they’re not ready and you keep heat on a little longer. That’s it. The chicks will tell you.