As an Amazon Associate I earn from qualifying purchases. This post contains affiliate links. If you buy through them we may earn a commission at no extra cost to you.
Product prices and availability are accurate as of the date and time indicated and are subject to change. Any price and availability information displayed on Amazon at the time of purchase will apply to the purchase of this product. Certain content that appears on this site comes from Amazon. This content is provided "as is" and is subject to change or removal at any time.
The feed store sold my neighbor a $90 starter kit the day she brought her chicks home, and two of those items were still in the bag when her pullets moved outside eight weeks later. One was a packet of vitamin powder. The other was a stick-on thermometer sized for an aquarium. Neither one did anything for those birds. The $90 bought her peace of mind she didn’t need and missed what she actually did need. I’m going to save you that particular mistake.
Container First — and You’ll Need a Bigger One Sooner Than You Think
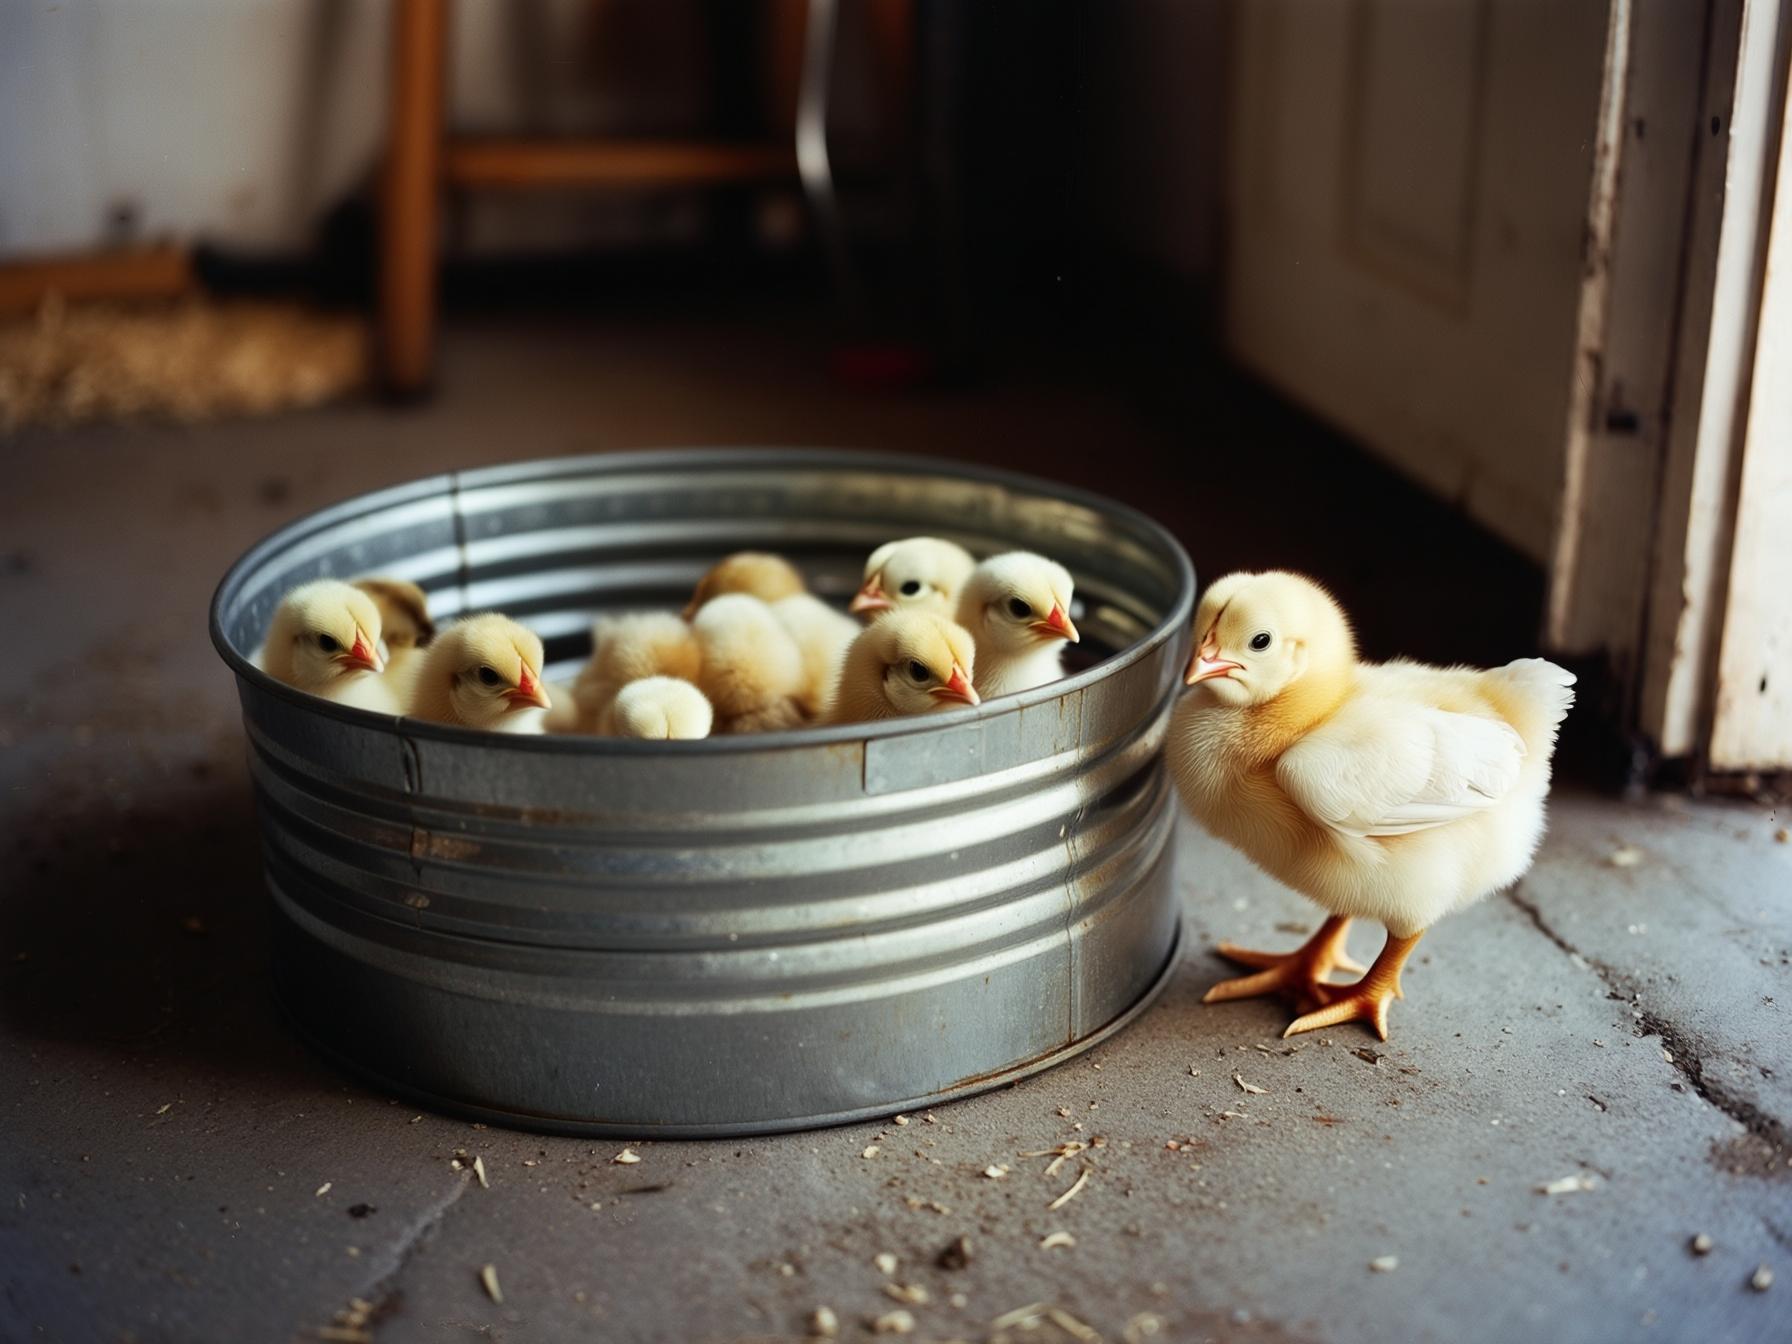
People size the container for the chick they brought home. That chick doubles in size roughly every ten days. Those are not the same problem.
A 110-quart plastic tote — the kind you can get at any big-box store for around $15 — fits four to six chicks comfortably for about two weeks. After that, it’s crowded, it smells faster, and you’ve got wing-flapping arguments breaking out because they’re bored and jammed in. Cardboard boxes are fine for the first few days if that’s what you’ve got, but a cardboard box is a holding pen. It’s not a brooder. Treating it like a real setup is exactly why people hit week two in a panic, scrambling for something bigger while their chicks are already feathering out and testing the walls.
The math is simple. One square foot per chick at week one. By week four you’re looking at roughly two to two-and-a-half square feet per chick, because they’re not chicks anymore. They’re small, opinionated birds with a pecking order and a lot of energy. A stock tank, the galvanized kind, runs $50 to $80 and lasts years. If you’re raising more than six birds at a time with any regularity, it’s worth it. I’ve had mine going on five years and it’s seen four batches of chicks.
Buy to the bird they’ll be in 30 days. Not the one in your hands right now.
Heat Plate vs Heat Lamp: One of These Can Hurt a Chick, and It’s Not the Plate
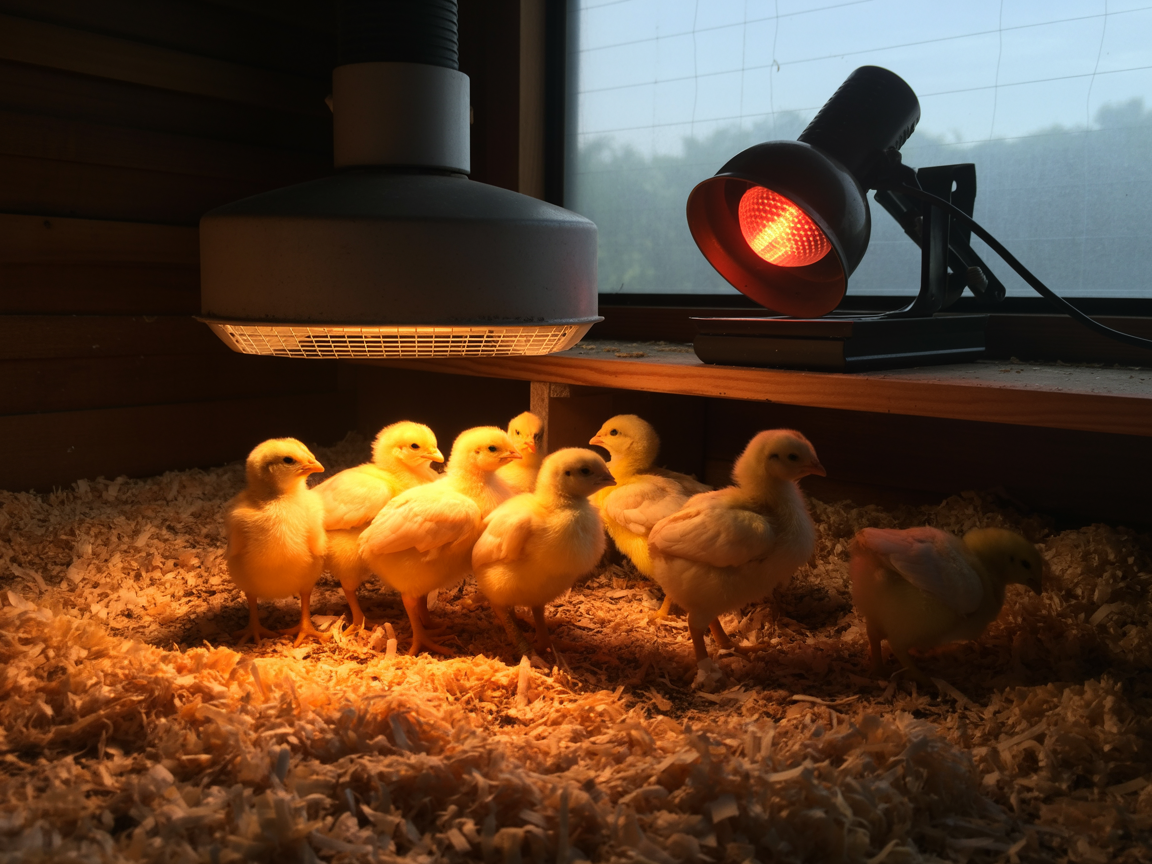
Chicks need about 95°F at floor level in week one. Then you drop that roughly 5°F per week until they’re fully feathered. That’s not a one-time setting. That’s eight weeks of adjustments, and how you make those adjustments is where people get into trouble.
A heat lamp is 250 watts of radiant heat pointed downward. To lower the temperature, you raise the lamp. To raise it, you lower the lamp. Sounds simple. In practice, a clamp lamp on the side of a tote doesn’t raise or lower in clean three-inch increments. You’re fiddling with a clamp over a box of tiny birds and hoping you’ve got it right. When you can’t fine-tune the height, you can’t reliably hit that 5-degree weekly drop. Too hot and chicks pile into corners and pant. Too cool and they pile under the lamp and suffocate each other. Both of those kill chicks. I’m not exaggerating that.
A heat plate works differently. Chicks go under it like they’d go under a hen, making contact with a warm surface rather than sitting under a heat beam. A plate rated for ten chicks costs $30 to $50 and draws 20 to 30 watts, so it’s cheaper to run by a lot. You raise the legs as they grow, which is a clean, deliberate adjustment. It doesn’t eliminate thinking, but it gives you actual control.

$39.96 In Stock
Paid link · price checked October 6, 2026 09:15
A heat lamp isn’t automatically wrong. But if you can’t raise it in controlled increments over eight weeks, you’ve got the wrong tool. The clamp lamps in most feed store kits almost never allow that kind of precision. The problem isn’t warmth on day one. The problem is adjustability across the whole brooding period.
| Heat Lamp | Heat Plate | |
|---|---|---|
| Wattage | 250 watts | 20–30 watts |
| Cost | Included in kits | $30–$50 |
| Temperature adjustment | Raise or lower lamp — imprecise | Raise legs as chicks grow — deliberate |
| Risk if too hot | Chicks pile in corners and pant | Chicks move away from plate |
| Risk if too cool | Chicks pile under lamp and suffocate | Chicks stay under plate |
Bottom line: A heat lamp can work, but only if you can raise it in controlled increments over eight weeks — clamp lamps almost never allow that.
Bedding That Grips Is Not Optional — Slick Floors Cause Real Leg Damage
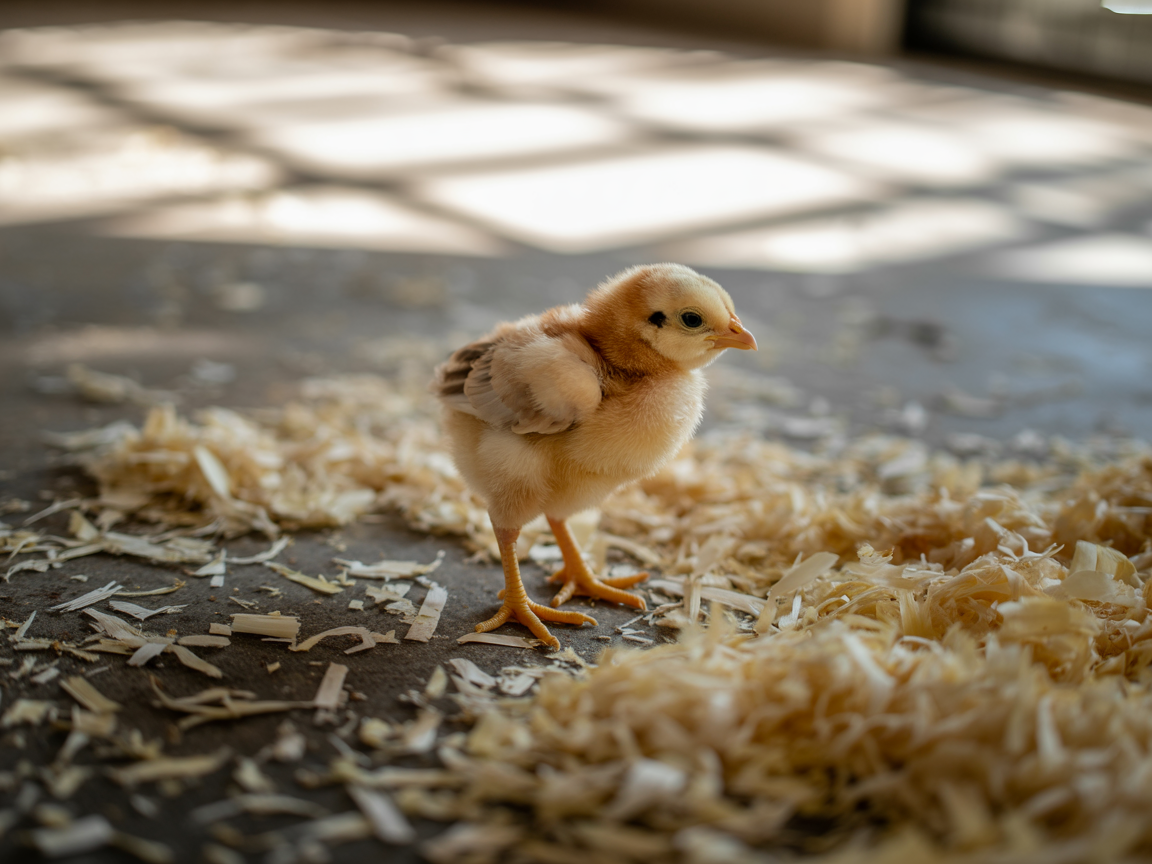
Spraddle leg develops in the first 72 hours. That’s not a figure I’m throwing in to sound authoritative. It’s the window when it actually happens, when leg tendons are still setting and a slick floor lets those legs splay outward instead of bearing weight correctly. Once it sets wrong, you’re doing physical therapy on a three-day-old chick with medical tape, and the outcome isn’t guaranteed.
Newspaper is free. That’s the only reason people use it. It is genuinely one of the worst choices you can make for a chick’s first week. Smooth, slick, and it mats into a wet mess fast. Paper bags, bare plastic, any smooth surface — same problem. The point isn’t just absorbency. The point is grip.
Pine shavings, two to three inches deep, give both. They absorb moisture and they give chicks something to push against when they walk. For the first three days specifically, lay paper towels over the shavings. That flat surface helps chicks find the feed without losing their footing, and you pull the paper towels out after a few days once they’ve got their legs under them. After that, shavings alone. Replace or spot-clean every two to three days to keep ammonia from building up. Don’t let it get deep and damp because you’re avoiding the work. That’s how you get sick birds.
Sides Tall Enough to Matter — Chicks Fly Earlier Than Anyone Expects
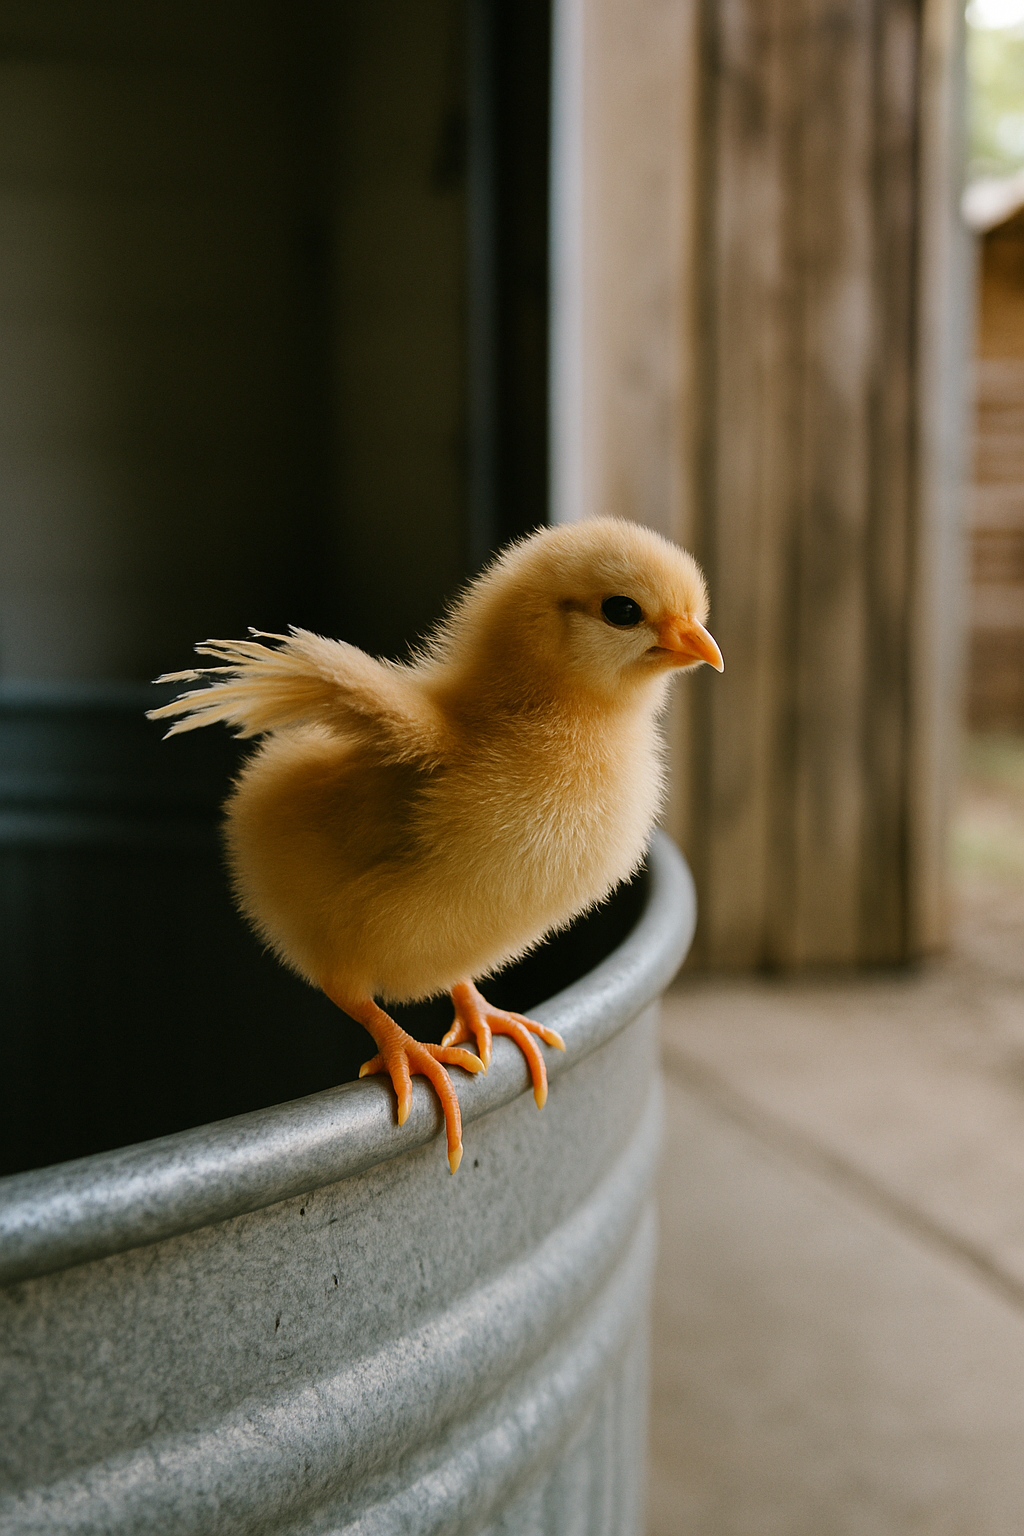
Day five to seven. That’s when they start hopping and testing their wings. Not week three. The first time I watched a three-inch chick clear the edge of a tote I’d thought was plenty tall, I just stood there for a second before fishing it off the garage floor.
Sides should be at least 18 inches tall for the first two weeks. By week three, many chicks can clear a 12-inch wall without much effort. If your sides are under 18 inches and you’ve got no cover on the top, you don’t have a brooder. You have a launchpad. A piece of hardware cloth or window screen cut to fit and set loosely on top solves this and still lets air move through. Worth adding by week two at the latest, sooner if you’ve got a particularly ambitious batch.

Paid link
And the reason it matters beyond just the chick being loose in your garage: a chick that escapes a warm brooder into a cooler room can chill fast. That’s not a minor inconvenience.
Read next: My week-by-week guide to raising baby chicks
- Days 1–3Paper towels over pine shavingsFlat surface helps chicks find feed without losing footing on shavings
- Days 5–7Chicks start hopping and testing wingsSides must be at least 18 inches tall; add screen or hardware cloth top
- Week 11 sq ft per chick; brooder temp 95°F at floor levelUse probe thermometer on the floor — not a wall thermometer
- Week 2110-quart tote becomes crowded for 4–6 chicksDrop temperature roughly 5°F; consider moving to stock tank
- Week 3Many chicks can clear a 12-inch wallCover must be in place; chicks escaping into cooler room can chill fast
- Week 42 to 2.5 sq ft per chick neededThey are small, opinionated birds with a pecking order now, not chicks
Read next: Reading brooder temperature from the chicks, not the thermometer
Read next: Pasty butt, splayed legs and the other first-week problems
Feeders and Waterers: Spend on the Waterer, Skip the Fancy Feeder
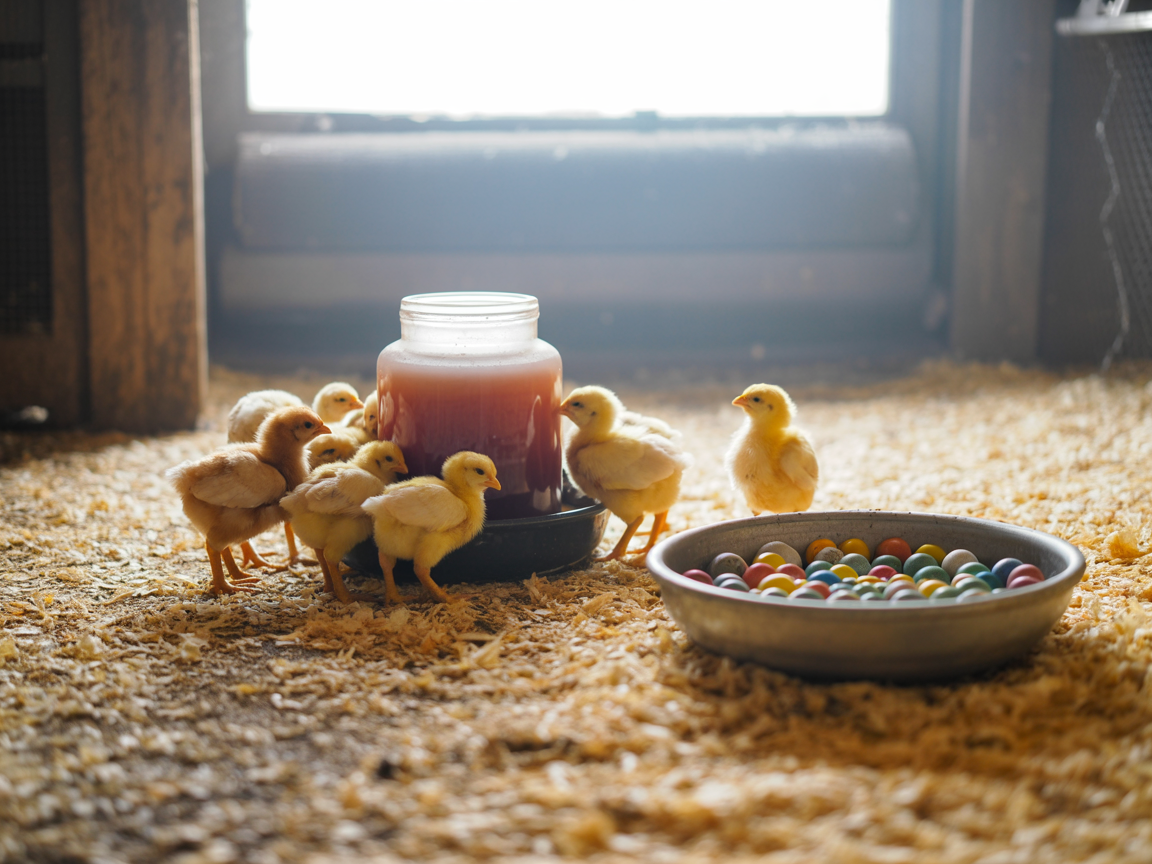
Chicks will eat from almost anything shallow enough to reach. A basic trough feeder runs $4 to $6. A shallow dish with marbles in it so they can’t climb in. A jar lid. Honestly, I’ve used all three at various points and the chicks didn’t care. The feeder is nearly irrelevant.
The waterer is not.
Chicks can drown in half an inch of water if they tip in and can’t right themselves. Day-old chicks are small and not coordinated and will absolutely end up in a water dish that’s too open or too deep. I’ve lost one that way. It’s fast and it’s quiet and you won’t know it happened until you do a head count.
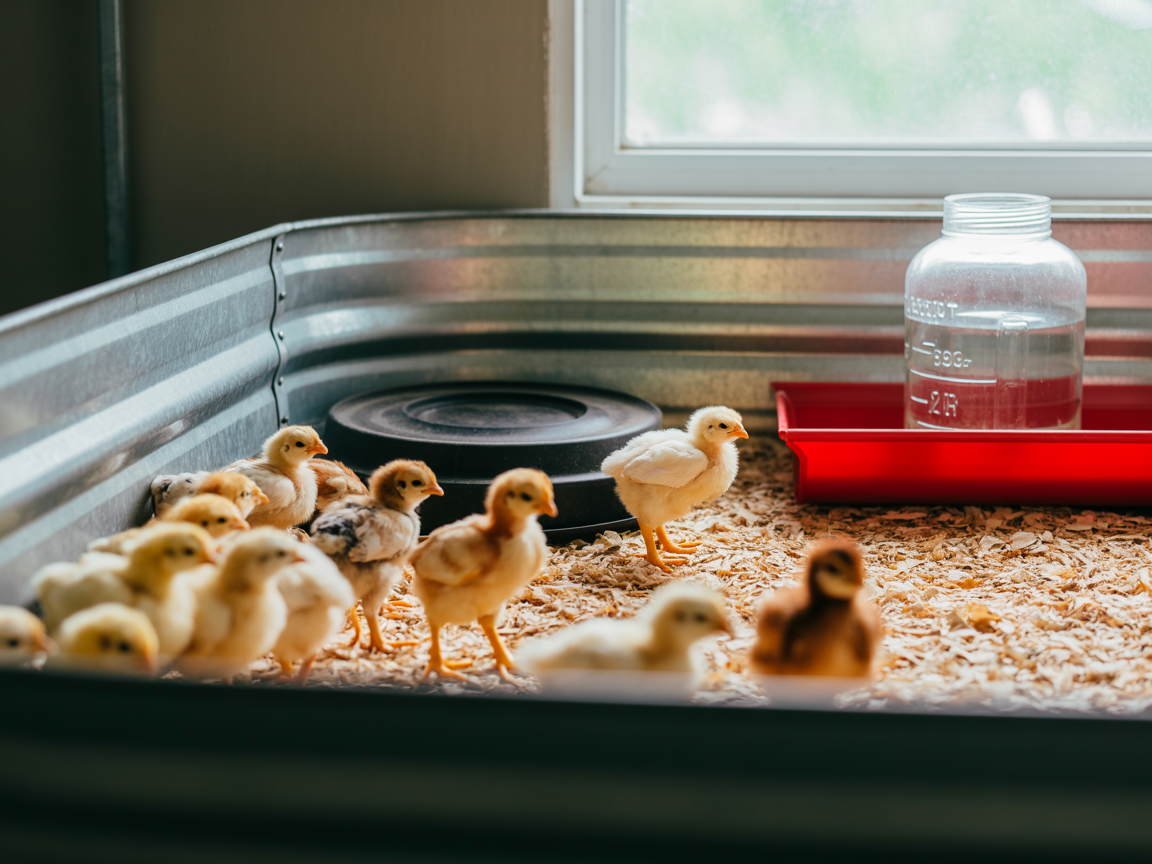
A quart mason jar with a screw-on plastic base costs $5 to $8 and is the right size for up to twelve chicks through the first few weeks. The water comes out in a shallow channel around the base, deep enough to drink from, not deep enough to drown in. Nipple waterers eliminate the risk entirely and chicks learn to use them from day one if you tap the nipple a few times to show them where the water is. Either option works. A decorative waterer with a wide, open basin, or anything with more than about a half-inch depth of exposed water, is not a good choice for young chicks regardless of how it looks on a feed store shelf.

$12.99 In Stock
Paid link · price checked October 6, 2026 09:15
Draft-Free Is Not the Same as Sealed — Your Brooder Needs Airflow
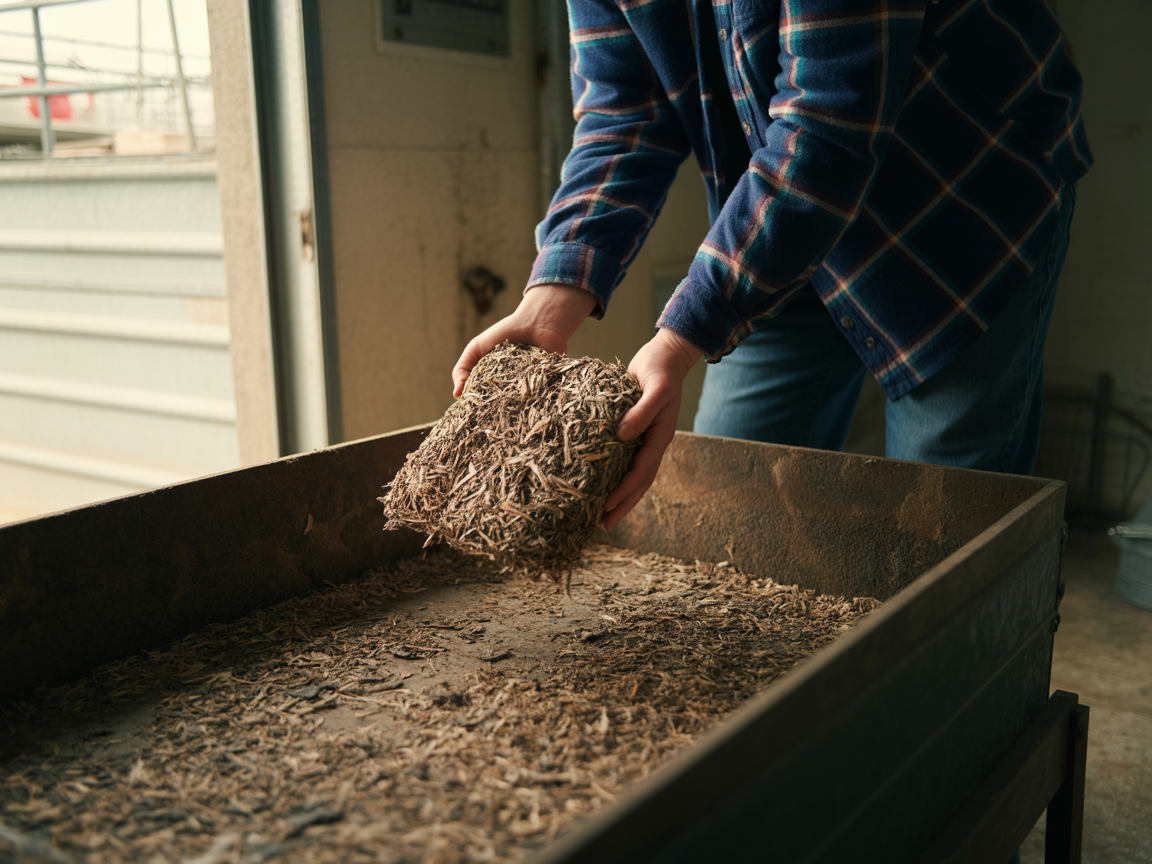
Ammonia becomes harmful to chick lungs at concentrations above 10 to 25 ppm. You’ll smell it before it hits that level. That sharp, eye-watering smell when you lift a handful of used bedding. If you can smell it, they’re already breathing it. Young respiratory systems are not forgiving of that.
A sealed brooder with no air exchange is more dangerous than a slightly cool one with decent airflow. People are so afraid of drafts that they close everything up, and then the ammonia from wet bedding and droppings builds up with nowhere to go. That’s a different problem than cold, but it’s not a lesser one.
Draft-free means ground-level airflow isn’t hitting the chicks directly. It does not mean airtight. A screen or hardware cloth top handles both. It blocks a cat or a curious hand from getting in, it lets air exchange happen above the chicks, and it doesn’t channel cold air directly down on them. Sides should go to the floor to block ground drafts. The top should breathe. Those are two different things doing two different jobs.
Where You Put the Brooder Changes Everything About the First Eight Weeks
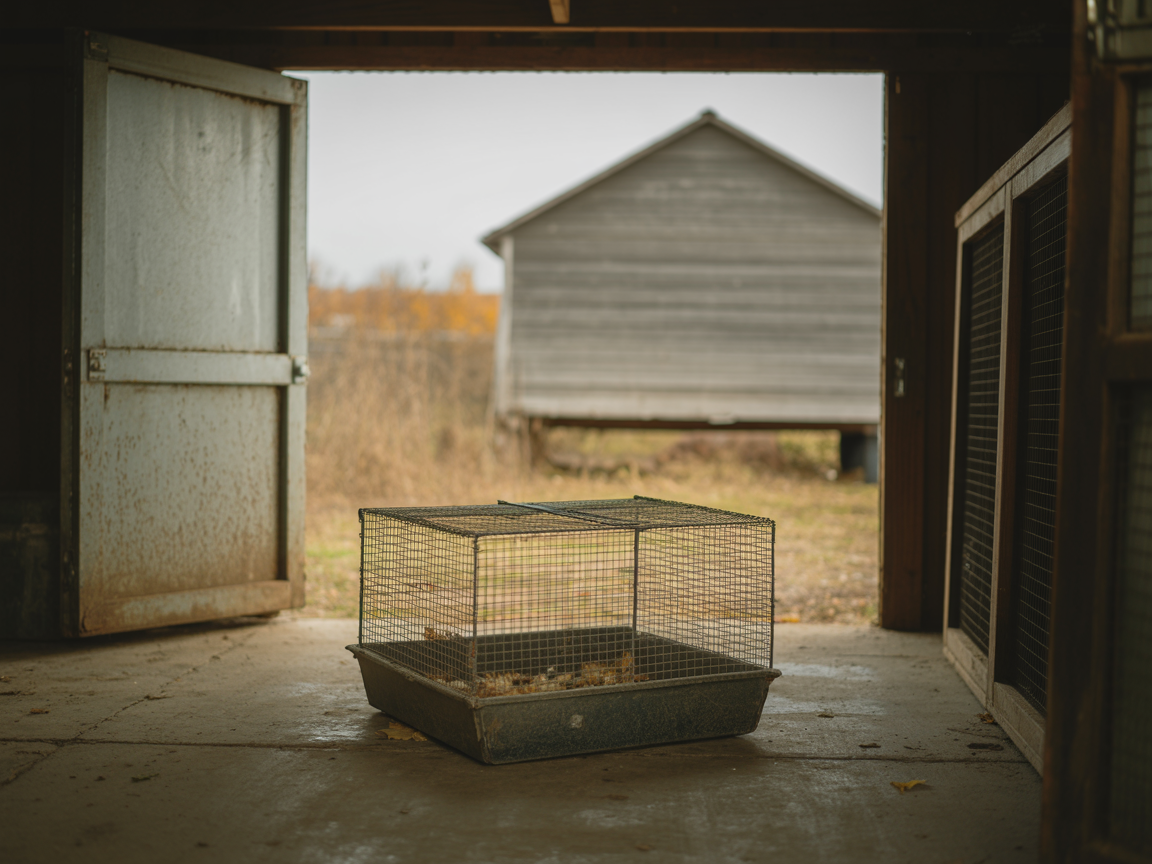
An outdoor shed is the wrong place for a brooder unless you can heat the whole space. A heat plate sized for ten chicks is designed to supplement a reasonably warm room. It’s not rated to be the only heat source in a space that drops to 40°F overnight. When the ambient temperature swings more than 10°F, your heat source is constantly overcompensating or underdelivering, and you’ve lost the control you were trying to maintain.
A room that stays between 65 and 70°F ambient makes heat source management predictable. Heated garage, spare bedroom, basement. Any of those work. The brooder should be off the floor, on a table or workbench, because a brooder at floor level is accessible to every dog and cat in the house without any effort on their part. I keep mine on a folding table in the garage. My dog has investigated it exactly once, from a respectful distance, because it’s at a height where she can see it’s occupied.
Put the brooder somewhere you walk past multiple times a day. I cannot overstate this. Chicks that get checked on frequently get help faster when something’s wrong. A chick piling away from heat, a waterer that tipped, one bird that’s getting picked on. You catch these things by walking by and glancing in, not by making scheduled visits twice a day.
Skip This: The Kit Items That Earn Nothing
Chick grit. If your chicks are eating commercial starter crumble and nothing else, they don’t need grit for the first several weeks. Starter crumble doesn’t require grit to digest. The bag of grit in the kit is not harming them. It’s just sitting there.
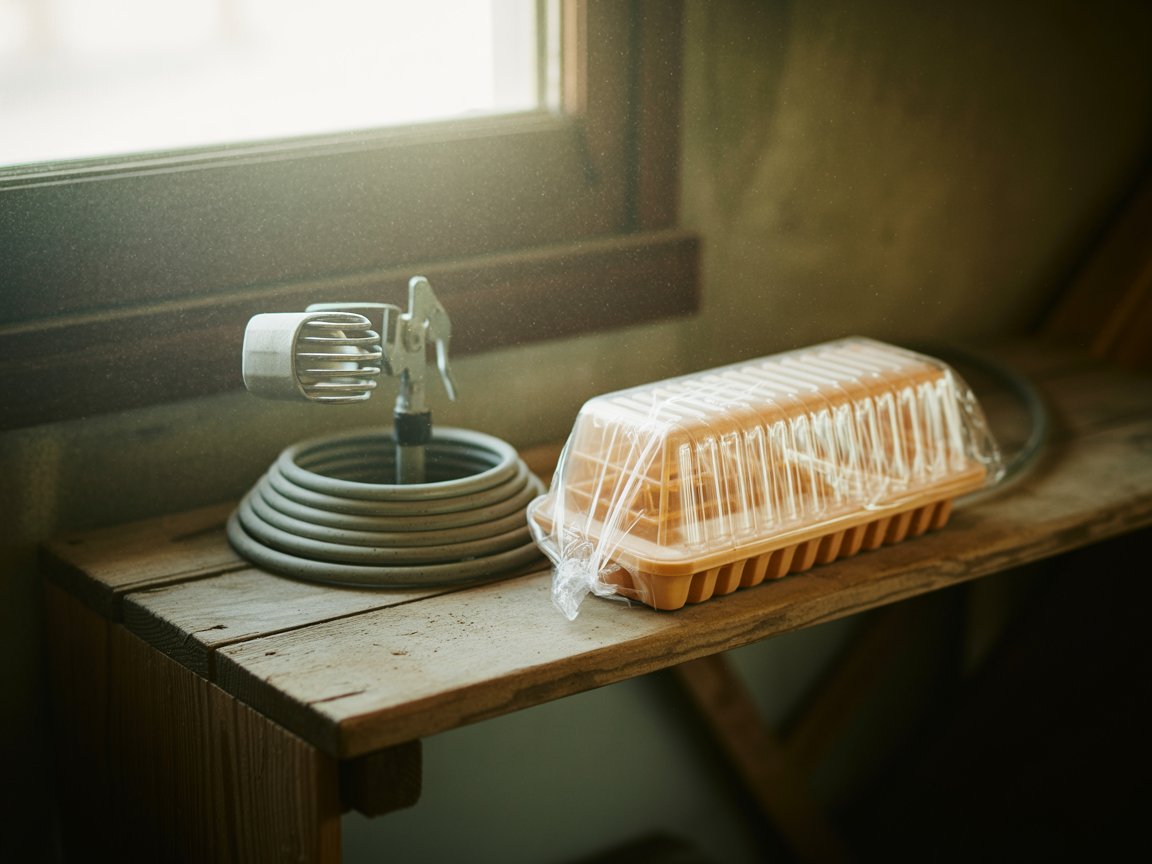
The stick-on wall thermometer. It reads air temperature at whatever height you stick it. Chicks live at floor level. Those are not the same temperature, especially with a heat lamp overhead. A probe thermometer with a six-inch cord costs about $6 and you put the probe on the floor of the brooder. That number is what matters.
Vitamin supplement packets. If your chick starter is fresh and stored in a dry place, it already has what they need. Vitamins for healthy chicks on quality feed are solving a problem that doesn’t exist. If a chick is sick, vitamins are not the intervention. Figuring out why it’s sick is.
A complete functional brooder setup, a 110-quart tote or stock tank, a heat plate, a mason jar waterer, a basic trough feeder, a bag of pine shavings, runs $60 to $80 total. Maybe less if you’ve already got some of it. The kit costs $90 and includes things that stay in the bag. The kit exists to simplify a sale. Somebody thought about the margin when they assembled it, not the chick welfare. Buy the four things that matter and leave the rest on the shelf.