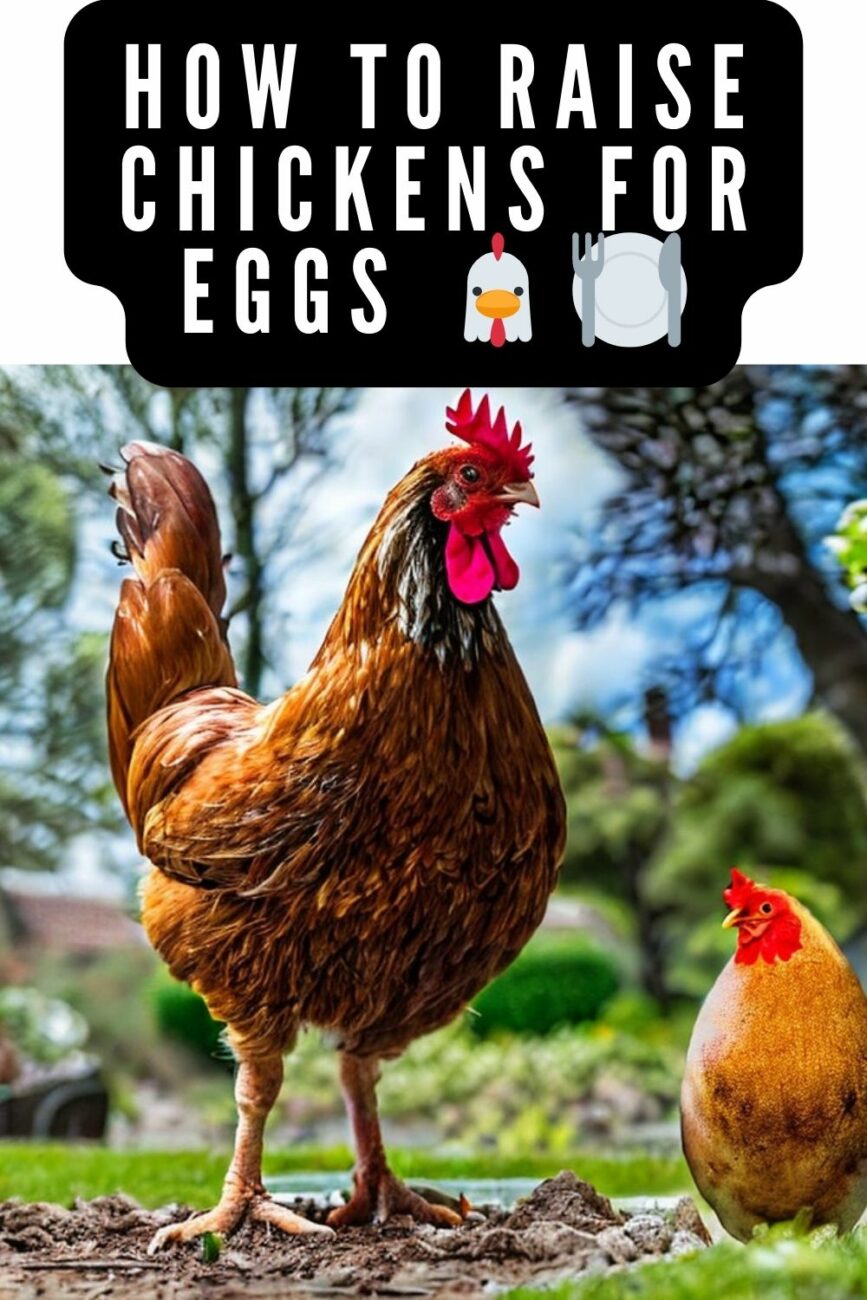
Let me tell you a funny story about myself and chicken coops.
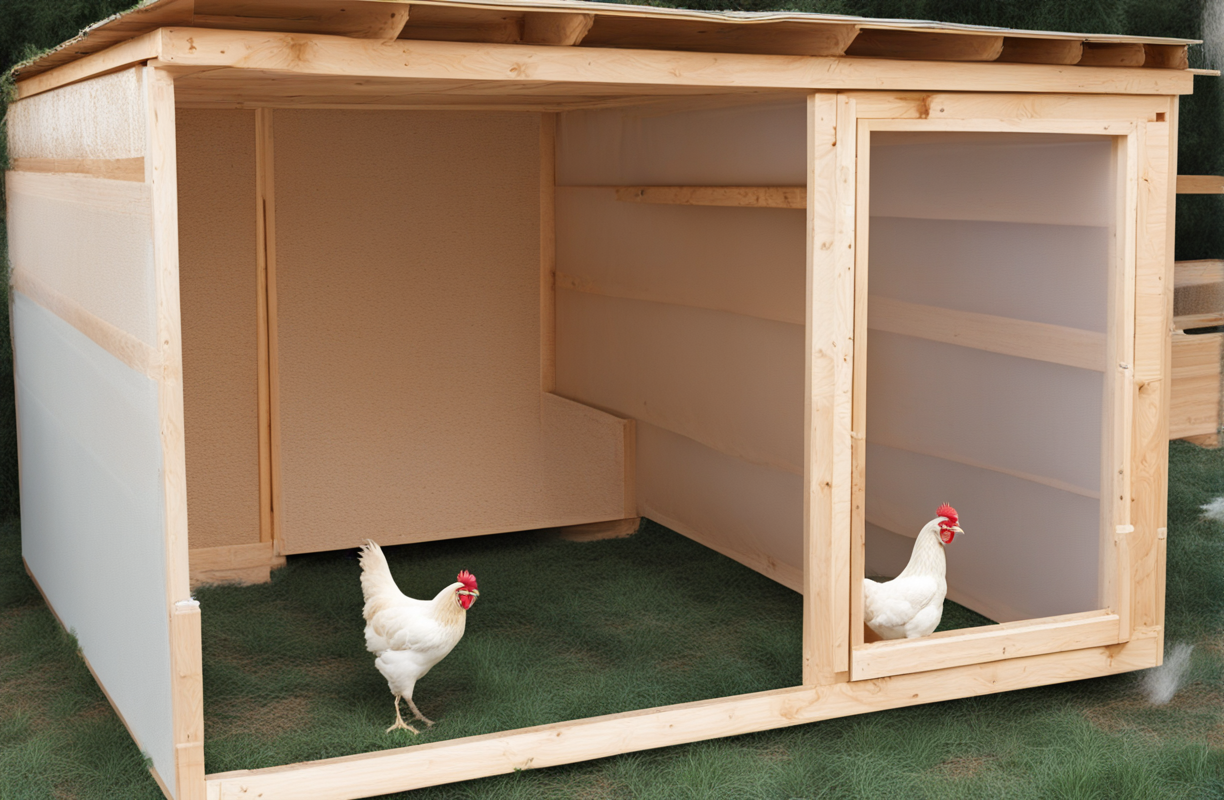
Last year I decided to finally start raising backyard chickens.
I built this beautiful coop with a fancy window box and picked out my favorite breeds of hens.
But boy was I in for a surprise that first winter!
I didn’t insulate the coop properly, so my poor girls were freezing their tail feathers off!
I ended up having to run space heaters out to the coop 24/7 just so the water didn’t freeze over.
And you can bet I was out there in the snow every morning scraping ice off the coop floor in my pajamas.
Not my finest moment.
So learn from my mistakes, friends!
Proper insulation is crucial for your chickens’ health and egg production during cold weather.
Trust me, you do not want to be chiseling frozen chicken poop off the walls in January.
Let’s look at some of the best ways to insulate your coop so your flock stays warm and happy all winter long.
Straw Bale Insulation
Straw bales make great insulation for chicken coops.
They’re natural, reusable, and easy to install.
Just stack bales along the walls, leaving space for ventilation.
You can even use a thick layer on the floor.
The straw creates air pockets that prevent cold drafts.
This is an affordable option if you have access to straw.
I used straw bales in my coop after my first disastrous winter.
I stacked them two high along each wall which helped seal up drafts.
For the coop floor, I used several bales cut in half to create a thick insulating mat.
It made a huge difference in keeping the cold from seeping up from the ground.
I was able to source straw bales cheaply from a local farm.
Just be sure to store extra bales somewhere dry.
Wet straw won’t insulate well and can harbor mold.
I made that mistake too.
Some of my bales got rained on outside and basically turned into a soggy mess.
The chickens even started avoiding their favorite nesting boxes that were near wet straw bales.
So keep your straw dry and fluffy for best results.
Overall, this is a simple, eco-friendly way to insulate your coop.
Straw bales create dead air space to prevent cold drafts and chill.
Your chickens will stay nice and toasty on their straw-lined floor.
Batts and Rolls
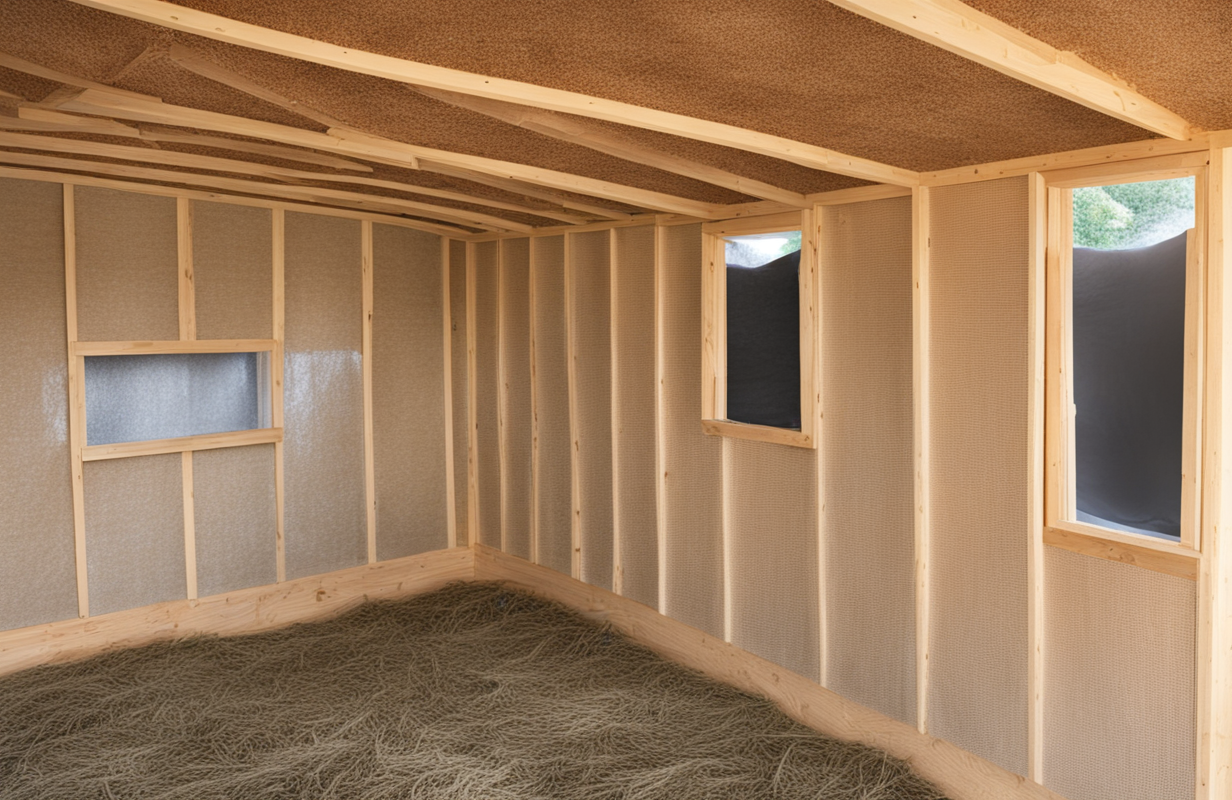
Fiberglass and mineral wool insulation batts are easy to install between studs in a coop’s walls.
Cut rolls also work for floors and ceilings.
Make sure to cover exposed insulation to prevent chickens from pecking at it.
I used fiberglass batts to insulate the walls of my improved coop.
I was able to stuff them easily into the gap between the 2×4 studs.
Just be sure to wear long sleeves and gloves when handling fiberglass.
That stuff can be itchy on your skin!
I cut some batts to size and laid them in the ceiling cavity before adding the interior paneling.
For extra protection, I stapled chicken wire over them.
This prevents the chickens from trying to nest on or pick at the insulation.
In the floor, I rolled out mineral wool batts underneath the plywood subfloor.
The mineral wool provided a nice cushion and insulation from the cold ground.
I chose mineral wool there since it holds up better to moisture than fiberglass.
The batts and rolls do a great job of stopping drafts and keeping warmth inside the coop walls.
Just take precautions against chickens tampering with them.
Cover any exposed areas they can access.
Overall, it’s an inexpensive way to insulate that coop!
Spray Foam
Spray foam insulation fills cracks and creates a solid air barrier.
It’s the best way to seal off drafts in small spaces.
Use low-expansion foam to avoid excessive pressure buildup.
Spray foam bonds well but can be pricey.
I used spray foam insulation to seal up every nook and cranny in my coop.
I found tons of little gaps around windows, doors, and rafters.
The foam expands and seals up any cracks that let cold air sneak in.
It also made the walls much tighter and less drafty overall.
I used cans of minimal expanding foam designed for windows and doors.
The regular Great Stuff expands so much it can warp your framing.
I learned that lesson too, unfortunately.
The low expansion foam worked great without bowing anything.
Just go slowly and carefully fill gaps a little at a time.
It does get messy and is hard to clean up if you overdo it.
I’d say spray foam is must-have for sealing air leaks.
It really helps make your coop nice and tight.
But it is one of the pricier insulation options overall.
Use it sparingly just to fill specific problem spots.
A little spray foam goes a long way to stop drafts.
Rigid Foam Panels
Rigid foam insulation panels, like polystyrene or polyiso, attach neatly to walls and under roofs.
Use adhesive or fasteners to hold panels in place.
Seal edges with caulk or spray foam.
Rigid boards provide excellent insulation value for the thickness.
I installed rigid foam panels around my coop for extra insulation.
I used the polyiso panels since they have a high R-value.
I attached them to the walls using paneling nails to hold them tight.
For the ceiling, I used foam adhesive to stick panels snugly against the rafters.
The rigid foam added a nice unbroken layer of insulation everywhere.
It really helps prevent cold spots or gaps compared to other materials.
I did have to cover the foam well though.
Chickens will peck right through it otherwise!
I used weatherproof plywood secured over the foam to protect it.
Then I caulked all seams and edges thoroughly.
The rigid panels are easy to work with and make a big impact.
They’re on the pricier side but provide great insulation value.
For best results, cover foam to keep chickens away.
Then caulk for an airtight seal.
Radiant Barrier
Radiant barrier is a reflective material that blocks heat transfer.
Install it under the roof to reflect warmth down into the coop.
It’s lightweight and works best in milder climates.
Combine with other insulation for colder weather.</p
I installed a radiant barrier in my coop to help conserve warmth.
I used a foil-faced product that attaches to the rafters.
The shiny side faces down into the coop interior.
This allows it to reflect heat back into the living space rather than letting it radiate out.
I attached the radiant barrier using staples for an easy install.
It really helped maintain temperatures, especially overnight when it’s coldest.
I live in a milder climate so it worked well alone.
If you live where it gets extremely frigid, combine it with batt insulation.
Radiant barriers work best to reflect existing warmth, not generate it.
So you need insulation that actively slows heat transfer too.
I love my radiant barrier though – it made a noticeable difference.
It helps conserve the chickens’ body heat and supplemental heating.
Heat rises and gets trapped rather than escaping out the roof.
For added protection, I also installed rigid foam panels under the roof.
The combination of both kept things much more comfortable.
Radiant barrier is affordable and easy to install.
It’s a great add-on to maintain interior temperatures.
Just make sure it has an air gap to function properly.
Follow manufacturer instructions for best results.
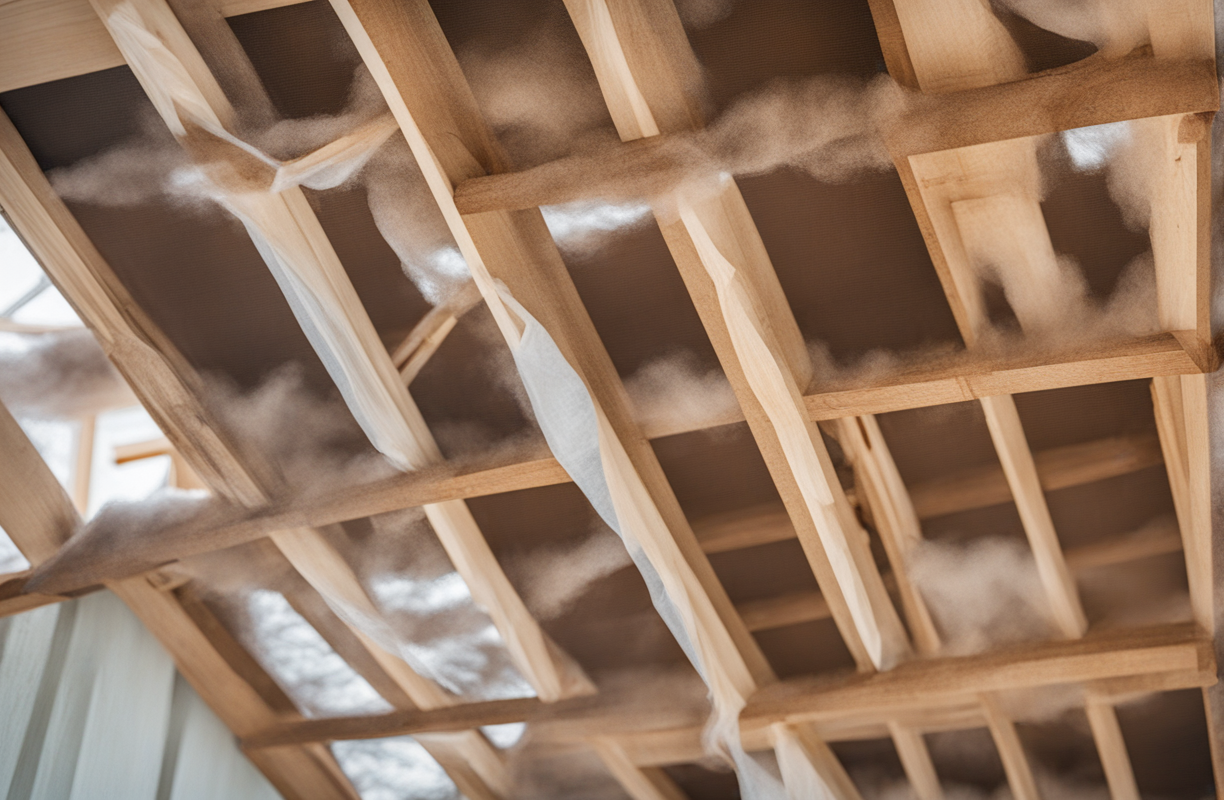
Cellulose Insulation
Loose-fill cellulose made from recycled paper gets blown into wall cavities through small holes.
Cellulose stops airflow and absorbs sound.
It settles over time so you may need to add more.
Not ideal for exposed areas chickens can access.
I decided to use cellulose to insulate the interior walls.
Since it gets blown in, it fills every nook and cavity nicely.
I rented a special blowing machine which made the job easier.
It has a hose that attaches and shoots the cellulose into the holes.
I drilled access holes between each stud bay, then went back and plugged them.
The cellulose formed a dense pack with no gaps or settling.
It deadens sound and insulates very well.
I couldn’t use it for exposed areas though since the chickens would make a mess of it.
It’s only suitable for enclosed cavities like walls.
In the ceiling I opted for fiberglass batts instead.
Cellulose settles more over time so needs enclosed spacing.
But for walls it worked perfectly and wasn’t too expensive.
I’d recommend cellulose for anyone with framed walls.
The dense packing insulates wonderfully.
Just don’t use it for exposed locations chickens can access.
Keep it enclosed in walls and ceilings for best performance.
Vermiculite and Perlite
Vermiculite and perlite are mineral insulating materials.
Mix with water and pour into hollow walls or under flooring.
As the water evaporates, it leaves behind porous pellets to slow heat transfer.
Very effective but somewhat messy.
I used perlite for added insulation under the floor.
I liked that it’s a natural mineral material that won’t rot or degrade over time.
I mixed dry perlite with just enough water to moisten it.
Then I poured and spread it under the coop before installing the floor.
As it dried, it left an insulating layer that conforms to the space.
The perlite slowed heat loss up through the floor much better.
It did make a bit of a mess getting it installed under there.
A dust mask is a must when pouring to avoid breathing it in.
Over time I haven’t had to add more or re-apply it either.
The perlite remains effective and isn’t prone to settling.
For under-floor insulation, it’s a great eco-friendly option.
Just prepare for some dust and cleanup during application.
In the end it made a big difference though keeping floors warmer.
Cork
Natural cork is moisture-resistant and sound-deadening.
Use rigid cork panels on walls or sheets on the floor.
You can also find cork-based spray foams to fill gaps.
Cork is eco-friendly but relatively expensive.
I was looking for an eco-friendly insulation option and decided on cork.
I installed cork panels along one interior wall as an experiment.
The rigid sheets provided good insulation and noise reduction.
Cork is naturally moisture-resistant too which is nice for a coop.
I attached the panels using construction adhesive for a good bond.
For the floors, I used cork underlayment roll-out sheets.
This gave a bit of a cushion under the plywood flooring.
The cork works well but is one of the pricier options out there.
It also took more time to install the rigid panels on the walls.
But for eco-friendly insulation with soundproofing, cork is great.
It’s very durable and won’t decompose or degrade over time.
If you want “green” insulation and can afford the cost, cork is a good choice.
Just know it takes more labor to install the rigid sheets.
Recycled Denim or Newspaper
Upcycle old denim, newspapers, or phone books by shredding or tearing them up.
Pack insulation cavities full for good dead air space.
These are low-cost fillers but settle over time.
Monitor settling and add more as needed.
I love finding ways to reuse and recycle items whenever possible.
So I decided to try shredded newspaper for some coop insulation.
I had big stacks of old newspapers in the garage taking up space.
Rather than tossing them, I ran them through a shredding machine I rented.
This left me with giant bags of shredded newspaper.
I packed this into wall stud cavities for insulation.
The loose paper fibers scatter and fill the space nicely.
Newspaper insulation settles over time as fibers compress.
I’ve had to go back and add more to some areas.
It’s not as rigidly-structured as batts or panels.
But for a free option using recycled materials, it works pretty well.
Just monitor it and plan to fluff and add more as needed.
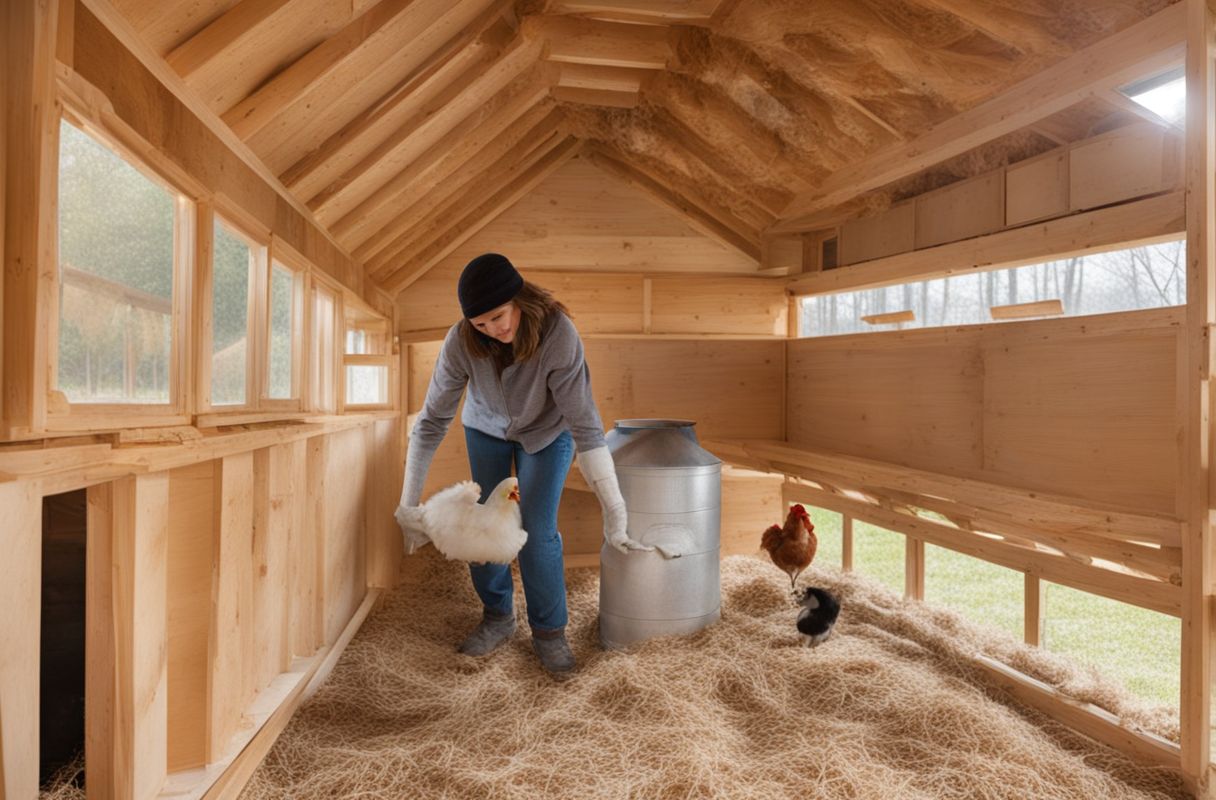
Hay and Straw Bales
Hay and straw make excellent insulators for chicken coops.
Stack bales around the foundation and walls.
You can also use loose hay or straw as infill.
Just beware of it getting wet and compacting over time.
In addition to using straw bales on the walls, I also did loose straw insulation.
I was able to get straw inexpensively from a local farm.
For the stud wall cavities, I packed loose straw using a stuffing tool.
This allowed me to really jam it in tightly to prevent settling.
The loose straw created great dead air space for insulation.
I also stuffed it into nooks and crannies wherever I could fit more.
Just be cautious of fire safety with loose straw.
It’s very flammable so don’t use near heat sources.
I made sure to cover all electrical boxes and wiring thoroughly.
Also avoid dense concentrated piles of straw.
You want it light and airy for insulation value.
To fill framing bays, a stuffing tool makes quick work.
For infilling small spaces, I sometimes packed it in by hand.
The straw added great insulation at very low cost.
Just monitor it and top off any settling areas.
Overall an economical way to insulate if you have access to straw.
With some fire safety precautions, it works wonderfully.
Choose Safe Materials
Avoid fiberglass batts in areas chickens can access – they may try ingesting it.
Also steer clear of foam insulation with toxic flame retardants.
Opt for natural materials whenever possible.
When selecting insulation, be sure to consider chicken safety.
Certain materials like fiberglass can pose hazards if accessible.
Chickens may peck at loose fibers and ingest them, causing health issues.
For fully enclosed bays, fiberglass batts are fine.
But don’t use it anywhere chickens can reach.
Also avoid foam boards made with toxic chemicals.
The fumes from some can be very harmful to chickens’ respiratory systems.
I opted for mineral wool instead since it’s made from natural materials.
Whenever possible, choose healthy insulation options.
Natural fibers like wool, cellulose, straw and hemp are great choices.
Prioritize your flock’s safety first when selecting materials.
Ventilate Properly
Make sure to allow ventilation to prevent moisture buildup inside the coop, even in winter.
Excess humidity can cause frostbite on combs and wattles.
Proper ventilation is so important for a healthy coop environment.
When insulating, be sure not to seal up the coop too tightly.
You still need air exchange to prevent excess moisture.
I made sure to include vent holes along the upper walls.
This allows humid air to escape while retaining warmth lower down.
The ventilation helps keep condensation in check.
Otherwise you risk respiratory issues and frostbite.
Make sure combs don’t turn purple or icy white – signs of frostbite.
Open windows briefly on warmer days to air things out.
And clean out wet litter frequently to limit moisture sources.
Finding the right balance between insulation and ventilation takes practice.
Just don’t make the coop airtight – allow some fresh air flow.
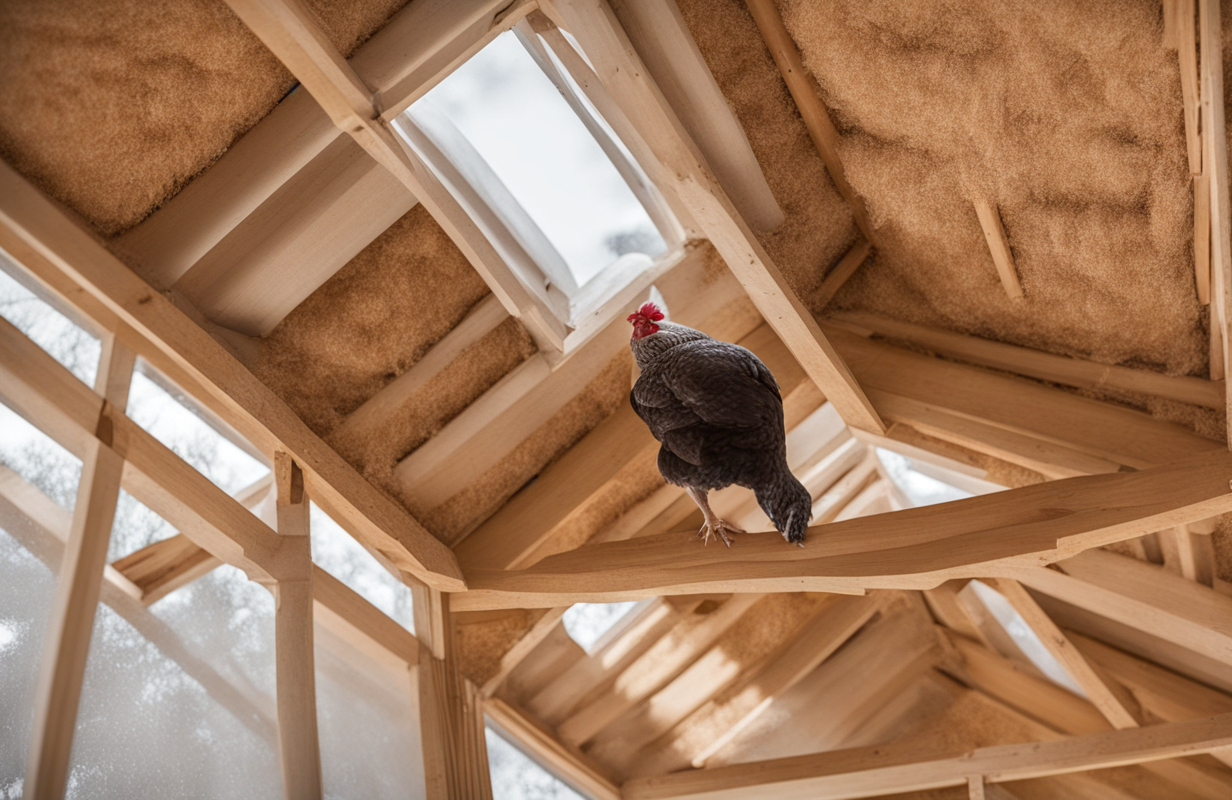
Insulate the Roof
Don’t forget to insulate the roof to hold in warmth from their body heat.
Heat rises and escapes through the ceiling if not properly insulated.
Insulating your coop’s roof is a must to retain heat.
Chickens roost up high so their body warmth naturally rises.
You don’t want it all escaping out the top of the coop.
I used a combination of rigid foam, fiberglass batts and a radiant barrier in the roof.
This kept the interior nice and toasty even on cold nights.
For flat roofs, apply rigid foam panels and cover with weatherproof membrane.
For sloped roofs, fill the rafter bays with insulation like batts or cellulose.
Always include a vapor barrier to prevent condensation issues.
Take extra care insulating around any attic ventilation points.
A well-insulated roof makes a huge difference for livable space below.
Don’t let all that precious heat go to waste!
Seal All Gaps
Inspect for any drafts or gaps allowing cold air through.
Seal with caulk or spray foam insulation.
Stop air leaks for maximum warmth.
Sealing up all the little drafts and gaps is so important.
Even small cracks let precious heat escape and cold seep in.
Take time filling every seam, nook, and cranny with caulk or foam.
I went around the base, windows, doors, electrical areas – everywhere.
It’s tedious but makes a big difference in efficiency.
Drafts can rob your insulation’s effectiveness.
Check areas like wall-ceiling joints, framing seams, penetrations.
Seal them meticulously to maximize insulation performance.
You’ll retain much more interior warmth.
Plugging heat-sucking air leaks should be top priority.
A well-sealed coop with good insulation makes for happy chickens!
Add Supplemental Heat
You may still need a heating lamp, radiant heater, or insulation panels on extremely cold nights.
Monitor conditions and adjust heat as needed.
In addition to insulation, some supplemental heat is a good idea.
For my coop I have both a heating lamp and small radiant heater.
These help take the edge off when temps get frigid.
I usually only use them overnight and early mornings.
The insulation holds enough warmth during daytime.
Position your heat source carefully to prevent fire risks.
Keep it away from anything flammable and supervise it.
On the coldest winter nights, the extra heat is vital.
Your chickens will hunker right beneath the warmth.
Just be sure to monitor the temperature and adjust as needed.
Supplemental heating combined with good insulation does the trick.
Use a Windbreak
Plant shrubs or erect a fence to block chilling winds around the run.
This helps cut down on drafts and retain warmth.
Windbreaks help protect your coop from cold winter winds.
On the windward side, I planted some fast-growing arborvitaes.
These evergreen shrubs act as a living windscreen.
They’ve grown quickly to form a dense, sheltering hedge.
The windbreak dramatically reduces the windchill effect.
Inside the run, it’s noticeably less drafty on gusty days.
You can also use things like privacy fencing or hay bales.
Preventing wind penetration reduces heat loss.
Block the prevailing wind direction for your climate.
A sturdy windscreen helps keep the chill off your coop.
There you have it – my top tips for keeping your flock cozy and comfy through tough winter weather.
Don’t make the same boneheaded mistakes I did!
Just remember: straw bales, seal gaps, ventilate, and add extra heat as needed.
Your chickens will thank you by providing a steady supply of eggs, even when old man winter comes knocking!
I hope all these insulation ideas help you build a warm, draft-free winter coop.